Physical Address
304 North Cardinal St.
Dorchester Center, MA 02124
Physical Address
304 North Cardinal St.
Dorchester Center, MA 02124

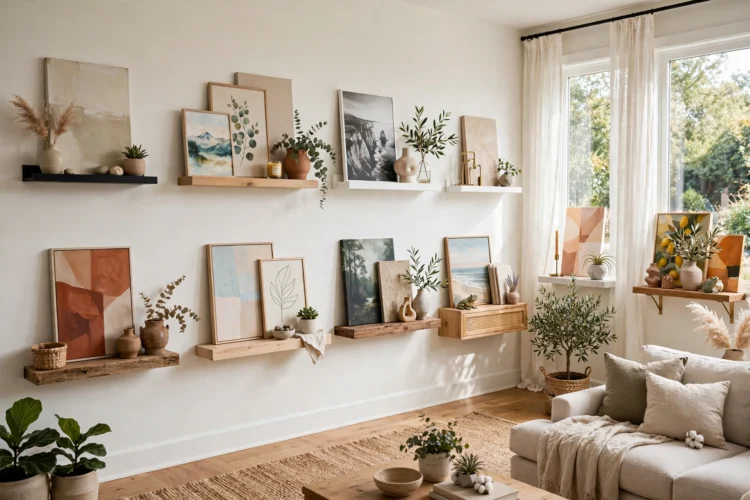
A picture ledge turns one wall into a display you can rearrange in minutes. These nine ideas cover length, layering, and a rotation habit that keeps the wall fresh.
Picture ledge ideas work best when you treat the ledge as a stage, not a shelf. A narrow rail with a small lip holds frames upright, so you can swap art without drilling new holes or patching old ones. That freedom changes how you decorate. Instead of committing to one arrangement for years, you can rotate prints with the seasons, test a new piece before you hang it for good, or clear the whole ledge in five minutes when the room needs a reset. The nine ideas below cover the full setup, from choosing the right length to building a rotation habit that keeps the wall fresh.
A single long ledge reads as one calm line across the wall, while three short ledges chop the same wall into fragments. Measure the wall, then pick a ledge that covers about two thirds of its width. That proportion leaves breathing room at both ends and gives you enough rail to layer several frames. Mount it at eye level, usually around 57 inches from the floor to the center of the display, and check it with a level before you tighten the last screw. A ledge that sags or tilts will show in every frame that sits on it.
Choose a ledge deep enough for your largest frame to lean safely, about three to four inches of depth for most prints. If you plan to add books or small objects, go a little deeper. One strong ledge also costs less than three small ones and needs fewer wall anchors, which matters on plaster or drywall.
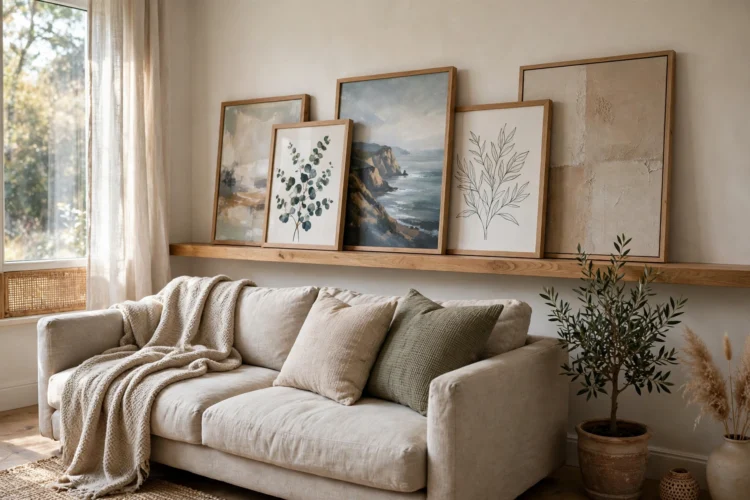
Layering is what makes a rotating art display feel collected instead of lined up like a shop shelf. Place the tallest frame at the back, then overlap smaller frames in front of it, each one shifted a few inches to the side so every image stays visible. The overlap creates depth, and the slight angles catch light differently across the day. Keep the back row to one or two large pieces so the front row never hides the art behind it.
Vary the frame finishes as you layer. A black frame next to a pale wood frame stops the row from looking like a matched set. Leave at least a finger width between overlapping frames so you can lift one out without knocking the rest over. Layered picture ledges reward a light touch, so step back after every change and check the whole line before you call it done.
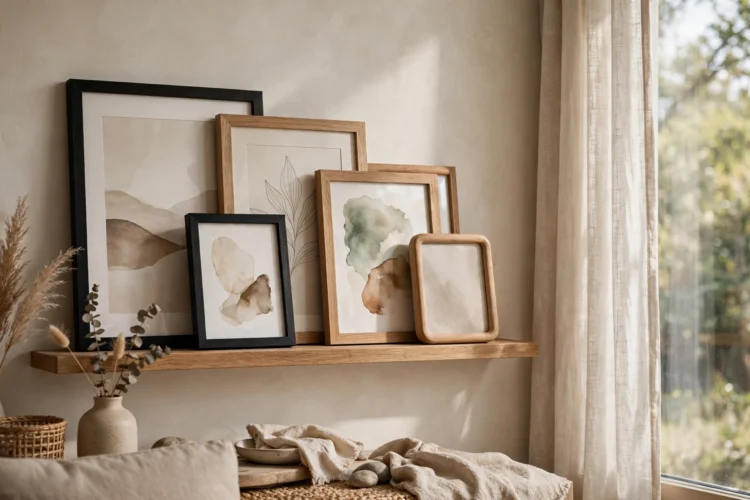
Art alone can look flat on a ledge, especially a long one. Break the row with a short stack of books laid flat, a small vase, or a ceramic object that picks up a color from the nearest print. These objects act like punctuation between frames, and they give the eye a place to rest. Keep them low, no taller than the bottom third of the neighboring frames, so they support the art instead of competing with it.
Picture ledge styling works best when objects earn their spot. A stone you picked up on a trip or a small plant in a plain pot adds a personal note that a store-bought ornament cannot. Rotate the objects with the art, and the whole ledge stays fresh without buying anything new. If you love bookshelf styling that looks collected rather than staged, the same rule applies here: mix sizes, repeat one color, and leave gaps.
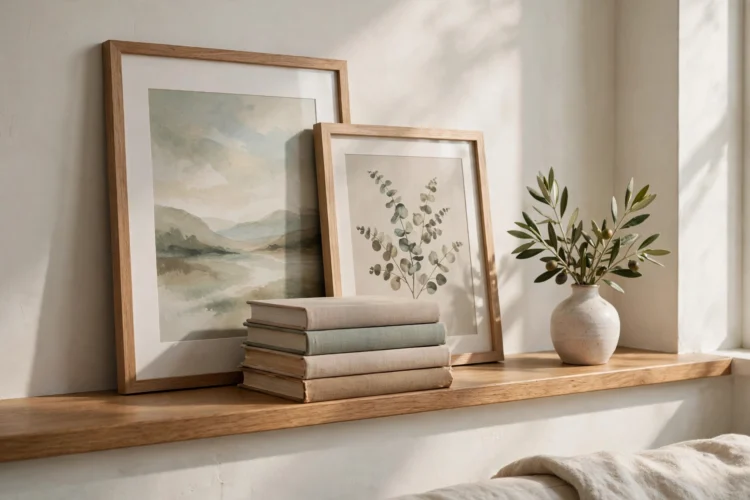
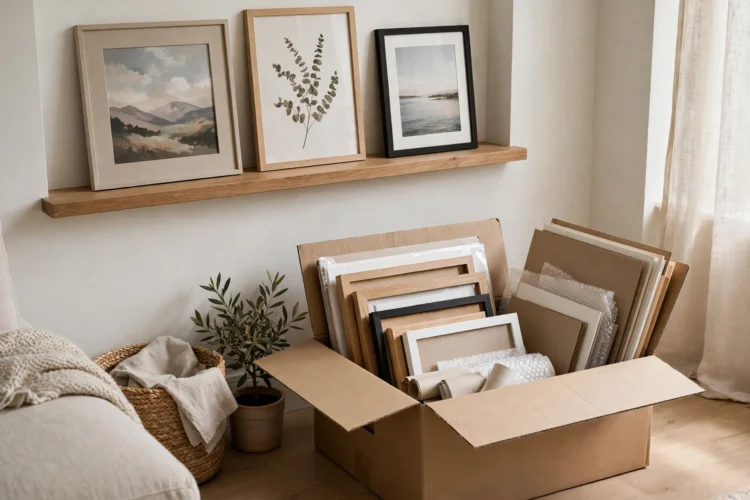
Rotation only happens if swapping is easy. Keep a box or a flat storage bin in a closet with spare prints, postcards, and small frames ready to go. When the box sits in the garage or the attic, the ledge never changes. When it sits one room away, a swap takes five minutes on a Sunday morning. Label the box by season or by color family so you can grab the right group without digging.
Store prints flat with a sheet of paper between them to stop sticking and scratching. Keep a few empty frames in the box too, so a new postcard or a child drawing can join the display the same day it arrives. The box is the engine of the whole system, and a tidy box means a tidy rotation.
A ledge earns its keep when it changes with the year. In spring, lean botanical prints and pale frames. In autumn, swap in warm landscapes and darker wood. You do not need four full sets of art. Two or three anchor pieces can stay all year while the smaller frames around them change. That mix keeps the wall familiar but never stale.
Plan the swaps around moments you already notice, like the first cool evening in fall or the week you open the windows in spring. Tie the change to a real moment and it becomes a habit instead of a chore. Holiday cards, travel photos, and kids school art all fit the same pattern: small pieces that come and go while the big frames hold the composition together.
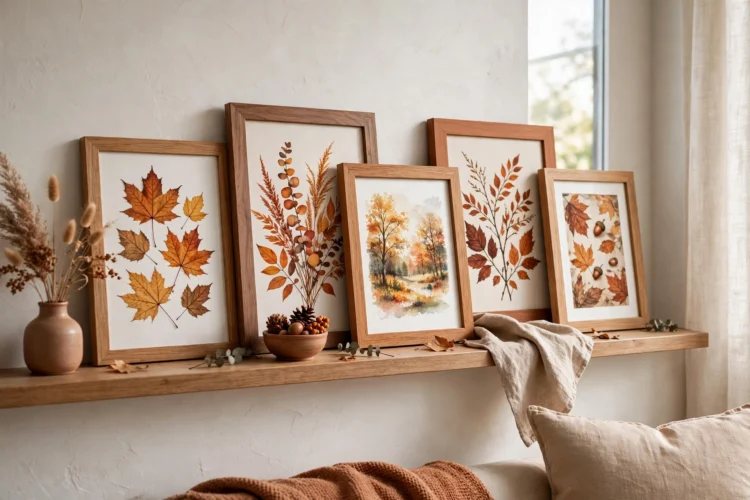
Every good display needs one piece that sets the tone. Pick your largest frame, place it slightly off center, and build the rest of the row around it. The anchor gives the eye a starting point, and everything else reads as support. Without an anchor, a row of equal-size frames drifts and looks accidental. With one, even a casual mix of prints looks deliberate.
The anchor does not have to be expensive. A large poster in a simple frame, a map, or a textile panel all work. What matters is scale: the anchor should be at least twice the height of the smallest frame on the ledge. If you want a fuller wall, pair the ledge with a gallery wall that fills the space around it and let the anchor piece bridge the two displays.
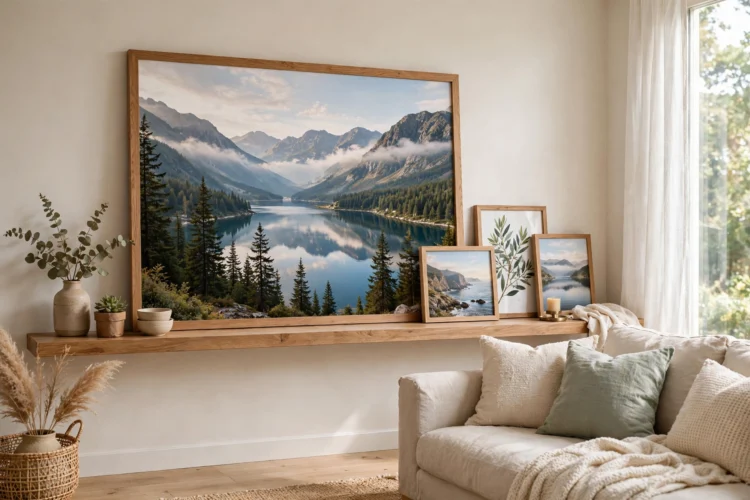
A ledge should disappear into the wall or match the furniture, never fight both. In a bright room with white trim, a white or pale wood ledge blends in and lets the art carry the color. In a room with dark wood furniture, a walnut or black ledge ties the display to the rest of the space. Painted ledges work well in kids rooms, where the ledge itself can be part of the color story.
Test the finish before you commit. Hold a sample against the wall in daylight and again in the evening, because warm bulbs change how wood tones read. A picture ledge shelf in the wrong finish draws attention to itself, while the right finish lets visitors notice the art first. If your frames are mixed, a neutral ledge is the safest choice.
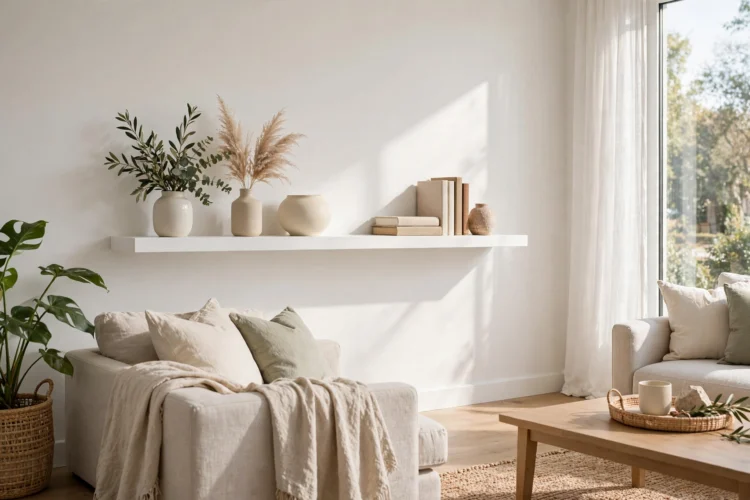
The most common ledge mistake is filling every inch. Empty space is part of the design. Leave a gap of at least a hand width between groups of frames, and let one stretch of the ledge stay bare. The gaps separate one idea from the next and stop the display from turning into clutter. A ledge with room to breathe also makes swapping easier, because you can slide a frame out without a chain reaction.
Think in groups of two or three frames, with a clear gap between groups. The group reads as one unit, and the gap gives the wall rhythm. If the ledge starts to feel crowded, remove one piece instead of adding another. Most displays improve when something leaves.
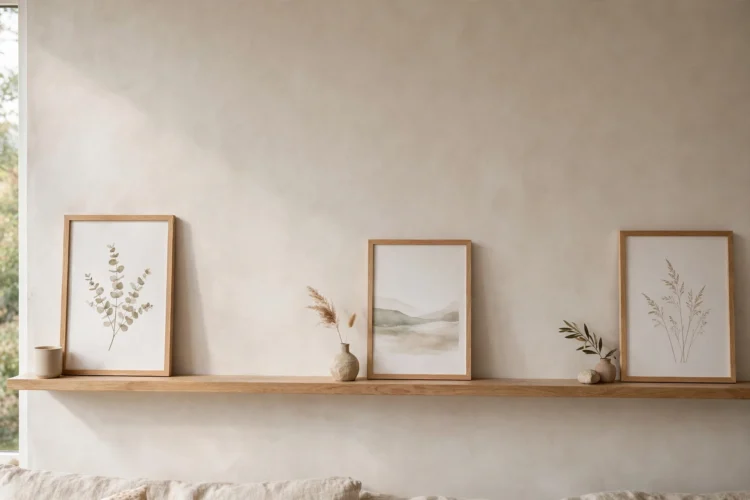
A ledge that never changes becomes wallpaper. Pick a simple schedule, like the first weekend of every season, and put it on the calendar. Four swaps a year is enough to keep the wall alive without turning it into a project. Each swap takes less than half an hour once the swap box is organized: lift the old frames off, wipe the ledge, set the new arrangement, and step back.
Take a phone photo after each swap. The photos build a record of what worked, and they stop you from repeating an arrangement you already tried. Old frames can become new art with a fresh mat or a coat of spray paint, and upcycled picture frames often look better than new ones because the wear adds character. If you enjoy making your own pieces, DIY wall art projects give you a steady supply of fresh work for the ledge. The habit matters more than any single arrangement: a ledge that changes four times a year will always look more alive than a perfect display that never moves.
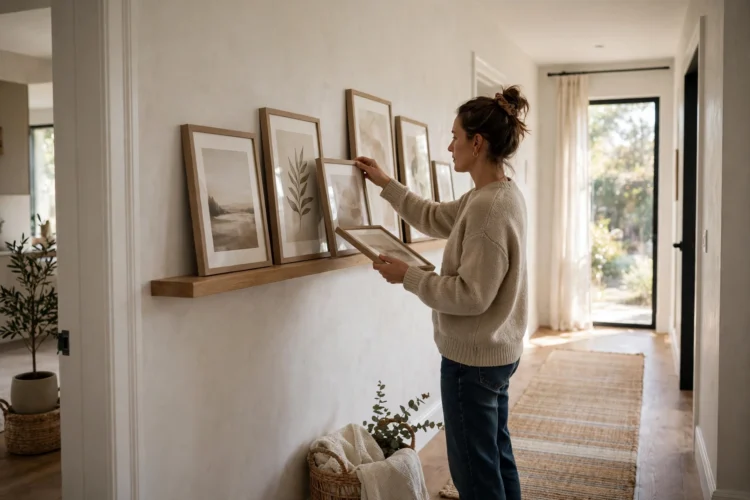
Start with the ledge itself, then add one idea at a time. A long rail, a layered row, and a swap box nearby will carry you through the first year. The rest is practice, and every swap teaches you something about what you actually like looking at.