Physical Address
304 North Cardinal St.
Dorchester Center, MA 02124
Physical Address
304 North Cardinal St.
Dorchester Center, MA 02124

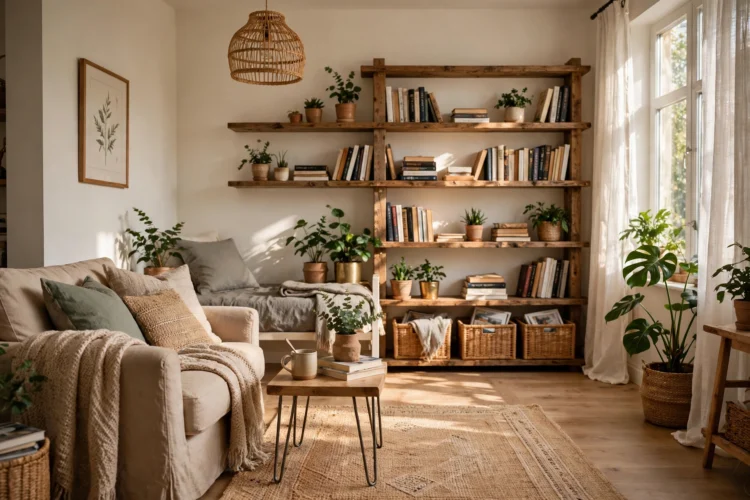
Twelve reader room makeovers on small budgets, with before and after photos: paint-led transformations, thrift finds, and free rearrangements.
A budget room makeover before and after is the most honest kind of home content. No staged showroom, no hidden budget, just a real room and a real receipt. The twelve rooms below come from readers who sent in their photos and their spending, and every one of them finished for less than a new sofa would cost. Each one is a small budget room makeover, and the pattern behind every reader before after makeover in this collection is the same: empty first, list second, buy last. Paint, thrift finds, and rearranging did most of the work.
Three patterns repeat across all twelve rooms. First, paint changed the room more than any purchase. Second, the best finds came from thrift stores, markets, and the readers own garages. Third, moving the furniture cost nothing and changed everything. Keep those three in mind and the photos below start to look repeatable instead of lucky.
Before any paint or purchase, every reader here did the same thing: they emptied the room. Furniture went to the middle, everything came off the walls, and the room got a proper clean. One reader found a rug she liked underneath the rug she had been using for years, and another found that her room had a window she had forgotten behind a bookshelf. Emptying the room costs nothing and it is the step most people skip.
The second shared move was a list with a ceiling. Each reader wrote down what the room needed and what it would cost, then cut the list until the total fit. The ceiling forced choices, and the choices forced creativity. A room with a firm budget ends up more personal than a room with an open one, because every purchase has to earn its place.
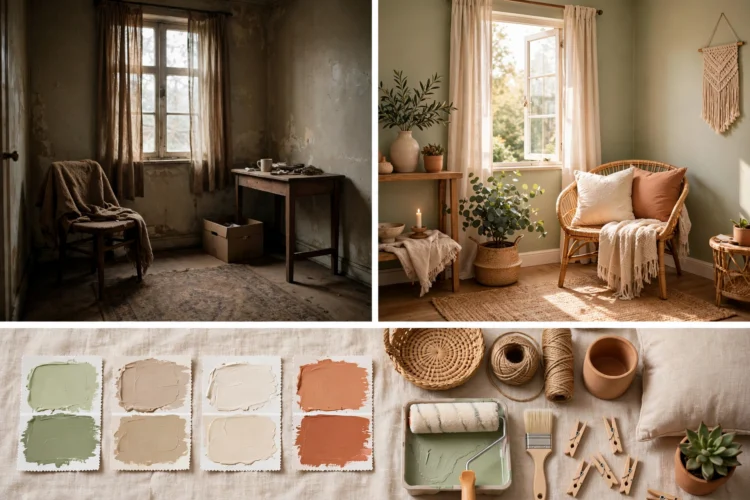
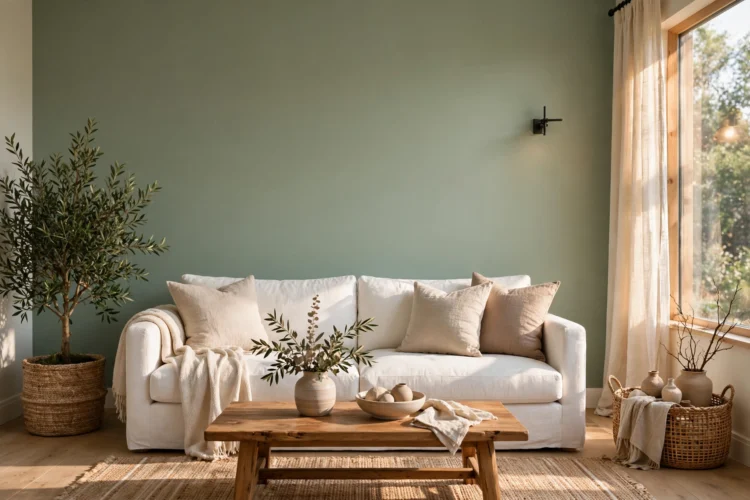
Four readers started with paint and stopped there for a week, just to see how far one change would go. A living room went from builder beige to a soft sage, and the white sofa the reader already owned suddenly looked new. A bedroom got a navy accent wall behind the bed, and the thrifted headboard finally had something to stand against. A hallway went bright white, and the dark wood doors the reader had wanted to replace looked deliberate instead of dated.
The fourth room is the best example. A kitchen with honey-oak cabinets got a coat of warm white paint on the uppers only, leaving the lowers wood. The two-tone result looks like a planned design, and it cost one can of paint and a weekend of careful prep. If paint is your starting point too, these small-budget home facelifts room by room show the same trick applied across a whole house, one room at a time.
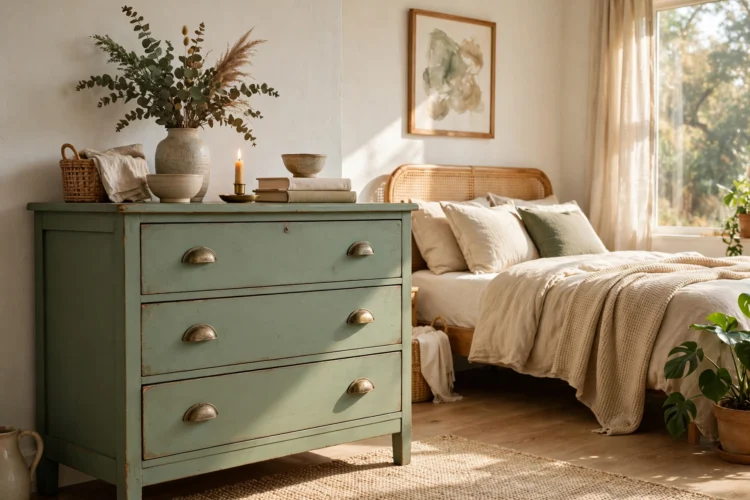
Three rooms in this collection turn on a single thrifted piece. One reader found a solid wood dresser for the price of a takeaway lunch, sanded it, and painted it the same sage as her walls. It anchors her bedroom now, and it replaced a flat-pack chest that had wobbled for two years. Another reader found a pair of rattan chairs at a market and re-covered the cushions with fabric from a remnant bin. The chairs cost less than the fabric would have new.
The third score was a mirror, a large arched one that a reader bought from a neighbor moving abroad. It hangs in her hallway now and doubles the light from the front door. The lesson across all three is to shop for shape and material, not for finish. These are thrift room makeover ideas that start at the thrift store, not the hardware store. A solid piece with a bad finish is a bargain. A flimsy piece with a good finish is a trap. For more proof, these thrift store furniture flips worth the effort show fifteen secondhand pieces that earned their keep.
Three readers spent nothing at all on their first pass. They moved furniture. One turned her sofa to face the fireplace instead of the television, and the room finally had a reason to gather. Another moved her bed to the opposite wall, which put the morning light on her face instead of the glare of a streetlamp at night. The third moved a bookshelf out of the living room entirely, and the room gained a whole wall of space it had been hiding.
Rearranging works because we stop seeing our own rooms. A layout that made sense on move-in day can outlive its usefulness for years. The trick these readers used was to photograph the room, move one big piece, and photograph it again. The camera shows what the eye misses. Try it before you buy anything. The free change might be the only change the room needs.

Two rooms in this collection changed for almost nothing. One reader spray-painted a dated brass chandelier matte black, swapped the shades, and the fixture looks new. Another painted her kitchen cabinet handles, replaced the switch plates, and added a runner rug she found on clearance. Each room cost less than a lunch out, and each one photographs like a different house.
A low cost room redo works because the eye reads details before it reads square footage. Handles, plates, and a light fixture are the things you touch and see every day, so changing them changes the daily experience of the room. If you want a longer list of the same idea, these spray paint makeover ideas for dated decor cover lamps, frames, planters, and hardware that all take one can and one afternoon.

Two readers tackled the rooms they use most. The bedroom got new bedding, a thrifted lamp, and a gallery of framed photos above the dresser. The total was modest, and the reader says she sleeps better in a room that feels finished, which is not a claim about thread count. It is a claim about a room that finally looks like someone chose it.
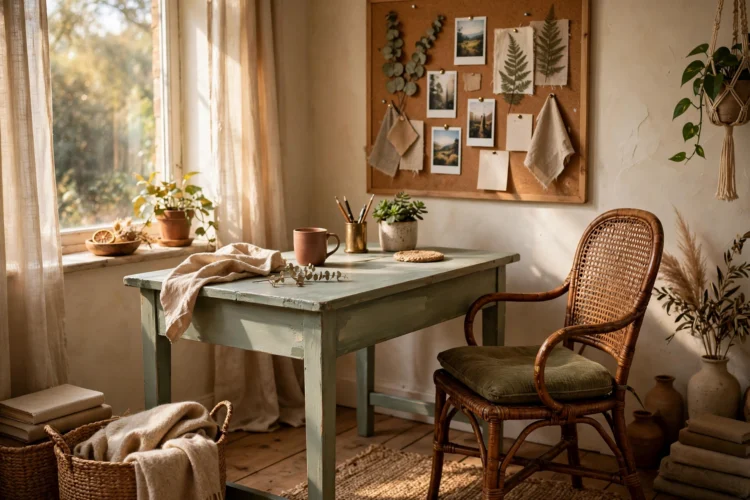
The home office got a painted desk, a secondhand chair with a new cushion, and a cork board for notes. The reader works from home four days a week, so the office earned the effort. Both rooms prove the same point: spend the budget where you spend the time. A guest room can wait. The room you wake up in cannot.
The last two rooms are the smallest and the most photographed. The kitchen got peel-and-stick tiles, open shelving where two cabinet doors used to be, and a row of jars on the counter. The bathroom got a new mirror, fresh caulk, and a painted vanity. Neither room touched plumbing or wiring, and both look like different rooms in the after photos.
Small rooms photograph well because every change is visible at once. There is nowhere for a half-finished corner to hide, which is also why small rooms punish half measures. Both readers finished every detail before taking the after photo, down to the hand towel and the soap dish. The after photo is a promise that the room is done, so finish the room before you take it.
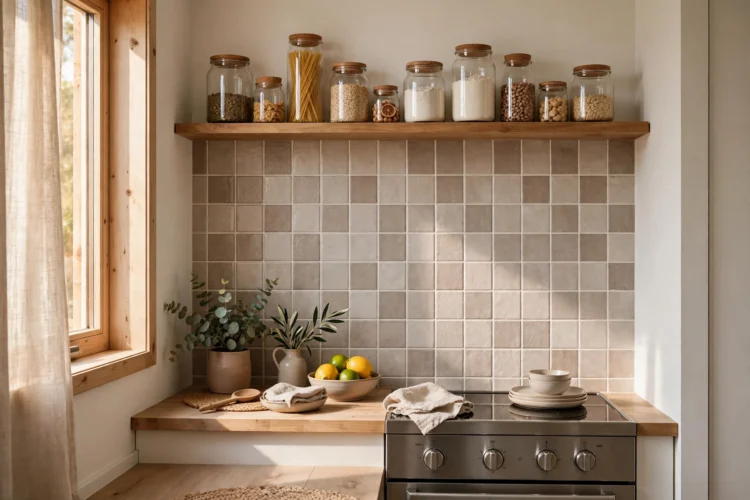
Twelve rooms, twelve small budgets, and the same three moves: paint, thrift, and rearrange. No room here needed a contractor. No room needed a loan. The biggest spend in the whole collection was a thrifted dresser and a can of paint, and the smallest was a can of spray paint and a Saturday afternoon. The before and after photos are dramatic because the before photos were honest, not because the budgets were big.
If you want to try it, start with the room you use most and the move that costs least. Empty it, clean it, and move one big piece. Then paint one wall. Then go thrifting with a list and a ceiling. The readers in this collection all started the same way, and their after photos are the proof. For a matching set of reader transformations, these reader before-and-after furniture makeovers show the same thrift-and-paint method applied piece by piece.
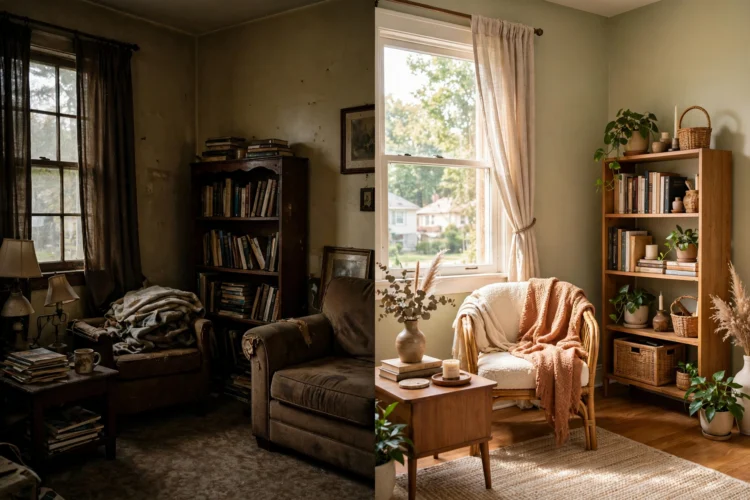
A small budget is not a limit on a makeover. It is a filter, and it keeps only the changes that matter. Paint one wall, find one solid thrifted piece, and move the furniture until the room makes sense. Take the before photo today. The after photo is one weekend away.