Physical Address
304 North Cardinal St.
Dorchester Center, MA 02124
Physical Address
304 North Cardinal St.
Dorchester Center, MA 02124

A scuffed dresser, a dated dining table, a tired bookshelf: these twelve makeover walkthroughs show the starting point, the process, and the finished result, so you can judge which project fits your skills.
A furniture makeover before and after is the most satisfying kind of home project, because the change is visible in a single photo. These before and after furniture makeovers follow a pattern that readers use again and again: find a solid piece with good bones, fix what is broken, and change the finish so it fits the room it will live in. Each walkthrough here describes a common starting point, the process that transforms it, and the result you can expect, so you can judge which project matches your skills and your weekend. Treat these as illustrative examples of approaches that work, not as claims about any one person’s home, and pick the project whose starting point looks most like the piece you already own.
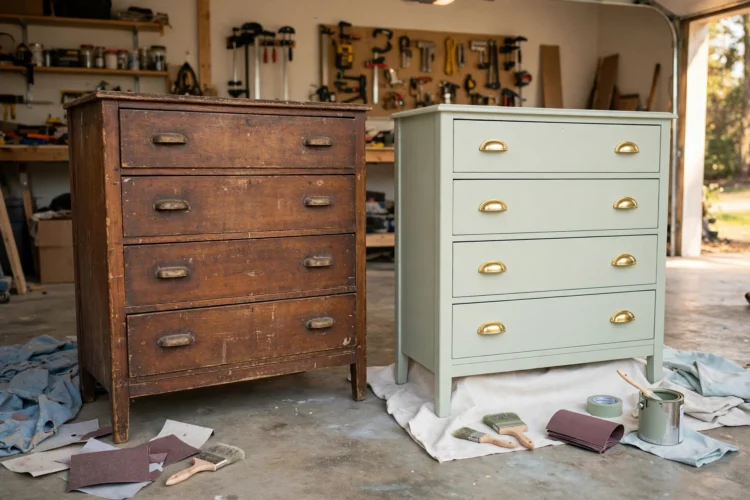
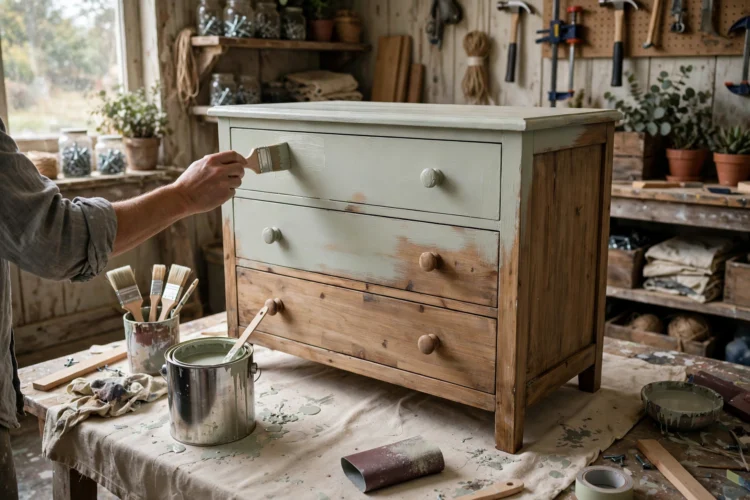
The starting point is familiar: a solid wood dresser from a thrift shop, with scuffed edges, dated brass pulls, and drawers that stick. A chalk paint furniture makeover is the forgiving route here, because chalk paint grips old varnish with light sanding and hides small scratches in two coats. The process runs like this: clean the piece with sugar soap, sand lightly with 120 grit, wipe off the dust, then brush on the first coat and let it dry fully before the second. A clear wax or a matte sealant on top protects the finish from daily use.
The result is a dresser that reads as a new piece of furniture, especially once the old pulls are swapped for simple black or ceramic knobs. The trick that makes the difference is painting the drawer interiors a lighter color, which makes the piece feel finished every time a drawer opens. For more thrift shop finds worth the effort, these thrift store furniture flips worth the effort cover what to look for before you buy.
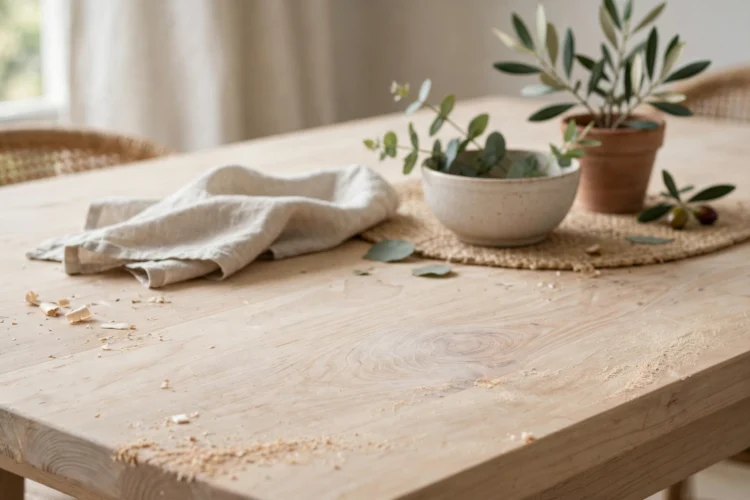
Orange varnish is the giveaway of a dated dining table, and sanding it back to raw wood is the fix. The starting point is usually a solid top with a thick glossy finish and legs that are still sound. The process takes patience: start with 80 grit to cut through the varnish, move to 120, then finish with 180 for a smooth surface that takes oil evenly. Always sand with the grain, and wipe the dust off between grits so the next pass does not scratch the surface you just smoothed.
The result is a pale, matte top that suits almost any dining room, and a hard wax oil finish protects it from plates and spills without the plastic shine of varnish. If the legs are a different wood, paint them a soft black or deep green while the top stays natural, since the contrast hides the mismatch and gives the table a designed look. A table like this anchors a room for years, which is why it is one of the most popular thrift store furniture flips.
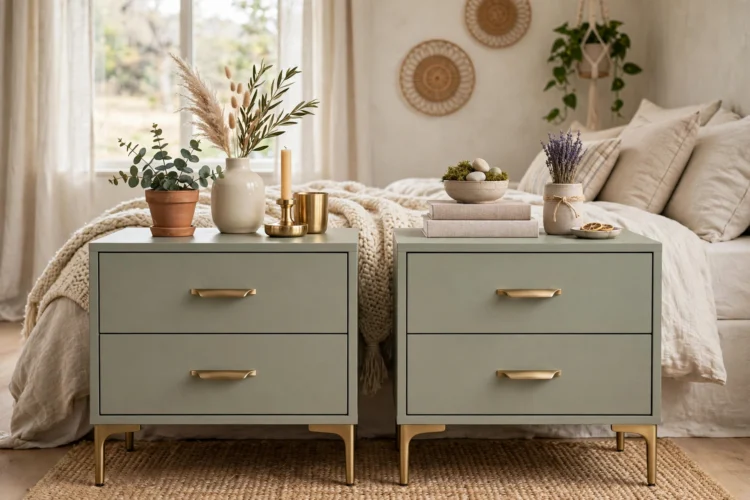
A pair of matching nightstands is the perfect first furniture makeover before and after project, because the pieces are small and the result is easy to see. The typical starting point is a pair with water rings on top, loose handles, and a finish that has yellowed with age. The process is simple: remove the hardware, fill any chips with wood filler, sand the tops smooth, and paint the bodies in a color that matches the bedding. A single accent, like a brass pull or a lined drawer, lifts the pair from plain to finished.
The result works because the two pieces match, and matching pairs are rare in thrift shops, so finding one is worth acting on. The same approach works for a DIY dresser makeover, where painting the carcass and replacing the knobs gives a large piece the same fresh start. Keep the makeover light: one color, one new hardware style, and a clean top are all a bedroom needs.
A plain flat pack bookshelf looks temporary, but a few cheap additions make it look built in. The starting point is a tall open shelf with visible screws and thin backing. The process: fix a strip of trim along the front edges, add a simple crown at the top, paint the whole unit the same color as the wall, and replace the thin backing with a sturdier board. If the shelf sits against the wall, add a small bracket at the top so it cannot tip, which is essential in homes with children.
The result reads as fitted furniture, especially when the paint matches the wall and the shelf is styled with books and a few objects rather than filled to the brim. The trim is the key detail, since it hides the flat pack edges that give the piece away. For a fuller weekend plan, these weekend furniture makeover projects under two days include built-in style shelving alongside other quick wins. Style the shelves with books standing and stacked in turns, and leave some empty space, since a shelf that breathes looks more expensive than a shelf that is packed.

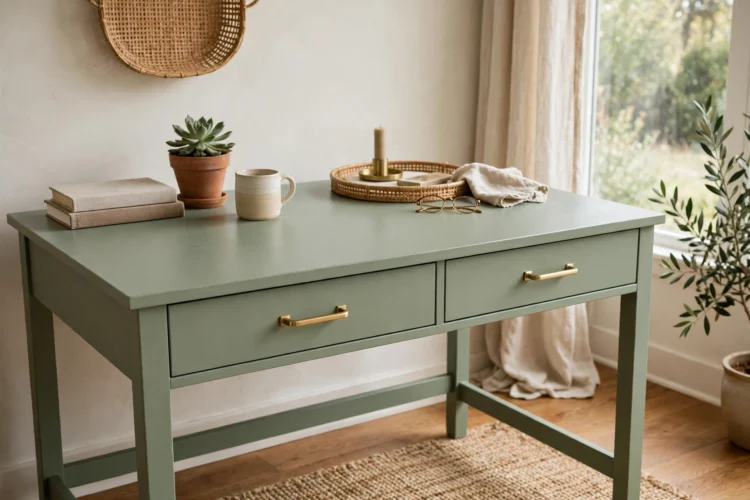
Laminate furniture gets thrown away far too often, because people assume paint will not stick to it. It will, with the right prep. The starting point is a laminate desk with chipped edges and a color that dates the room. The process: clean it well, sand lightly with 180 grit to give the surface a key, wipe it down, then apply a bonding primer before the top coats. Two thin coats of primer and two thin coats of paint beat one thick coat every time, since thick paint peels on laminate.
The result is a desk that looks like painted wood, especially with new handles and a felt pad under the keyboard. Touch up chips on the edges with a small brush and the same paint, and keep a spare tin for future scuffs. Upcycled furniture ideas like this one save money and keep solid pieces out of landfill, and a desk is a good place to start because it gets used every day, so the improvement is visible constantly. If the desktop is badly damaged, a sheet of peel-and-stick vinyl or a thin plywood top glued over it gives a fresh surface without replacing the whole desk.
A wooden rocking chair with a sagging seat is a classic makeover candidate, because the frame is usually sound even when the upholstery is not. The starting point is a chair with a torn seat pad, wobbly joints, and a finish dulled by years of use. The process: tighten the joints with wood glue and a clamp, sand the frame, and stain or paint it. Then replace the seat pad, using the old pad as a template for the new foam and fabric, and staple the fabric underneath so the staples never show.
The result is a chair that rocks smoothly and looks like it belongs in a nursery or a reading corner again. Choose a hard wearing fabric in a pattern that hides small marks, and pick a stain that matches the other wood in the room. A rocking chair makeover is slower than a paint job, but it teaches the core skills of furniture repair, and the finished chair gets used daily, which is the best test of any makeover.

A coffee table with a scratched top is a good candidate for a tile makeover, because tile hides damage completely and adds a surface that shrugs off hot mugs. The starting point is a sturdy table with a flat top and legs that are still solid. The process: sand the top lightly, spread tile adhesive with a notched trowel, lay the tiles with small spacers, let it set, then grout and seal. Small square or hexagonal tiles suit a coffee table best, since they need fewer cuts around the edges.
The result is a table that looks custom made, especially with a handmade style tile in a soft color. The grout lines are the detail to watch: wipe them clean before they dry, and seal them once cured so coffee stains do not settle in. A tile top also adds weight, which stops a light table from sliding across the floor. For more ways to revive dated pieces, these spray paint makeover ideas for dated decor cover the fastest finish of all.

The boldest project in this set starts with a solid wardrobe whose doors are plain, heavy, or damaged. The process: remove the doors, cut a panel from the center of each one, and fit glass or cane webbing in its place, then paint the carcass a light color and add a battery powered LED strip inside. The glass changes the wardrobe from a dark box into a display, which suits a guest room or a dressing area where the contents are worth showing.
The result needs tidy contents to work, so this makeover pairs well with matching hangers and a few storage boxes. Cane webbing is the safer choice if you prefer the contents hidden, since it lets light through while blurring what is inside. The same idea applies to a dresser, where swapping a solid drawer front for a framed panel changes the whole piece. For more dresser specific ideas, these upcycled dresser ideas beyond the bedroom show how far one piece can go. A wardrobe makeover like this one is the most work in this list, and it is also the one that changes a room the most.

Every makeover above follows the same rule: start with a solid piece, fix what is broken, and change only the finish. A good frame, a sound top, or a sturdy carcass is worth more than a perfect surface, because surfaces can be sanded, painted, or tiled. Before you buy your next piece, check the joints, open the drawers, and sit on the chair. If the bones are good, the before and after will take care of itself.