Physical Address
304 North Cardinal St.
Dorchester Center, MA 02124
Physical Address
304 North Cardinal St.
Dorchester Center, MA 02124

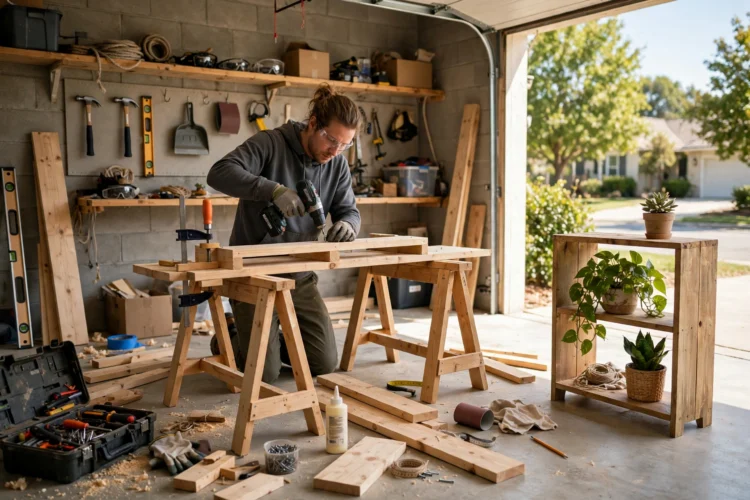
The best first project is one where a small mistake still looks good. These eleven builds forgive wobbly cuts, uneven paint, and rough edges, so your first attempt still earns a place in the house.
First-time DIYer projects should forgive you. A wobbly cut hides under paint, an uneven edge disappears behind a plant, and a rough joint is covered by a cushion. That forgiveness matters, because the first project is not really about the object. It is about learning to measure, cut, and finish without fear, and about ending the weekend with something that looks good enough to keep. The eleven projects below are chosen for exactly that reason. Each one uses basic tools, cheap materials, and techniques that a first timer can learn in an afternoon. Easy DIY projects for beginners work best when the first build is useful, so start with the one that fits your home, and let the skills build from there.
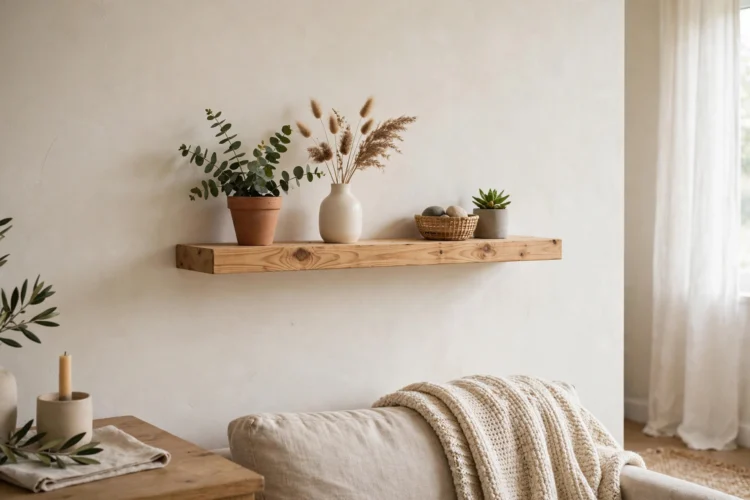
A floating shelf is the classic first project because it is one board, two brackets, and a level. Buy a board cut to length at the hardware shop, which removes the hardest step for a beginner, then sand the edges smooth and finish it with oil or paint. Fix the brackets to the wall studs or use proper wall plugs for plasterboard, and check with a level before you tighten anything. A shelf that is level looks professional, while a shelf that is off by a few degrees looks wrong from across the room, so take your time on this one step.
The result is a shelf that holds books, plants, or a row of framed prints, and it teaches the three skills every later project needs: measuring, drilling, and leveling. For more shelf styles to try once the first one is up, these floating shelf styles you can build yourself range from simple boards to boxed designs. Start with the simple one, hang it well, and the next shelf will feel easy.
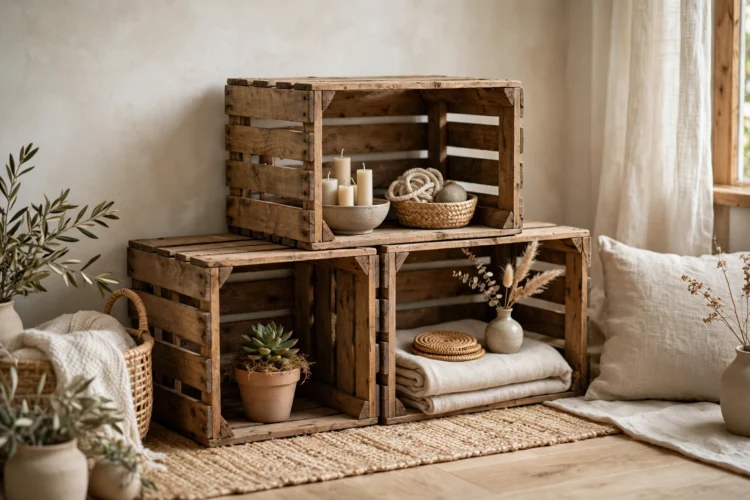
A wooden crate is a box, and a box is the most forgiving shape in woodworking. The project uses five boards or a few lengths of pallet wood, some screws, and wood glue. Cut the boards to the same length, screw them into a simple frame, and add a bottom. If the cuts are slightly uneven, sand the edges and the crate still looks rustic, which is the point. A crate works as a toy box, a shoe store by the door, or a planter on the balcony, and stacking two or three makes a shelf unit without any extra work.
Finish the crate with oil to show the wood, or paint it a color that matches the room. Add small castor wheels if it needs to move, or rope handles if it needs to be carried. These first DIY project ideas work because the crate is useful even when it is imperfect, and an imperfect crate that holds shoes is better than a perfect plan that never gets built. Once you have built one crate, you have learned to cut, join, and finish, which are the same skills behind a bookshelf or a bench.
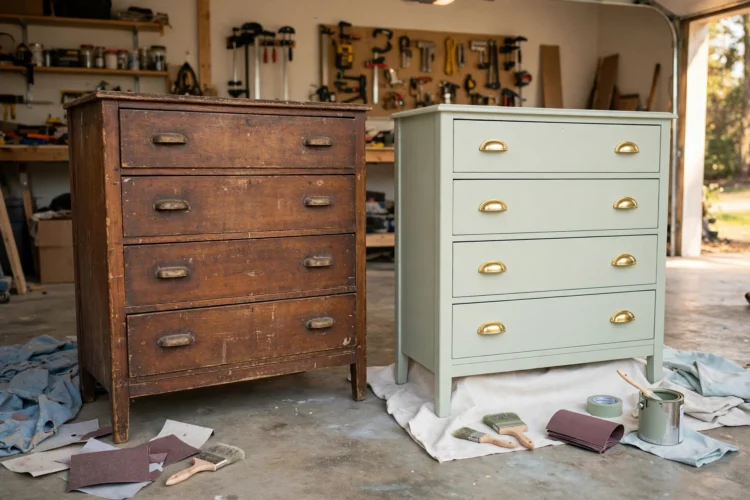
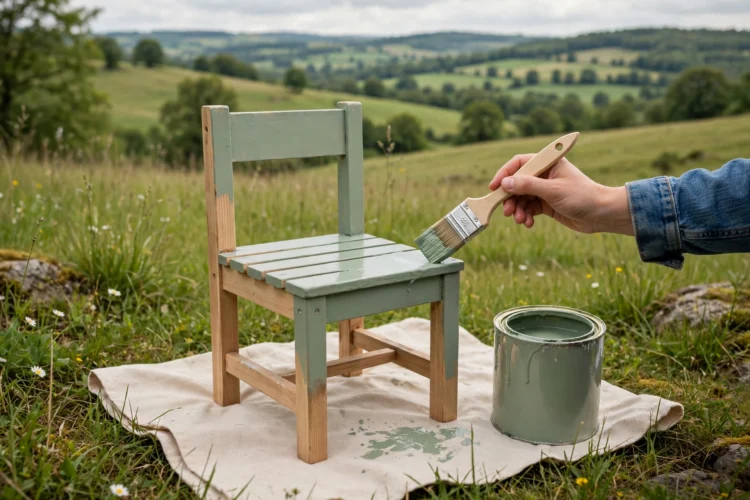
Painting a small piece of furniture is the best way to learn finishing, because the skills transfer to every later project. The starting point is a small stool, a side table, or a chair with a sound frame and a tired finish. Clean it, sand it lightly, wipe off the dust, and apply two thin coats of paint with a good brush. Thin coats dry faster, drip less, and look smoother than one thick coat, and a light sand between coats gives the smoothest finish of all.
The result is a piece that looks new, and the process teaches the habits that matter: prep before paint, patience between coats, and a clean brush at the end. Choose a color you love rather than a safe neutral, because a bold first project is more satisfying than a beige one. For a full guide to painting furniture, these chalk paint furniture projects for first-timers cover the most forgiving paint of all.
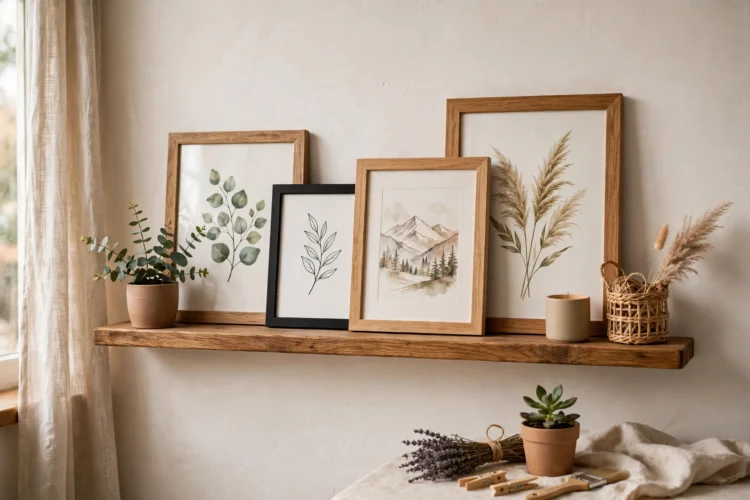
A picture ledge is a shallow shelf with a lip, and it lets you display art without hanging a single frame. The build is two boards: one flat board for the shelf and one thin strip for the lip, joined with glue and screws. Fix it to the wall with two brackets, level it, and lean your prints against it. The ledge forgives uneven frames and mixed sizes, because leaning art is supposed to look relaxed, and you can swap the prints whenever you like without new holes in the wall.
The result is a gallery wall that changes with the seasons, and it teaches measuring and leveling on a project where a small error is invisible. Paint it the same color as the wall for a quiet look, or a contrasting color to make it a feature. A picture ledge is also a good project for a hallway or a stair wall, where leaning art suits the narrow space better than hung frames.
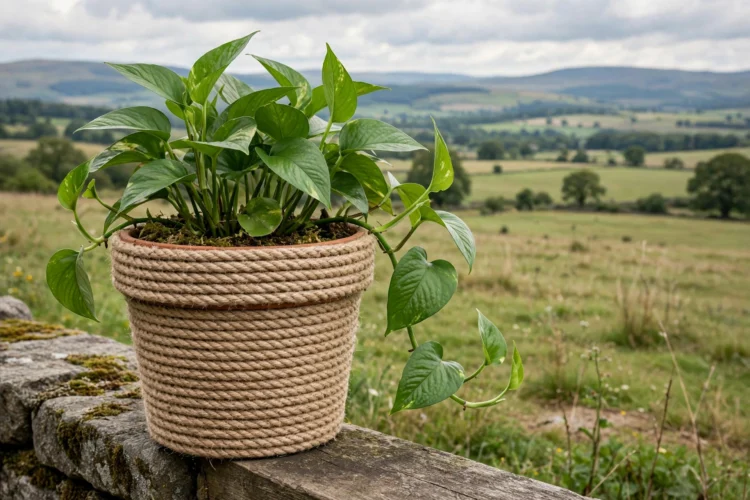
Some of the best simple home DIY for beginners use no tools at all, and a rope wrapped planter is the best of them. The project needs a plain pot, a length of jute rope, and a glue gun. Start at the bottom of the pot, glue the end of the rope in place, and wind upward in tight rows, adding a dab of glue every few turns. The rope hides every bump and wobble underneath, which is why this project forgives a first timer completely. A uneven row just looks handmade, and handmade is the look you want.
The result is a planter that suits a boho or coastal room and costs a fraction of a shop bought one. Use a plastic pot inside so the rope stays dry, and choose a rope thickness that matches the pot: thick rope for a large pot, thin rope for a small one. The same technique wraps a vase, a basket, or a lamp base, so one skill gives you several projects. If the glue gun feels unfamiliar, practice on a jam jar first, since a jar takes ten minutes and teaches the winding rhythm. This is a good evening project for a rainy night, and it needs no workshop at all.
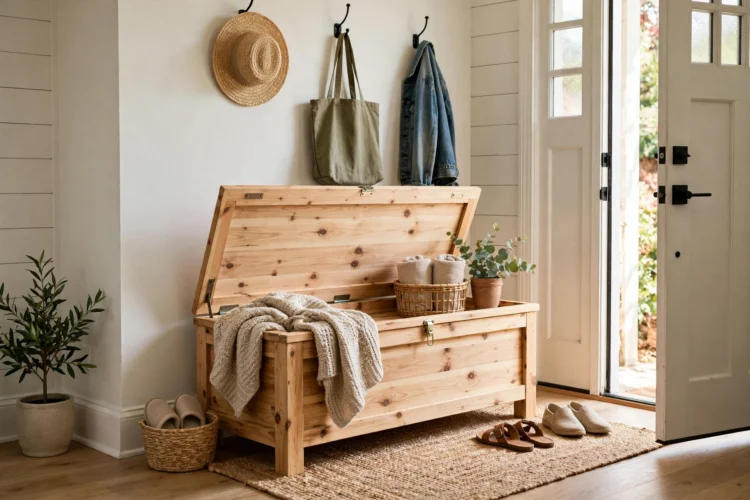
A storage bench is a crate with a lid, and it is the most useful of the beginner woodworking projects because it solves a real problem: shoes, toys, and blankets with nowhere to go. The build is a simple plywood box with a hinged lid, and the lid doubles as a seat when you add a cushion. Cut the panels to size, or have the shop cut them, then join them with screws and glue. A piano hinge along the back keeps the lid aligned, and a small chain or stay stops it from falling backward.
The result is a bench that sits in the entry or at the foot of the bed and earns its place every day. If the box is slightly out of square, the cushion on top hides it, and paint hides the rest. A storage bench is a bigger first project than a shelf, but it uses the same skills, and finishing it gives a beginner the confidence to try a bookshelf or a bedside table next. For more storage builds, these DIY storage bench plans for small spaces cover sizes from entry to bedroom.
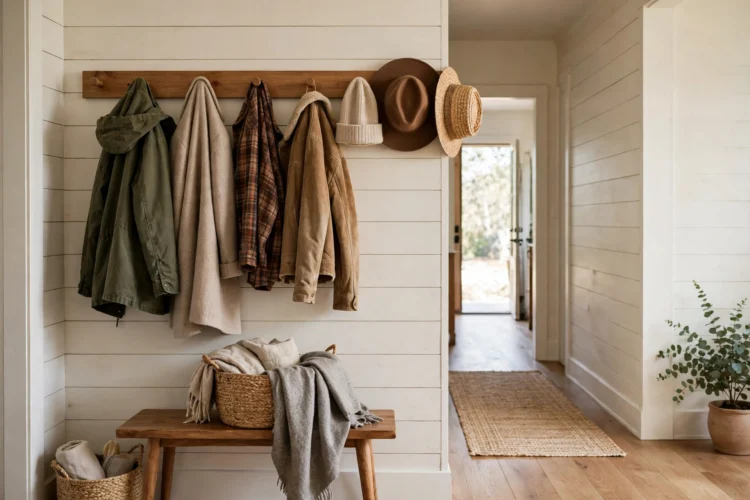
A peg rail is a board with wooden pegs, and it is the simplest wall project a beginner can build. The board is a length of timber, the pegs are dowels cut to size and glued into holes, and the whole rail fixes to the wall with two screws. Drill the holes at an angle so the pegs tilt upward, which stops coats from sliding off, and space the pegs about 20 centimeters apart so jackets have room. Sand everything smooth, finish with oil or paint, and hang it by the door.
The result is a tidy entry that costs very little and looks like a Shaker original, because the design is hundreds of years old and has never needed improving. If a peg is slightly crooked, it still holds a coat, which is the forgiveness that makes this a good first project. These no power tool DIY projects include other hand tool builds that pair well with a peg rail, if you want to keep building without buying a saw. For the full list, see these no-power-tool DIY projects for absolute beginners.
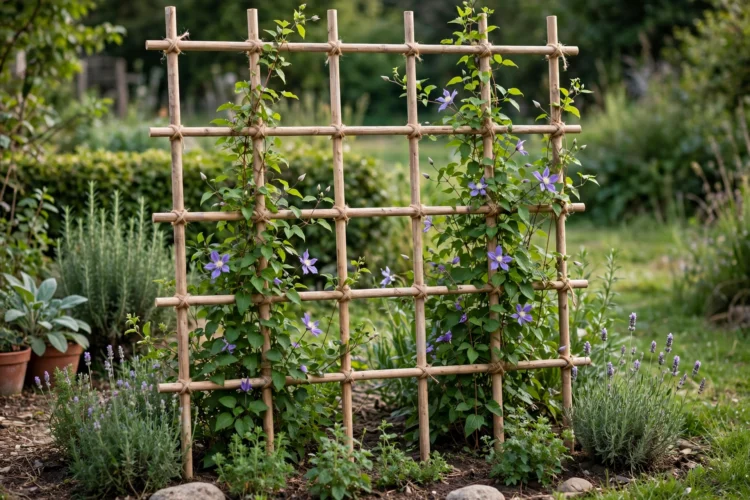
A garden trellis sounds advanced, but it is really a frame with a grid, and a beginner can build one in an afternoon. The frame is four lengths of dowel or thin timber joined at the corners, and the grid is twine tied in a simple crosshatch pattern. The twine forgives uneven spacing, since plants cover the grid within a season anyway. Fix the trellis to a wall with two brackets, or stand it in a planter as a free standing piece for climbing peas or beans.
The result is a garden feature that looks better every month as the plants grow over it, and the build teaches measuring, joining, and working outdoors, which suits a first project that does not need to be perfect. A trellis is also a good project to build with a child, since the twine work is safe and the result is visible quickly. Once the trellis is up, the next project could be a planter box or a potting bench, both of which use the same simple joints. For more builds that need only a drill, these beginner-friendly DIYs that only need a drill are a good next step.
Pick the project that fits your home and your weekend, and start with the tools you already own. A shelf, a crate, or a peg rail each take an afternoon, and each one leaves you with a useful object and a new skill. The first project does not need to be perfect. It needs to be finished, and it needs to be yours.