Physical Address
304 North Cardinal St.
Dorchester Center, MA 02124
Physical Address
304 North Cardinal St.
Dorchester Center, MA 02124

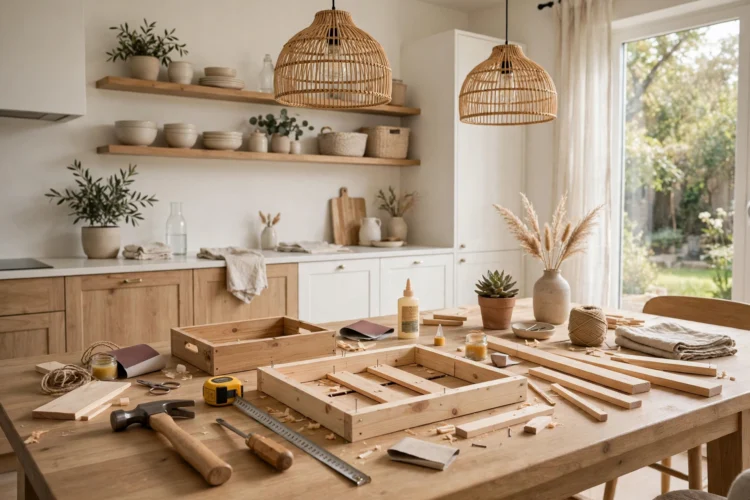
Ten beginner projects that need nothing more than hand tools and pre-cut materials, built for renters and anyone without a workshop.
You do not need a workshop full of power tools to make something useful for your home. No-power-tool DIY projects start with hand tools you probably already own: a screwdriver, a hammer, sandpaper, and a tape measure, plus materials that arrive pre-cut from the hardware store. That combination opens the door for renters, apartment dwellers, and anyone who would rather build on a kitchen table than a garage bench. The ten projects below each take an afternoon or less. None of them needs a saw, a drill, or a sander. Pick the one that solves a problem in your home, gather the supplies, and start building.
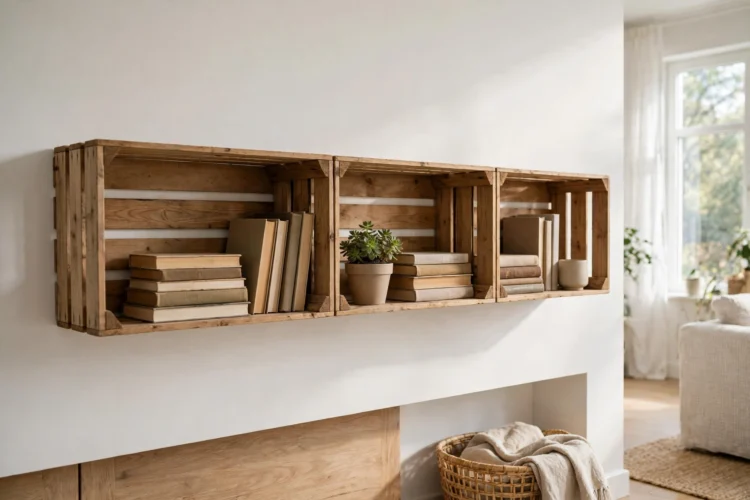
A wooden crate becomes a shelf with nothing more than a screwdriver and four screws. Buy a solid pine crate from a craft store or hardware store, check that the slats sit tight, and sand any rough edges with 120-grit sandpaper until the surface feels smooth under your palm. Hold the crate against the wall with the open side facing out, mark the screw holes through the back slats with a pencil, and drive two screws into wall studs or wall anchors. A 24-inch crate holds books, jars, or folded towels, and two crates stacked vertically make a small bookcase. Paint the inside a soft color to match the room, or leave the wood bare and seal it with clear wax. The whole job takes under an hour, and the shelf comes down just as fast when you move. If you like the look of open storage, these open shelving kitchen ideas show how the same simple-box approach works at a bigger scale.
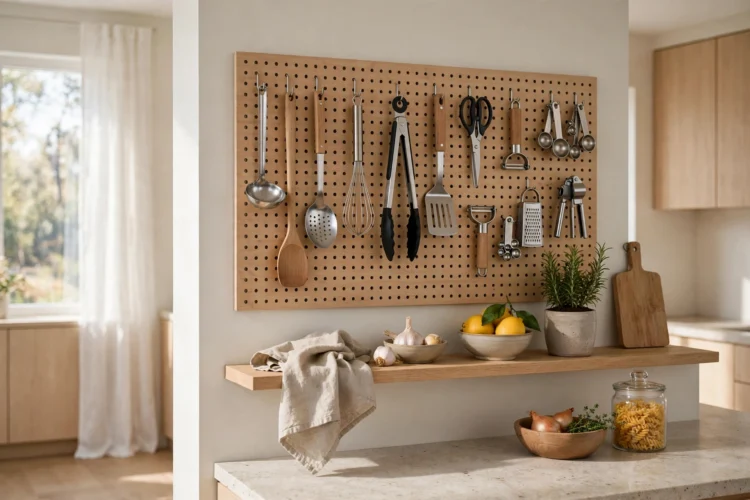
Pegboard turns a blank wall into storage without a single cut. Buy a pre-cut pegboard panel, most hardware stores sell them in 2-by-4-foot sheets, plus a pack of hooks and two wall screws. Space the board off the wall with small wood blocks behind each corner so the hooks have room to seat. Hang it in a kitchen for measuring cups and utensils, in a hallway for keys and dog leashes, or above a desk for scissors, tape, and chargers. Paint the board before you hang it: one coat of primer and two coats of wall paint make it look built in rather than bought in a hurry. Rearrange the hooks whenever your needs change, which is the whole point of pegboard. It holds its shape for years and leaves only two small holes when you take it down.
A plain cushion gets a new look from a tea towel, a pillow insert, and fabric glue. Choose a tea towel with a pattern you like and a pillow insert one inch smaller than the towel when folded. Lay the towel face down, place the insert in the center, fold the towel edges over it like wrapping a gift, and secure each fold with fabric glue or iron-on hem tape. Press the seams flat and let the glue cure for a full day before you use the cushion. The cover slips off for washing if you leave one fold unglued and tuck it in place instead. This is one of the easiest DIY projects without power tools because the only skill it needs is folding neatly. Make two or three in matching colors and your sofa looks restyled for the price of a few tea towels.

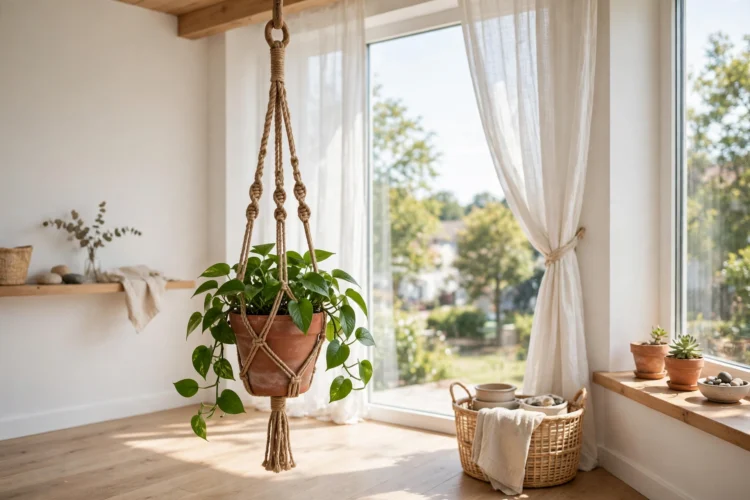
A plant hanger needs a pot, a length of cotton rope, and a metal ring. Cut four equal lengths of rope, thread them through the ring, and knot them together just below it. Set the pot on a table, bring the ropes up around it, and tie a second set of knots where the ropes meet the rim. Space the knots evenly so the pot sits level when you lift it. Hang the ring from a ceiling hook or a wall bracket rated for the weight of a watered plant, which runs heavier than most people expect. A 6-inch terracotta pot with soil and water weighs around five pounds, so test the hook with a gentle pull before you walk away. Macrame knots look fancy, but four plain knots hold the same pot just as well.
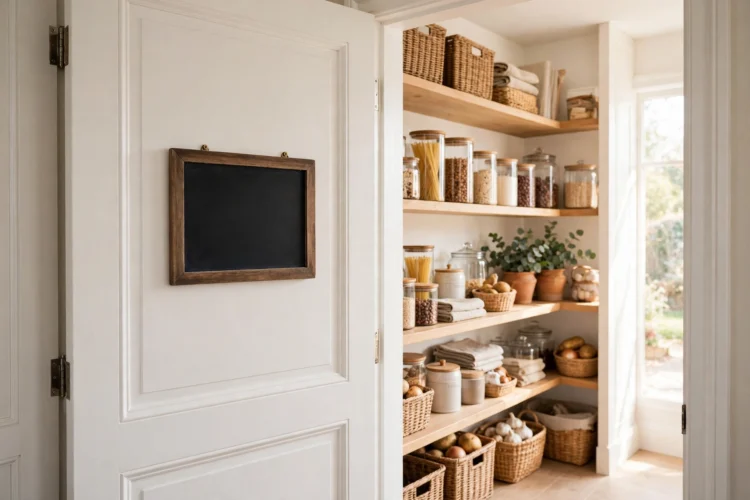
A chalkboard label board keeps a pantry or spice shelf readable at a glance. Buy a small pre-cut plywood panel, a tin of chalkboard paint, and a pack of chalk markers. Sand the panel lightly, wipe off the dust, and brush on two thin coats of chalkboard paint, letting each coat dry for at least two hours. Mount the board inside a cabinet door with removable adhesive strips so you can take it down to rewrite it. List what lives on each shelf in neat rows, and update the list whenever you restock. The board also works on a fridge, a laundry room wall, or the side of a kitchen cart. For more ways to keep a small kitchen tidy, these tiny kitchen storage ideas you can install this weekend pair well with a labeled pantry.
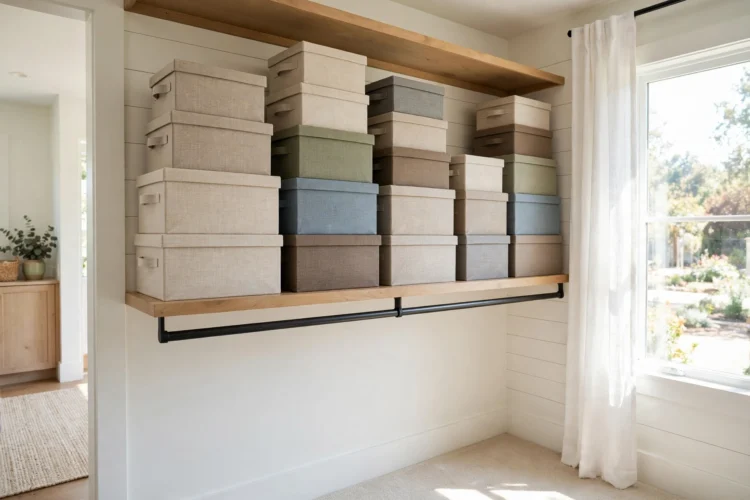
A plain cardboard box turns into storage that looks store-bought with fabric, glue, and a pair of scissors. Pick a sturdy box, a half yard of cotton fabric, and a bottle of white craft glue thinned with a spoonful of water. Cut the fabric two inches larger than the box on every side, brush glue onto one face of the box, press the fabric on, and smooth out bubbles from the center outward. Fold the extra fabric over the rim and glue it inside, then cover the bottom with a felt pad. Let the box dry overnight before you load it. These boxes hold scarves, craft supplies, cables, or kids toys, and they stack neatly on a closet shelf. Use the same fabric on two or three boxes and a messy shelf suddenly looks planned.
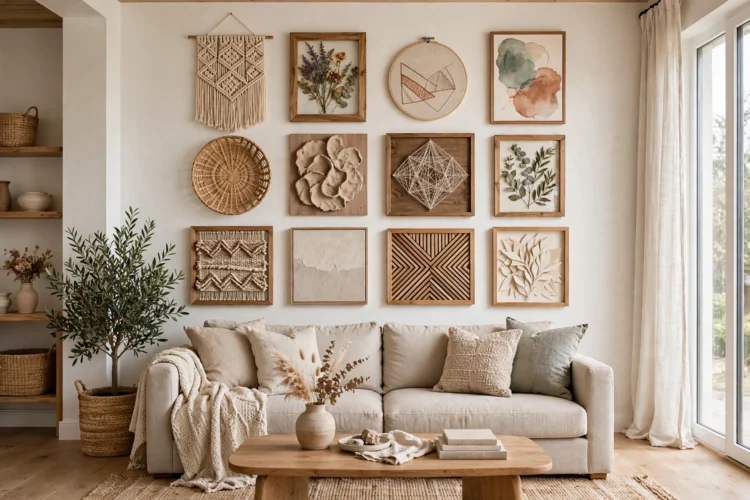
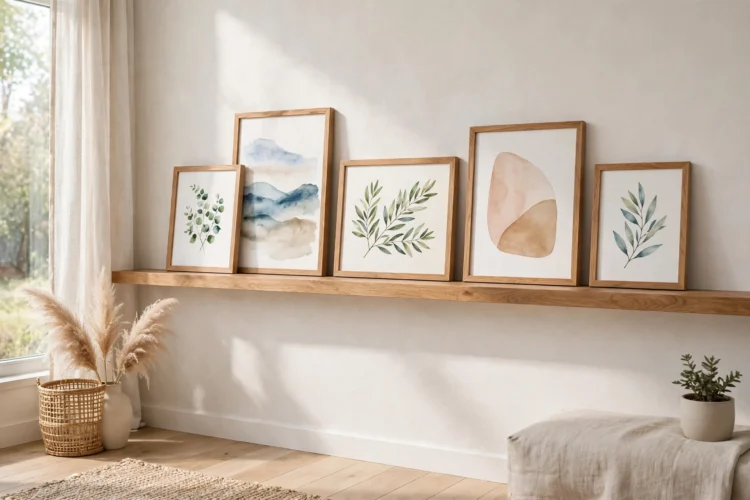
A picture ledge is a shallow shelf that holds framed prints without a single nail through the frame. Ask the hardware store to cut a pine board to the length you want, usually 24 to 36 inches, and buy a thin strip of wood for the front lip. Glue the lip strip along the front edge of the board with wood glue, clamp it with painter’s tape while it dries, and sand the joint smooth. Mount the board with two L-brackets screwed into studs, then lean your frames against the wall on top of it. The lip stops frames from sliding off, and you can swap prints in seconds without touching a hammer. This kind of flexible display works for photos, small art prints, and kids drawings. See how layered frames and art come together in these gallery wall ideas for a personal living room if you want to grow the ledge into a full wall display.
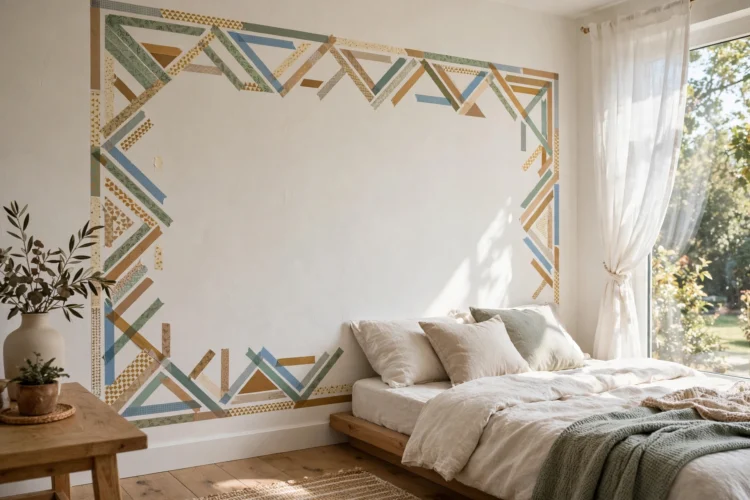
Washi tape makes a bold wall pattern with zero paint and zero damage, which makes it a renter favorite. Choose two or three tape colors that sit well together, a level, and a pencil. Mark a light pencil line where the border will run, then press the tape along the line in straight sections, smoothing each piece with your thumb as you go. Geometric patterns work best: stripes, chevrons, or a simple grid of squares. The tape peels off cleanly from most painted walls, so you can change the design when the season changes. Keep the border to one wall, or frame a doorway, a mirror, or a desk area. A plain room gains a focal point in under an hour, and the whole project costs less than a single can of paint. This is the most renter friendly DIY of the ten, since the tape peels off without a mark. If you enjoy wall treatments that add depth, these wood panel accent wall ideas show the next step up when you are ready for something permanent.
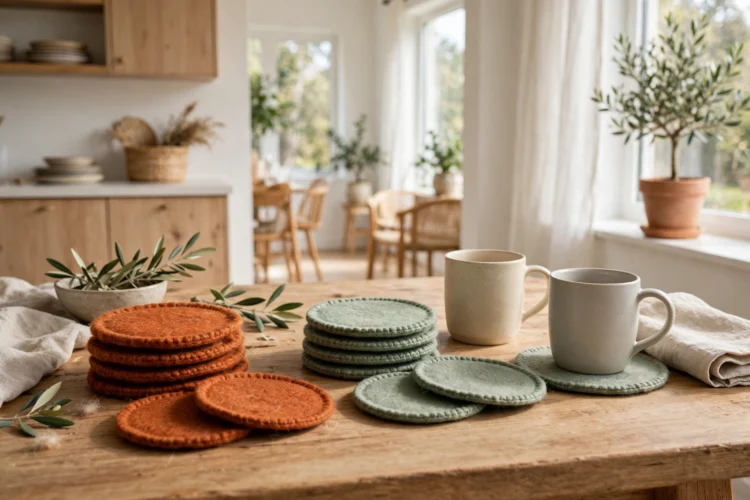
Felt coasters are a half-hour project that teaches you how to cut clean curves by hand. Buy two sheets of 3mm wool felt in colors that match your mugs and table, plus a sharp pair of fabric scissors. Trace a mug or a 4-inch circle template onto the felt with a pencil, cut slowly along the line, and stack two layers together with a dot of fabric glue in the center. Press the layers under a heavy book overnight so they bond flat. A set of six coasters protects a wood table from rings and adds a small pop of color to a coffee table. Cut a second set in a different color and you have a ready-made housewarming gift. No sewing, no cutting machine, and no mess beyond a few felt scraps to sweep up. These hand tool projects need nothing more than scissors and glue.
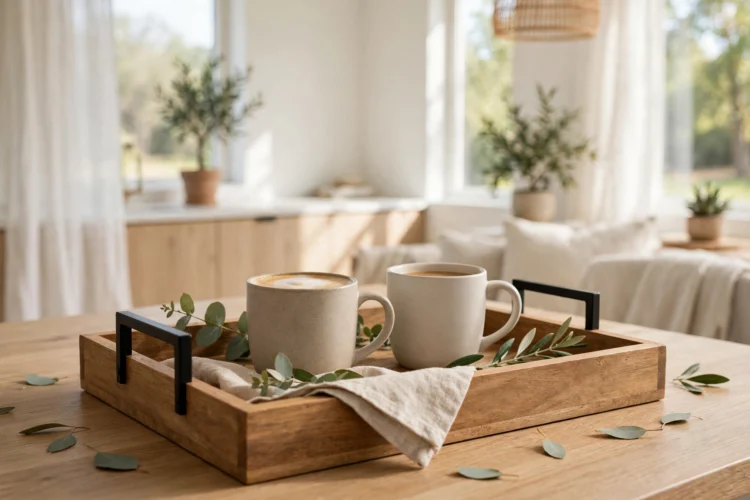
A wooden tray starts as a pre-cut board and two cabinet pulls from the hardware store. Choose a board around 18 by 12 inches, sand the edges until they feel smooth, and rub in a coat of food-safe mineral oil if you plan to serve drinks on it. Mark the handle positions near each short end, drill pilot holes by hand with a small awl if the board is soft pine, or ask the store to pre-drill them when you buy the pulls. Screw the handles on from underneath so the screw heads stay hidden, then test the tray with two full mugs before you carry it across the room. The tray works for breakfast in bed, for corralling remotes on a coffee table, or as a base for candles and a small vase. Stain it dark for a formal look, or paint it white and let the handles do the talking.
Start with the project that fixes something you notice every day. A shelf that holds the books piled on the floor, a tray that stops mugs from marking the table, a label board that ends the pantry hunt: each one is small, but each one makes the house work a little better. Once you finish the first, the second goes faster, because your hands already know the moves. These beginner DIY projects prove you can change a room with hand tools alone.