Physical Address
304 North Cardinal St.
Dorchester Center, MA 02124
Physical Address
304 North Cardinal St.
Dorchester Center, MA 02124

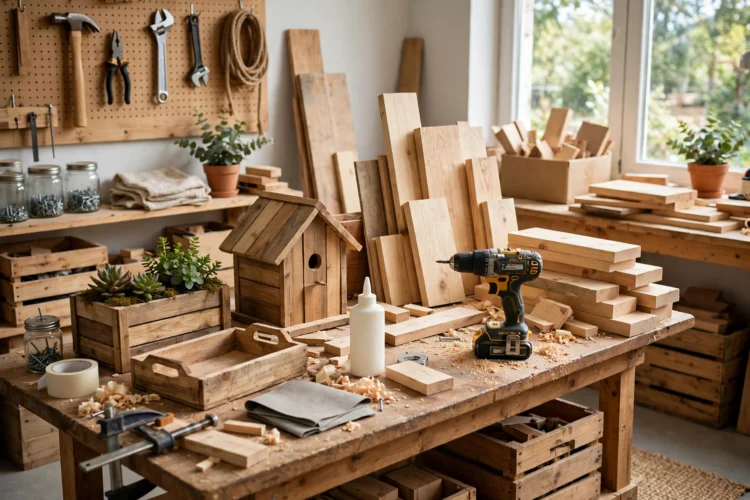
Ten beginner projects that need nothing more than a drill, teaching pilot holes, screws, and mounting through pieces you will actually use.
A drill is the first power tool most people buy, and it is also the only one many projects need. It drills holes, drives screws, and mounts things to walls, which covers a surprising amount of home improvement. These easy diy projects with a drill each teach one skill and end with a finished piece you will use.
Start with the basics. A pilot hole is a small hole drilled before the screw, and it stops wood from splitting. A countersink bit lets the screw head sit flush. Practice on scrap wood first, and keep a firm grip with both hands when the bit bites.
Pick a drill that fits the work. A compact 12 volt drill driver handles these projects well and stays light in the hand, while an 18 volt model suits thicker wood and longer screws. A basic bit set with twist bits, spade bits, and a driver bit covers everything below, and a spare battery keeps the work moving while the first one charges. One tool diy projects like these prove that a single drill covers a surprising amount of home improvement.
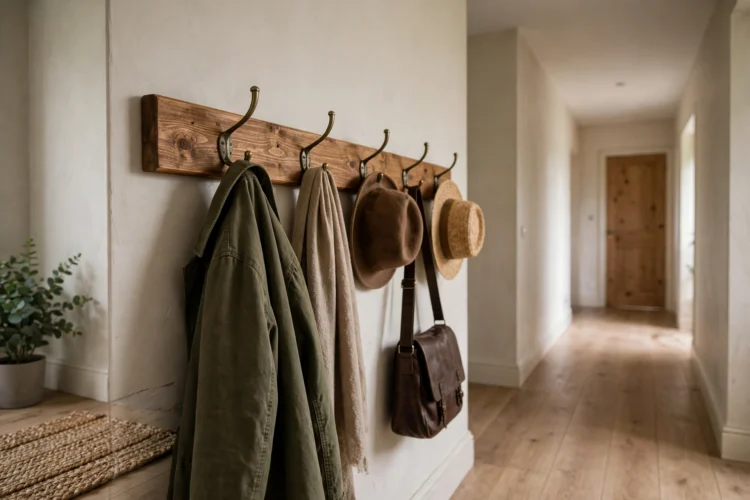
A coat hook rail is a board, three hooks, and six screws. Cut a board to fit the wall, sand the edges, and screw the hooks on from the front. Mount the board into studs with two screws, and it will hold coats, bags, and dog leashes for years.
Find the studs with a stud finder or by tapping the wall and listening for the solid sound. Mark the stud centers with painter tape before you drill, so the marks wipe off cleanly afterward.
This project teaches measuring, leveling, and driving screws into a wall, which are the three skills behind half of all drill projects for beginners.
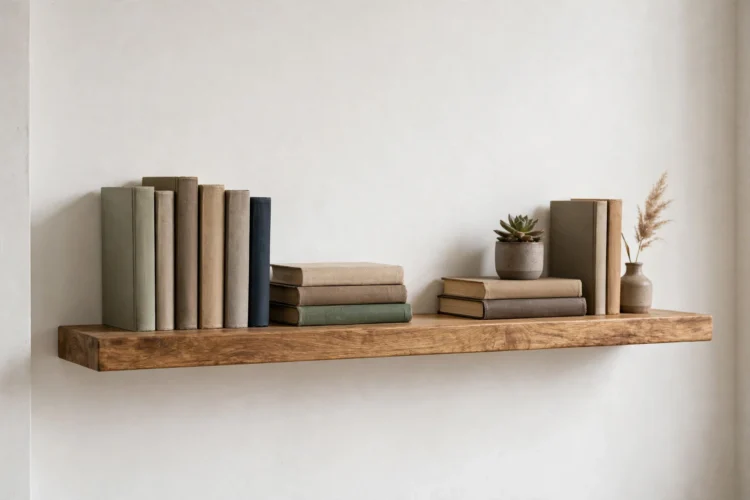
Floating shelves hide their brackets inside the shelf, so the shelf looks like it grows from the wall. A drill, a level, and a bracket kit are the whole tool list. The bracket screws into studs, the shelf slides over the rods, and a small set screw locks it in place.
The level matters more than the drill here. Check the bracket twice before you tighten it, since a shelf that is off by a few millimeters at the wall is off by a centimeter at the front edge.
For more shelf styles to try once the first one is up, these floating shelf styles you can build yourself range from simple boards to boxed designs.
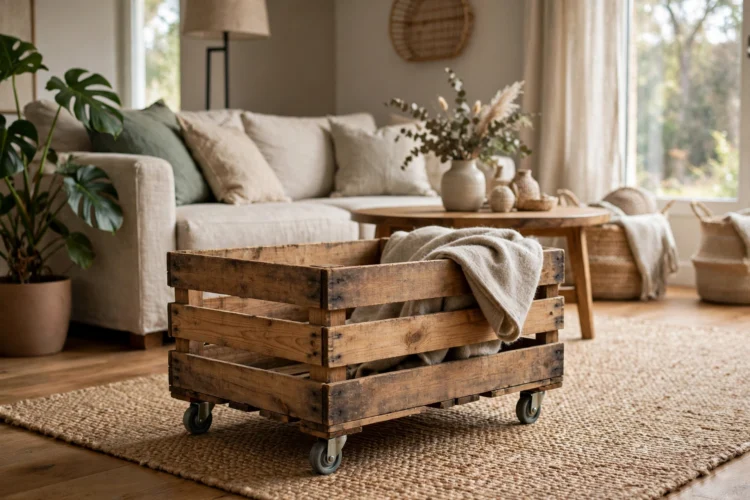
A crate on casters becomes a rolling toy box, a shoe bin, or a plant stand. Flip the crate over, mark the caster positions near the corners, drill pilot holes, and screw the casters on. Four casters rated for the load keep the crate rolling straight.
Pick casters with brakes if the crate will sit on a hard floor, since a rolling box on a smooth floor drifts across the room on its own. Two braked casters and two plain ones are the usual mix.
Crates are forgiving to drill because the wood is soft and the joints are simple. These DIY wooden crate projects offer more crate builds once this one is done.
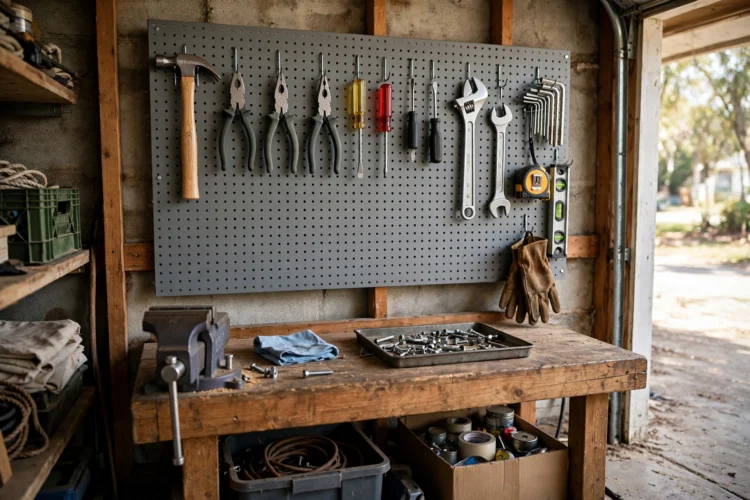
A pegboard panel turns a messy drawer into a visible wall of tools. Cut the panel to size, drill mounting holes at the corners, and screw it to the wall with spacers behind it so the hooks have room to seat. Standard pegboard hooks then hold hammers, pliers, and tape measures.
Mount it into studs or use wall anchors rated for the weight. A loaded pegboard gets heavy, and drywall alone will not hold it. Space the hooks so each tool has breathing room, and the board stays easy to read.
This project teaches wall anchors, which open the door to mounting almost anything. It is the same skill behind the floating shelf above.
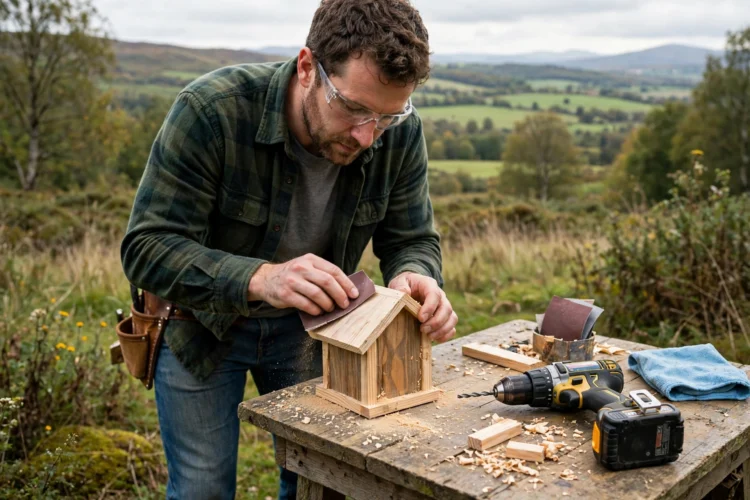
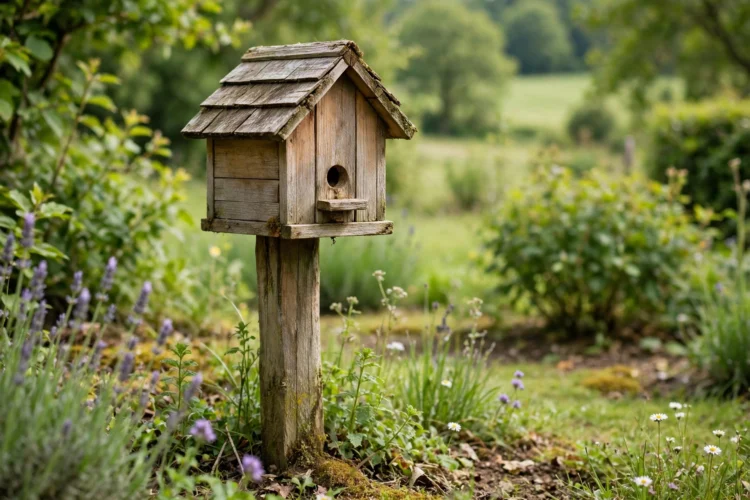
A birdhouse needs six boards, a drill, and screws, and nothing else. A birdhouse is one of the best first drill projects because the cuts are simple and the result hangs in the garden the same day. Cut the front, back, sides, floor, and roof, drill an entry hole with a spade bit, and screw the pieces together. A 1.5 inch entry hole suits chickadees and wrens, while a larger hole invites bigger birds that may push the smaller ones out.
Drill a few small drainage holes in the floor and leave the roof slightly overhanging so rain runs off. Skip paint inside the house, since birds prefer bare wood, and use exterior stain or paint only on the outside.
Mount the house on a pole or a tree at least 5 feet off the ground, facing away from the prevailing wind.
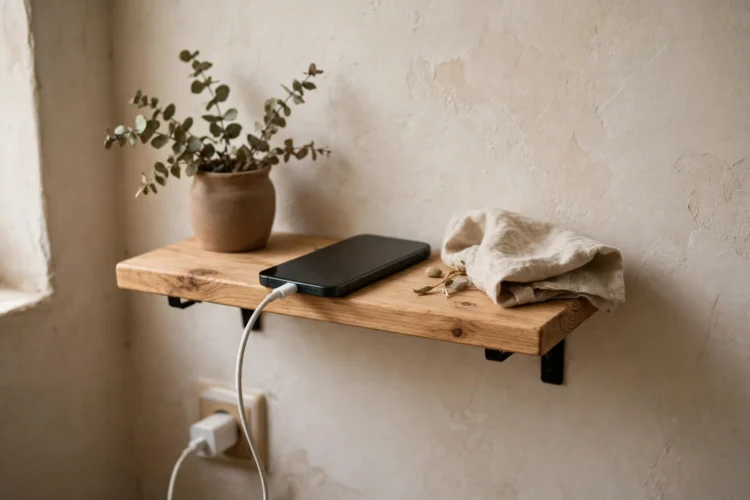
A small shelf with a cable hole keeps chargers off the counter. Cut a board to fit the space, drill a 1.5 inch hole near the back with a spade bit, and mount the shelf at counter height. Cables pass through the hole, and the devices sit on the shelf while they charge.
Sand the inside of the cable hole smooth so it does not fray cords. A rubber grommet pressed into the hole finishes the edge and protects the cable from the sharp wood rim. Mount the shelf near an outlet so the charger cable reaches without stretching across the counter.
This is a good first spade bit project because the hole is hidden at the back. Any rough edges stay out of sight, so the pressure is low.
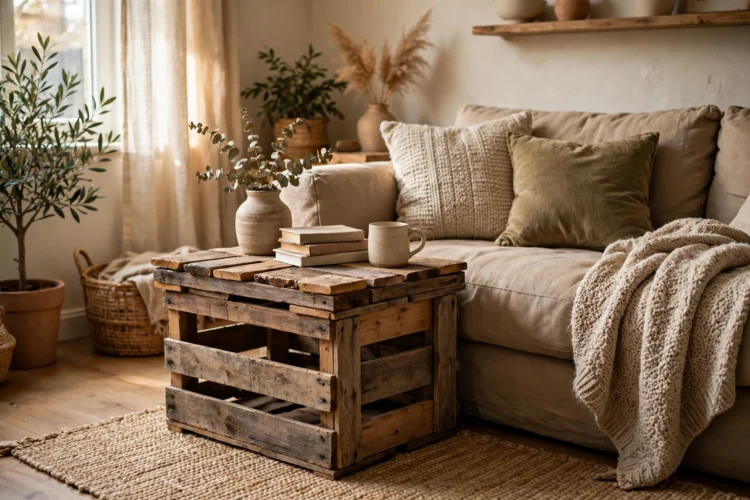
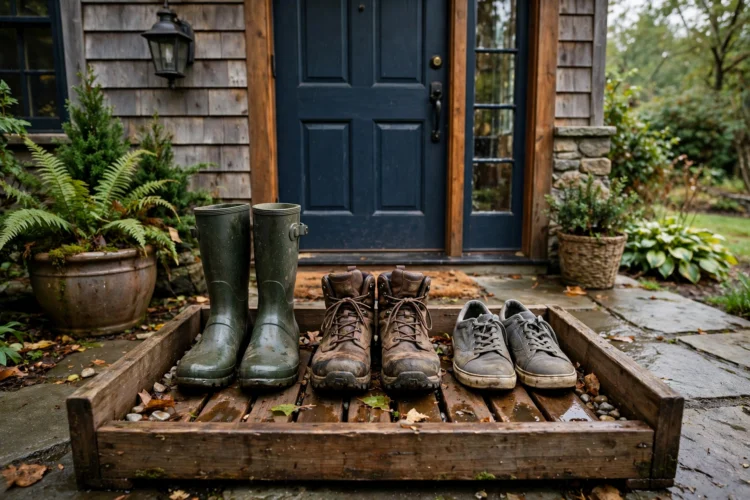
A boot tray is a shallow box that catches mud and water at the door. Cut pallet boards to length, screw them into a low frame, and add a plywood base. Drill drainage is not needed, since the tray is meant to hold water until you empty it.
Line the inside with a waterproof tray or a sheet of heavy plastic if the wood is raw. Seal the outside with exterior polyurethane so wet boots do not stain it. The tray teaches measuring, cutting to length, and screwing a frame square, which are core skills for bigger builds like the beginner woodworking projects you can build in a weekend.
Keep the tray near the door and it will quietly save the floor from a winter of wet footprints.
Every project above ends the same way. Sand the edges, wipe off the dust, and check every screw once more. A quick pass with sandpaper takes the sharp edge off a cut and makes the piece feel finished rather than rough. These beginner drill projects build on each other, so the second one always feels easier than the first.
Respect the drill. Clamp small pieces instead of holding them, keep the bit away from cords and fingers, and unplug or remove the battery before changing bits. A drill is safe when it is treated like a tool rather than a toy.
Once these feel easy, use up your offcuts on the scrap wood projects that use up your offcuts, or try a project with no power tools at all in these no-power-tool DIY projects for absolute beginners. The drill stays the same, and the skills keep stacking.