Physical Address
304 North Cardinal St.
Dorchester Center, MA 02124
Physical Address
304 North Cardinal St.
Dorchester Center, MA 02124

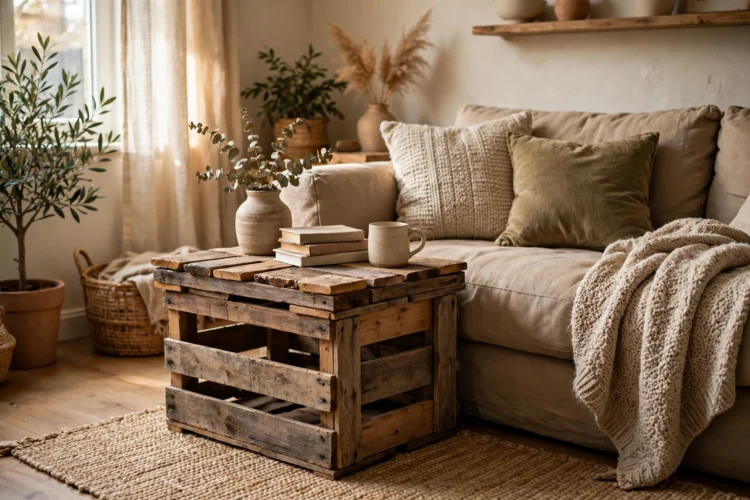
Twelve side tables built from crates, stools, salvaged tops, and other unexpected materials, with joinery notes so each one holds up to daily use.
A side table holds a book, a lamp, and a cup of coffee, and it does it all day without complaint. That simple job means almost any sturdy material can become one. These diy side table ideas use crates, stools, salvaged tops, and other finds, and each design below is built to survive daily use rather than just look good in a photo.
Before you build, check the height. A side table should sit level with the arm of the sofa or a couple of inches below it, usually 22 to 26 inches tall. A table that is too tall forces you to reach up for your coffee, and a table that is too short makes you stoop.
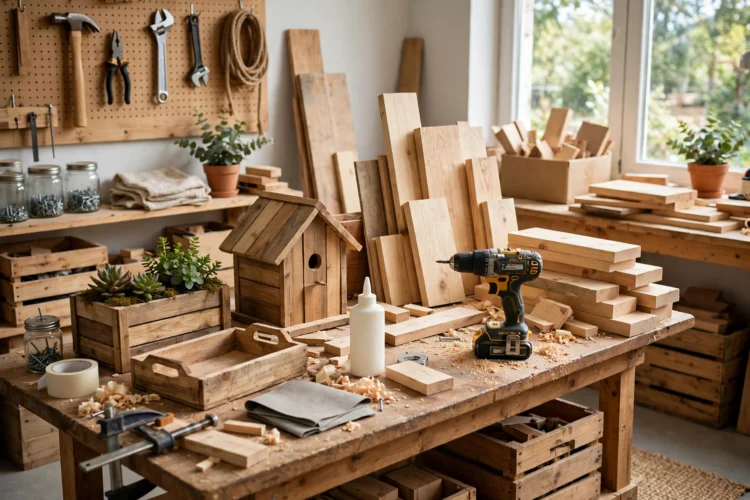
Gather the tools before you start. A tape measure, a drill, sandpaper, and wood glue cover most of these builds, and a square helps every cut stay true. Measure twice, mark the cut line with a pencil, and test the fit on scrap wood before you commit to the real piece.
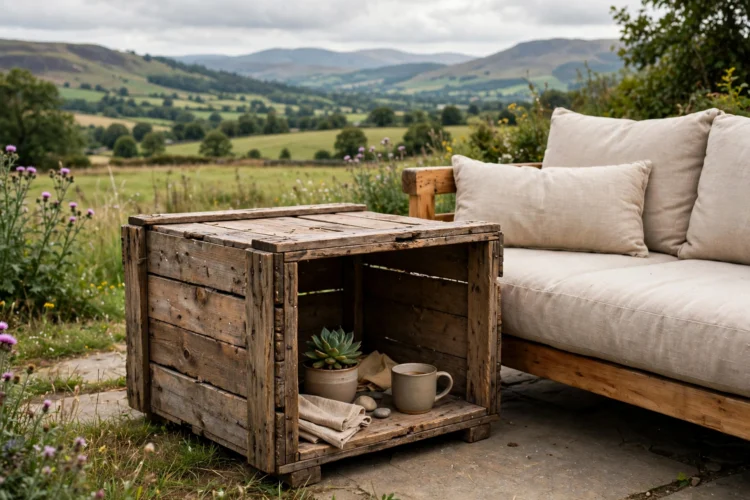
A crate side table is one of the easiest builds in this list. A solid wooden crate makes a side table with storage built in. Stand it on its side so the open face points outward, add short legs or small casters, and the crate becomes a table with a cubby for books. Sand the inside well, since rough crate wood snags pages and sleeves.
Check that the crate is square and the slats are tight. Loose slats rattle and weaken the table, so add a screw or two where the slats meet the frame. A coat of stain or paint ties the crate to the rest of the room.
Crates show up in plenty of builds, and these DIY wooden crate projects cover shelving and storage that match this table.
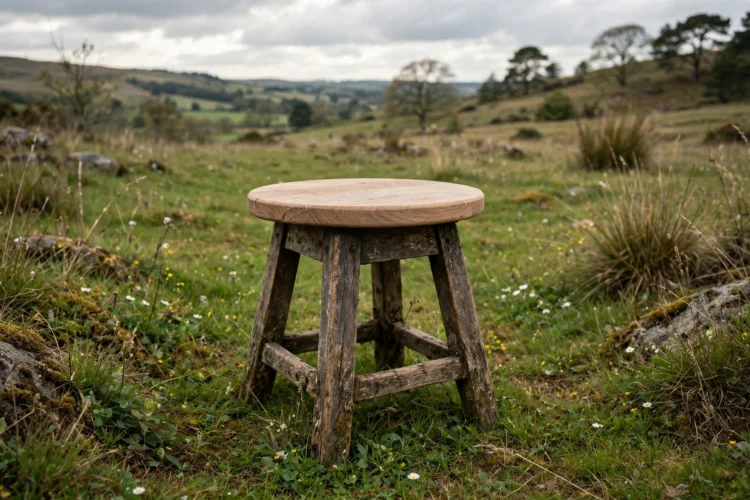
An old wooden stool is a side table waiting for a wider top. Remove the small seat, screw on a round or square top cut from plywood or a salvaged board, and the stool gains a usable surface. Round tops suit small rooms because they have no corners to catch a hip.
Attach the top with screws driven up through the stool frame, and add a dab of wood glue at each joint. The glue stops the small squeaks that screws alone sometimes leave behind.
Paint the legs and stain the top for a two-tone look that hides the fact that the two parts came from different pieces.
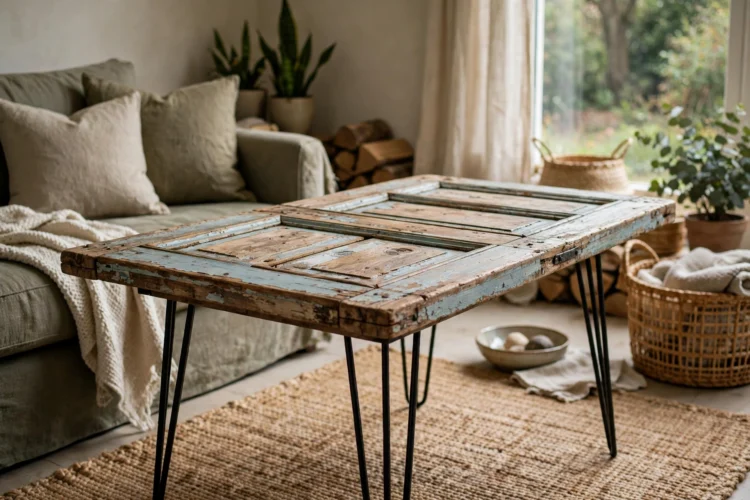
An upcycled side table built from a salvaged door has character no new board can match. A salvaged wood table top cut from an old door or a wide plank works the same way. Cut it to size, sand the edges smooth, and mount it on simple hairpin legs or a pair of sawhorse brackets. The worn paint and old grain become the design.
Seal the top with two coats of clear polyurethane so coffee rings wipe off. Old paint can flake, so test a corner first, and sand off any loose paint before you seal it. If the paint predates 1978, test it for lead before sanding, and follow local rules for handling it.
The same salvaged wood thinking runs through these pallet wood projects, which turn reclaimed boards into furniture with the same worn-in look.
A stack of hardcover books makes a side table base with a story. Pick books of similar size, stack them to the right height, and lay a round glass top over them. The glass keeps the stack steady and gives you a flat surface for a cup.
Use books you do not mind retiring from the shelf, and put the heaviest ones at the bottom. A small dot of museum putty between the top book and the glass stops the glass from sliding when someone sets a mug down.
Keep the stack away from damp spots and direct sun, since both warp pages over time. This design suits a reading corner better than a spot next to a frequently used sofa arm.

A sturdy woven basket flipped upside down becomes a light, airy side table in seconds. Choose a basket with a flat, firm base, since that base becomes the tabletop. A tray on top gives mugs a stable surface and stops them from tipping into the weave.
This table is light, so it suits a spot where it will not get knocked often. It works well beside a reading chair or at the end of a bed. For heavier use, pick a basket with a rigid frame rather than a soft-sided one.
When the basket is not needed as a table, flip it back and use it for storage. Few side tables offer that kind of second job.

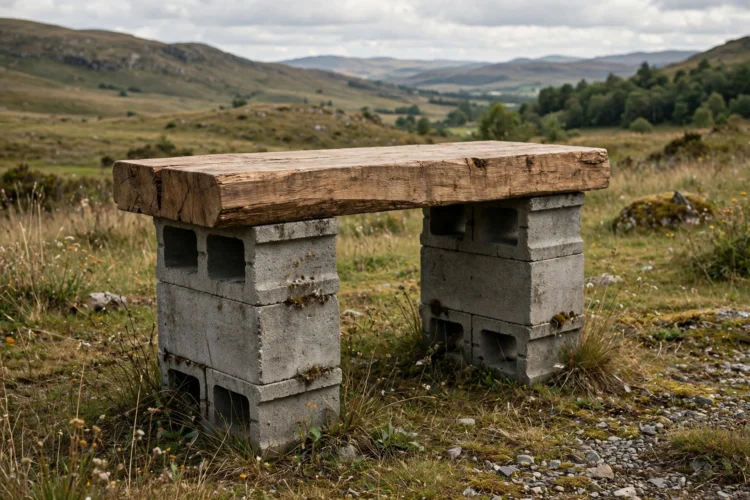
Two concrete blocks and a thick timber slab make a side table with an industrial edge. Stand the blocks on end, lay the slab across them, and the weight alone holds the table together. No screws are needed, though a bead of construction adhesive under the slab stops it from shifting.
Sand the slab edges and seal the wood. Concrete blocks are dusty, so wipe them down and seal them with a clear concrete sealer if the table will sit on a rug. The blocks also leave a gap underneath that fits a couple of books or a basket.
This table is heavy, so build it in place. Moving it assembled risks a dropped block and a chipped floor.
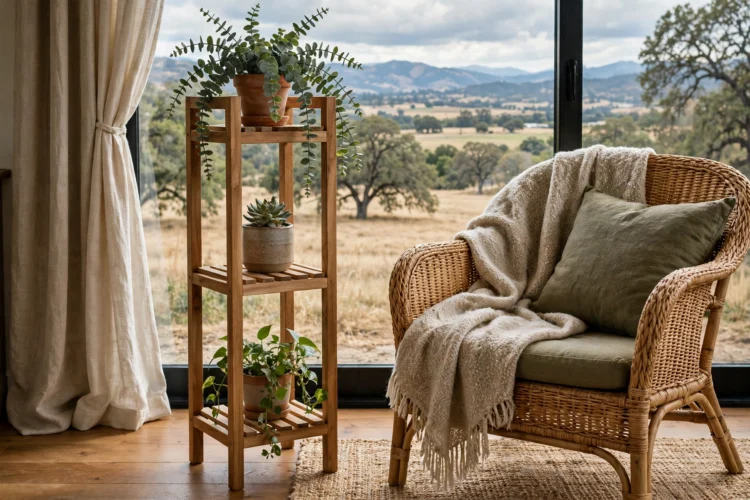
A tall plant stand with a wide top works as a side table once the pot comes off. This small side table diy suits rooms where a solid table would feel heavy, and it keeps the greenery in the room. Look for stands with a top at least 12 inches across and legs that splay outward for stability. A round wooden tray on top adds surface area and catches spills.
The open frame keeps the table light visually, which suits small rooms where a solid table would feel heavy. A plant can still live on the lower shelf, so the table keeps its greenery while gaining a new job.
For more stand designs to adapt, these DIY plant stand designs include several with tops wide enough to hold a lamp and a book.
The last details decide whether a side table survives a year of daily use. Felt pads under the legs protect wood floors, and a coaster habit protects the top. Check the screws after the first month, since new wood settles and joints loosen slightly as the wood dries.
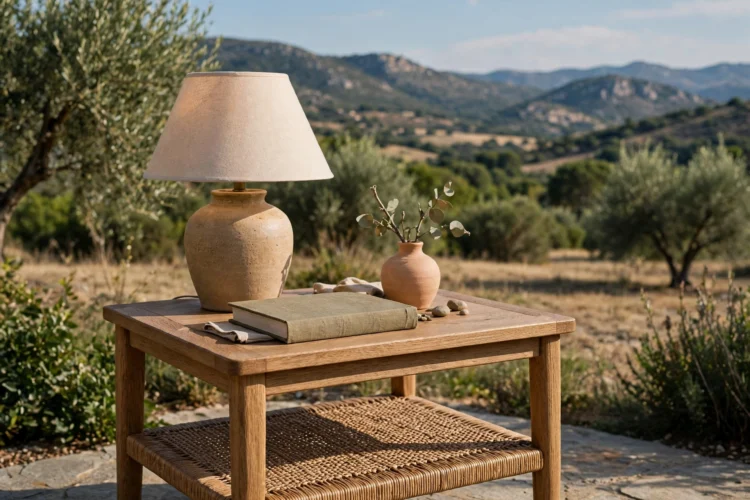
Style the table lightly. A lamp, a book, and one small object are enough. A crowded side table loses its job, which is to hold the thing you reach for. The same restraint works on a coffee table, and these coffee table styling ideas show how little it takes to make a surface look finished.
Pick the design that matches your tools and your room, build it once, and build it solid. A side table that wobbles gets replaced, while a solid one stays for years.