Physical Address
304 North Cardinal St.
Dorchester Center, MA 02124
Physical Address
304 North Cardinal St.
Dorchester Center, MA 02124

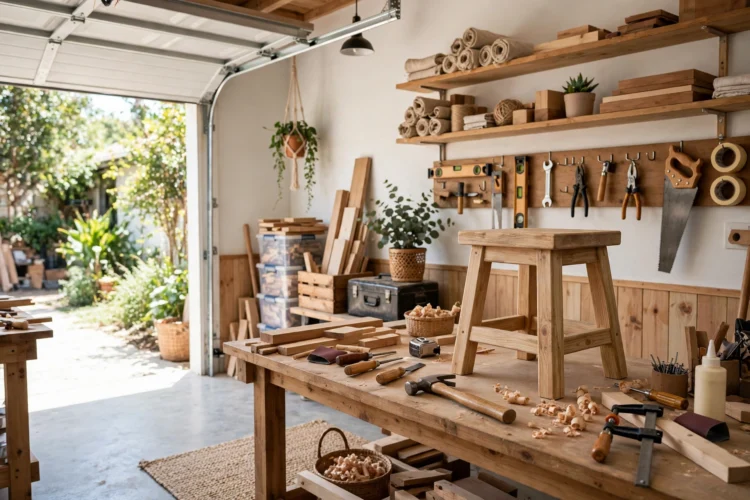
The best first woodworking projects end with something you actually use, not a practice board. These ten builds need only basic cuts, glue, and screws, and most finish in a single weekend.
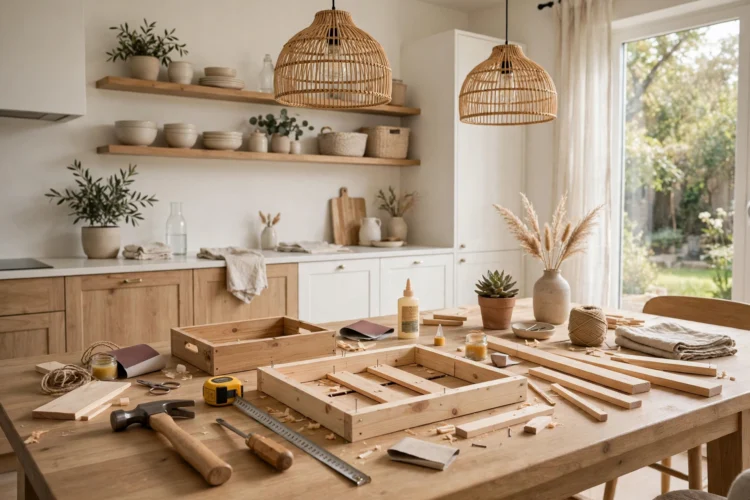
Starting woodworking feels harder than it is, mostly because most project lists jump straight to dovetails and dining tables. These beginner woodworking projects keep the bar low on purpose: straight cuts, butt joints, glue, and screws. You need a saw, a drill, sandpaper, and a square, and most of these weekend woodworking builds finish in a day or two. The goal is not a perfect piece. These easy woodworking projects end with something you use every day, and the confidence that comes with it. These simple wood projects need no special tools beyond the basics, so pick one, buy one board, and start cutting.
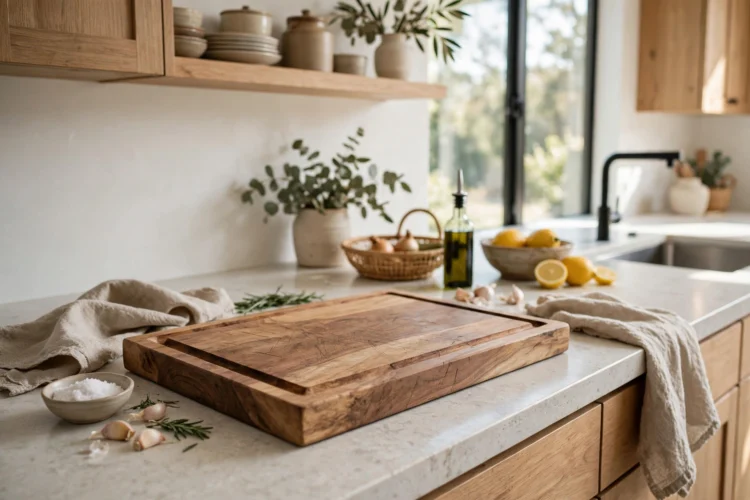
A cutting board is the classic first woodworking project for a reason. It teaches you to measure, cut straight, sand in stages, and finish wood safely, and you end up with something your kitchen uses daily. Use a single hardwood board, maple or walnut, about 12 by 18 inches, and round the corners with sandpaper so the edges feel soft in the hand. Cut a juice groove with a router if you have one, or skip it and keep the board flat. Finish with food-safe mineral oil and beeswax, and re-oil it once a month. The butcher block countertop ideas on this site show how the same warm wood tones carry through a whole kitchen once you like the look.
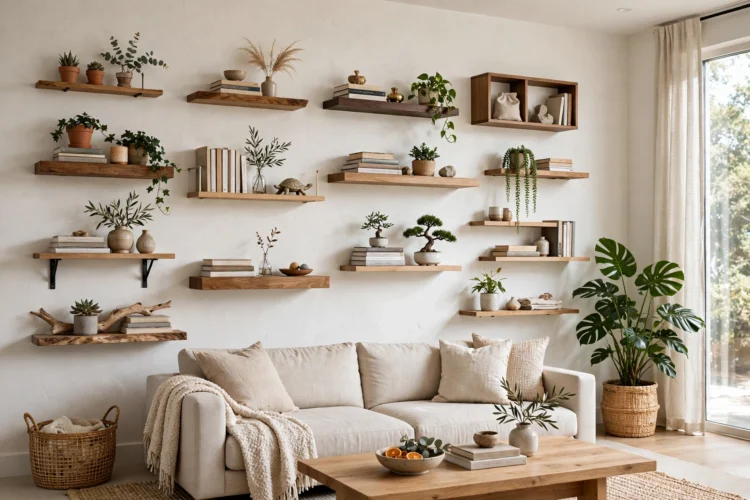
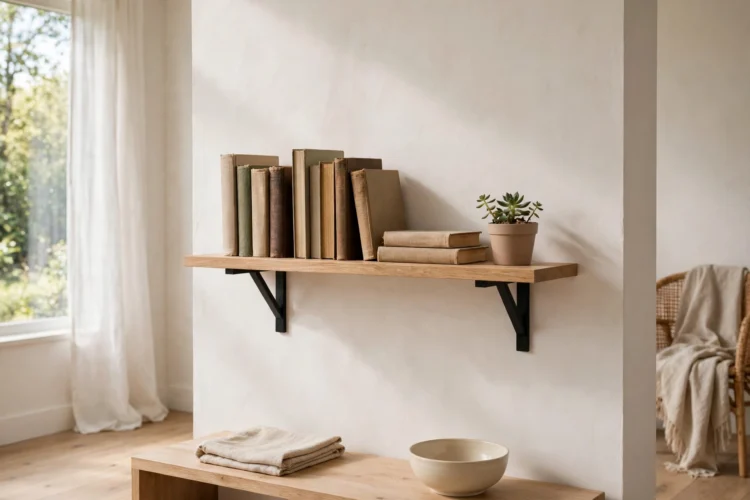
A floating shelf is two cuts and two brackets, and it changes a blank wall instantly. Cut a board to the length you need, sand it to 220 grit, and finish it with oil or paint to match the room. Hidden brackets slide into holes drilled in the back edge, and a level plus two wall anchors hold the whole thing. Start with a short shelf, around 24 inches, so the load stays light and the brackets stay simple. Books, a plant, or a row of spice jars all work, and the shelf looks far more skilled than the work behind it. It is also the fastest way to learn how to find a wall stud, which every later project will need.
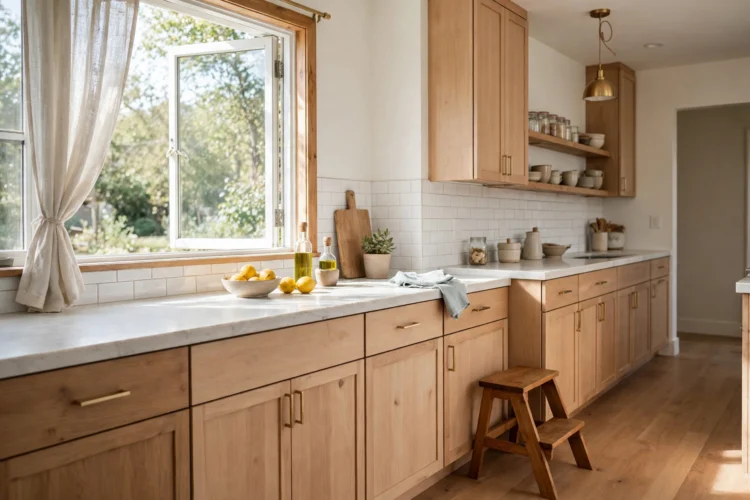
A step stool solves a real problem in every home with high shelves, and it is a great lesson in simple joinery. Two side panels, three steps, and a top platform join with screws and glue, and the whole thing should feel solid enough to stand on without wobble. Cut the side panels from a single piece of plywood using a printed template or a careful pencil layout, then sand every edge round so bare feet never catch a sharp corner. A handle cut into the top step makes it easy to carry from room to room. Paint it a bright color if the house has kids, or oil it natural if you want it to blend in.
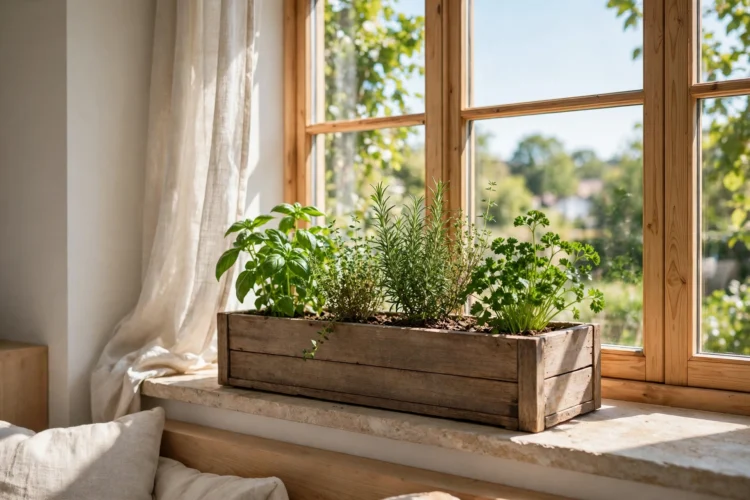
A planter box is a forgiving build because small gaps and uneven boards read as rustic instead of wrong. Cut four sides and a bottom from cedar or pine, join them with exterior screws, and drill drainage holes in the base so roots never sit in water. Line the inside with landscape fabric to hold the soil in while letting water drain, then fill it with herbs for the kitchen window or flowers for the porch. Cedar resists rot outdoors, so it is worth the small price difference over plain pine. A box about 24 inches long fits a standard windowsill and holds three small herb pots with room to spare.
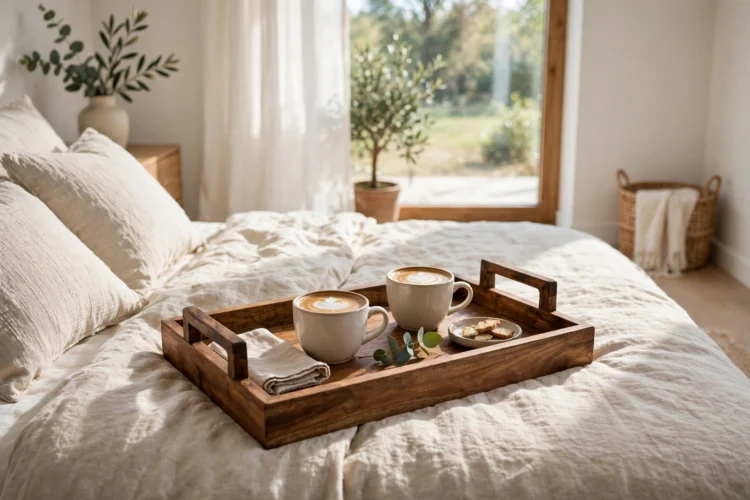
A serving tray is a flat board with a rim and two handles, and it teaches edge joinery without any pressure. Start with a board about 14 by 20 inches, add a low rim of thin stock around the edges with glue and small brads, and cut handholds in the short ends with a jigsaw or drill. Sand everything smooth, finish with a clear coat so spills wipe off, and you have a tray for breakfast in bed, coffee for guests, or a catch-all on the entryway table. The rolling kitchen island ideas pair well with a tray like this, since both are about making the kitchen move with you.
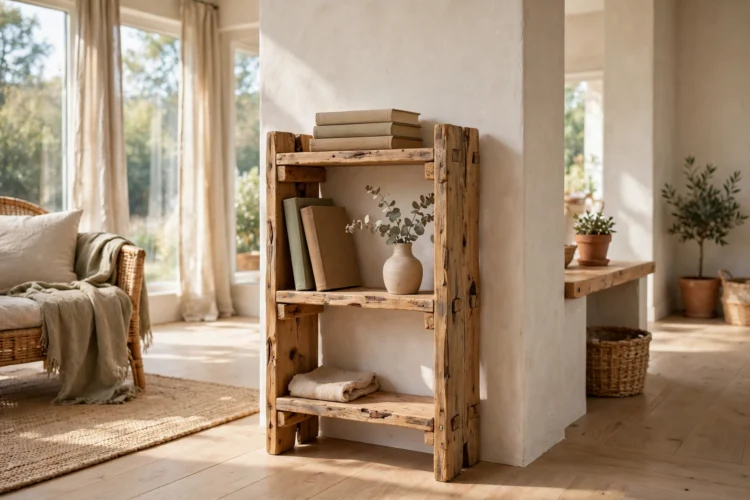
A one-shelf bookcase is a box with a shelf, and building it teaches the most useful skill in woodworking: making a square box. Cut two sides, a top, a bottom, and a middle shelf from 3/4 inch plywood or pine boards, then assemble with glue and screws while checking each corner with a square. Clamp the pieces while the glue sets, and add a thin back panel to stop the case from racking sideways. Finish it with paint or stain, and it holds a row of books, a plant, and a framed photo without looking like a beginner piece. Once this box is square, every cabinet and drawer you build later starts from the same idea.
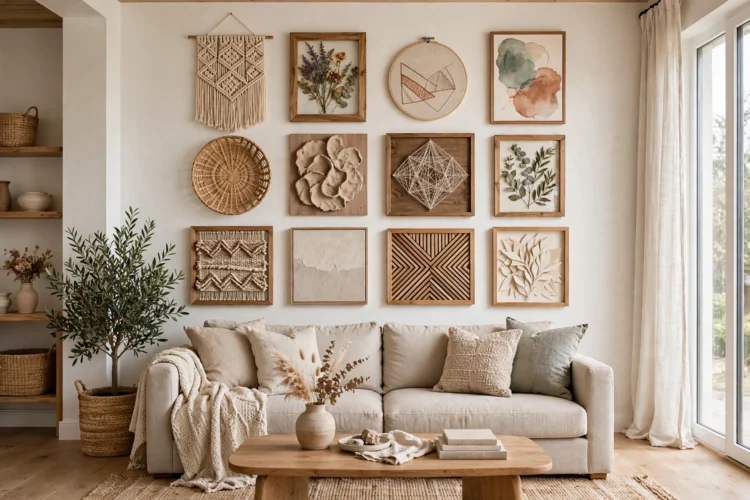
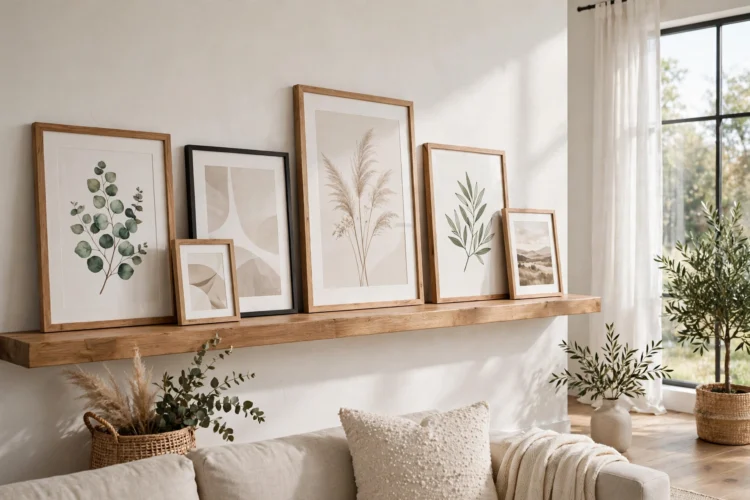
A picture ledge is a shallow shelf with a lip, and it lets you swap art without drilling new holes every time. Cut a board about 3 inches deep and as long as your wall allows, add a thin lip strip along the front edge, and mount it with two brackets or a French cleat. Lean framed prints against the wall, overlap them slightly, and change the arrangement whenever you like. The gallery wall ideas here show how a ledge fits into a larger display, and a ledge is the easiest version to start with because the frames just rest on it.
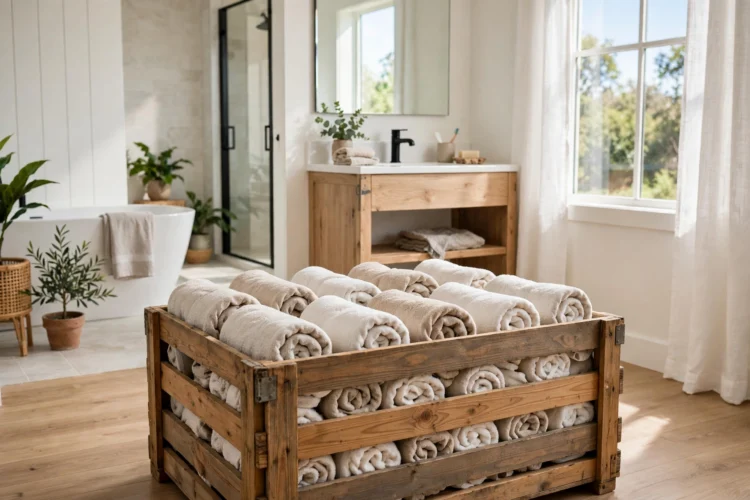
A storage crate is five panels and a handful of screws, and it is the most useful box you will ever build. Cut the sides from 1×6 boards with small gaps for airflow, join them with screws, and add a bottom panel and two handle cutouts. Crates stack, slide under beds, hold shoes by the door, or carry firewood, and the gaps mean you never have to sand the inside perfectly. Build two at once while the saw is set up, since the second one takes half the time of the first. A shaker cabinet kitchen uses the same square, honest construction at a bigger scale, so the crate is a good warm-up for cabinet work.
An entryway bench is a step stool stretched longer, and it earns its place the first time someone sits to tie their shoes. Build a simple frame from 2×4 lumber, top it with a pine board seat, and leave the space below open for shoes or add a lower shelf for baskets. Keep the height around 18 inches, which is standard seat height, and anchor the legs with screws plus glue so the bench never racks. Sand the seat smooth and finish it with a hard-wearing topcoat, since shoes and bags will scuff it daily. This is the biggest build on the list, so save it for the second weekend, after the smaller projects have taught you the basics.
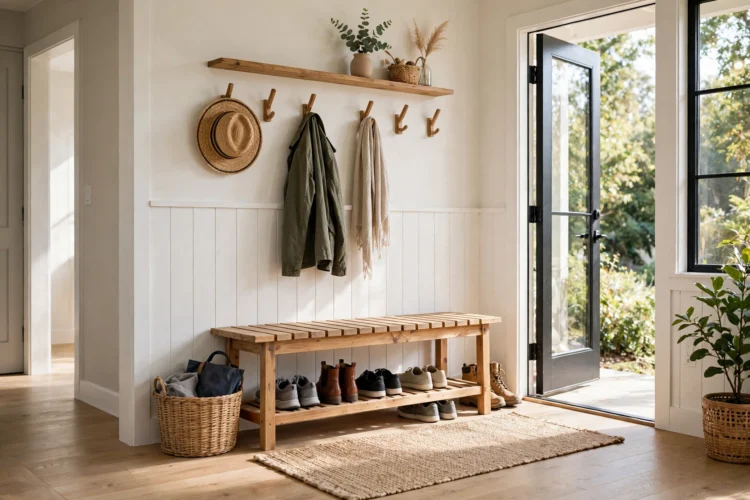
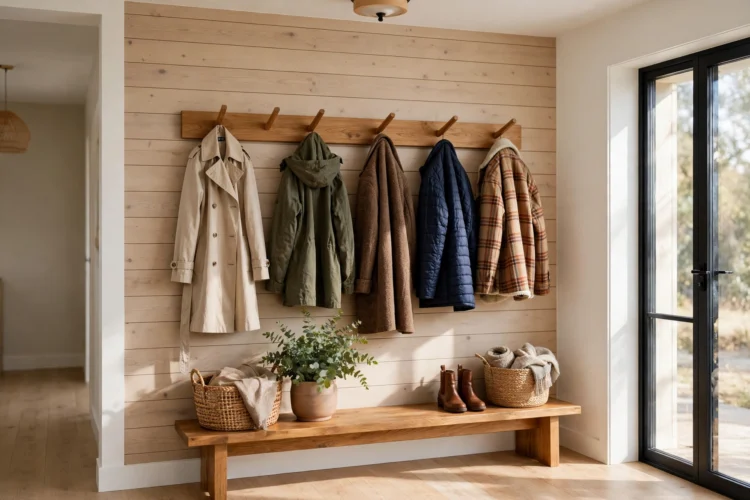
A coat rack is a board, four pegs, and two screws into studs, and it finishes a hallway in an afternoon. Cut a back board about 24 inches long, drill holes for wooden pegs or screw in metal hooks, and space them about 6 inches apart so coats hang without bunching. Round the ends of the board for a finished look, and paint or stain it to match the trim in the room. Hang it at about 66 inches high so long coats clear the floor. The slatted wood divider ideas use the same warm vertical wood, and a coat rack in matching stain ties the entryway together.
Ten builds in, you will know how to measure twice, cut straight, drill without splitting, and sand until a board feels like furniture. That is the whole foundation. Pick the next project by the problem it solves in your house, and keep building.