Physical Address
304 North Cardinal St.
Dorchester Center, MA 02124
Physical Address
304 North Cardinal St.
Dorchester Center, MA 02124

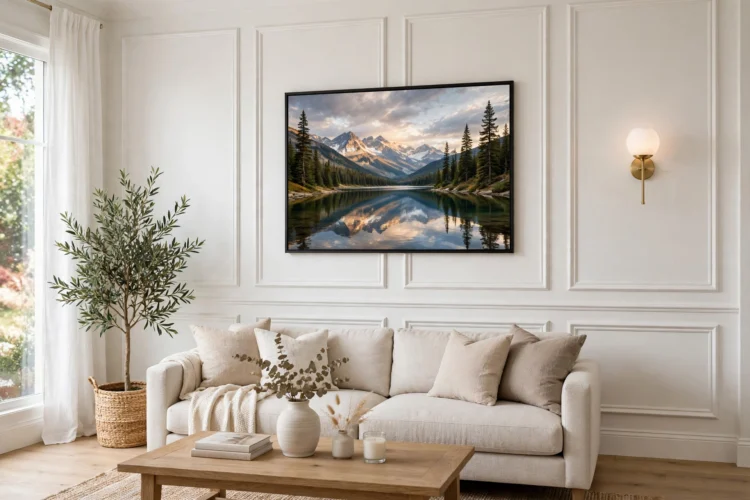
Thirteen wall molding projects that give flat walls the layered look of custom millwork, with spacing math and beginner-friendly steps for each one.
Custom millwork looks expensive because the lines are crisp, the spacing is even, and the finish looks like it was always part of the house. The good news is that most of that look comes from simple trim, careful measuring, and paint. These diy wall molding ideas use basic tools and standard lumber, and each project below can be finished in a weekend or less.
Start with the wall itself. Fill nail holes, sand rough spots, and wipe the surface with a damp cloth before you cut anything. Paint the wall your final color first, then paint the trim separately before you install it. That order saves hours of cutting in with a brush later.
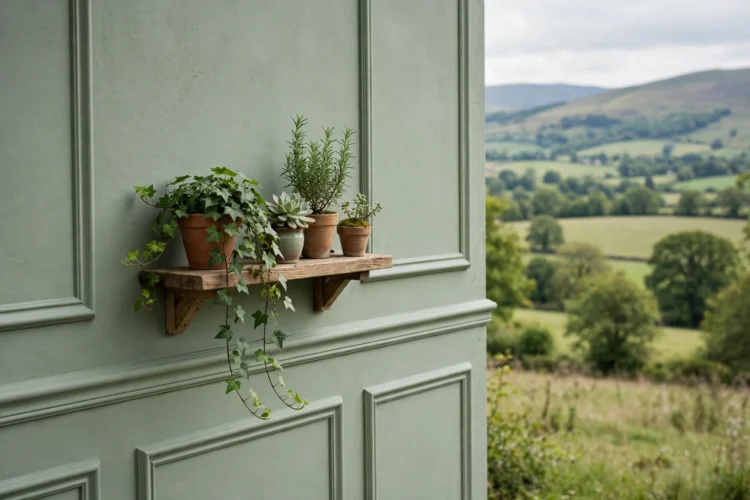
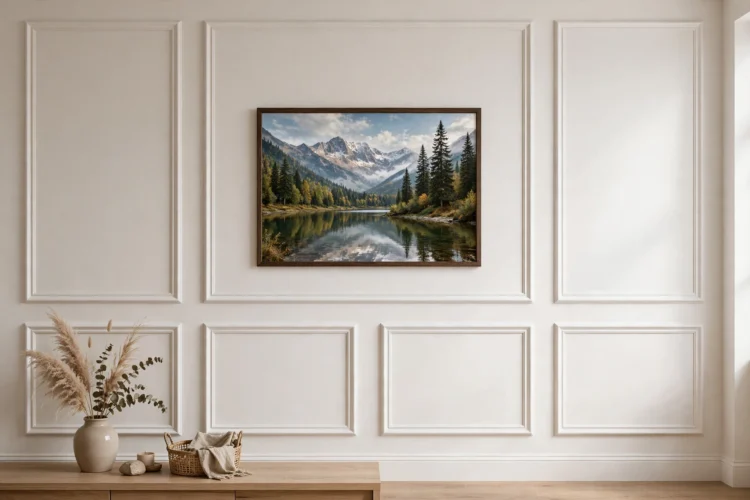
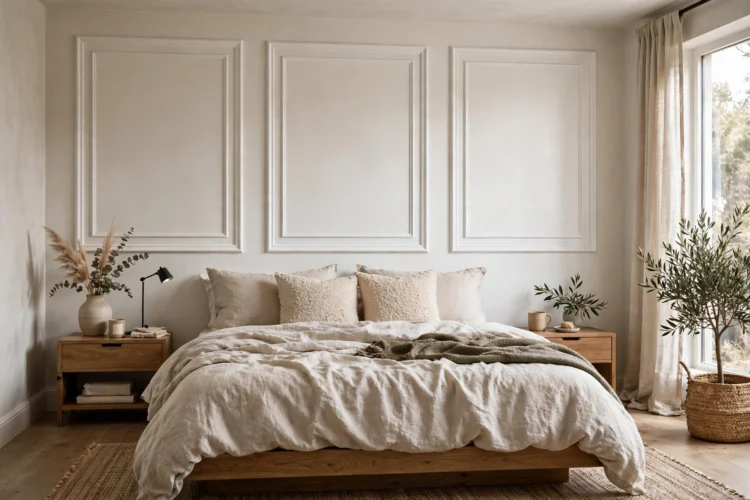
Picture frame molding is the fastest way to make a plain wall look finished. You build rectangles from thin trim, space them evenly, and paint everything one color. The rectangles read as panels, and the eye treats them as architecture rather than decoration.
Measure the wall, then divide it into equal bays. A good rule is to keep the gap between frames and the gap to the ceiling, floor, and corners roughly equal, around 3 to 4 inches. Cut 45 degree miters with a miter box or a small miter saw, dry fit each frame on the floor, then attach it with construction adhesive and a few brad nails.
Caulk the inside and outside edges before the final paint coat. Caulk hides small gaps at the miters and makes the molding look built in rather than stuck on. For more ideas on filling a framed wall, these DIY wall art ideas pair well with molding because the frames give artwork a clear place to sit.
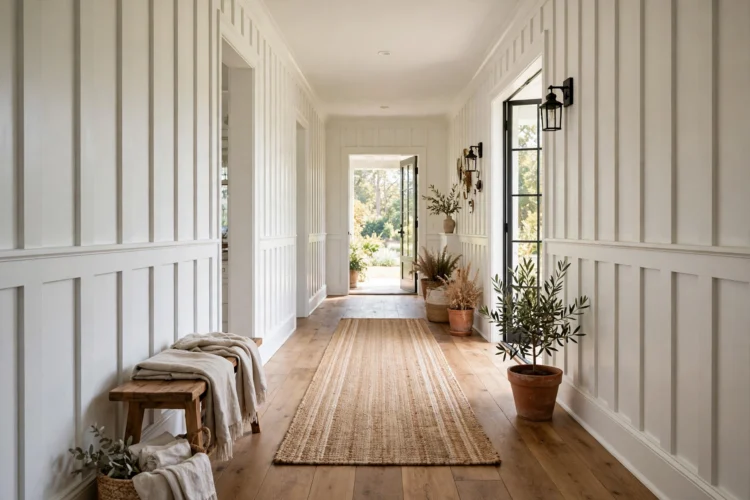
Board and batten uses vertical boards over a flat base, usually with a horizontal rail near the top. A board and batten wall suits hallways and entryways because it takes scuffs well and gives a narrow space some rhythm.
Mark stud locations first so every board lands on solid wood. Space the battens 12 to 16 inches apart, center to center, and keep the spacing identical across the whole run. A story stick, which is just a scrap board marked with your spacing, keeps the layout honest from one end to the other.
Paint the wall and the battens the same color for a calm look, or paint the battens a shade darker for contrast. The same even-spacing habit shows up in wood panel accent wall ideas, and the two projects share most of the same cuts.
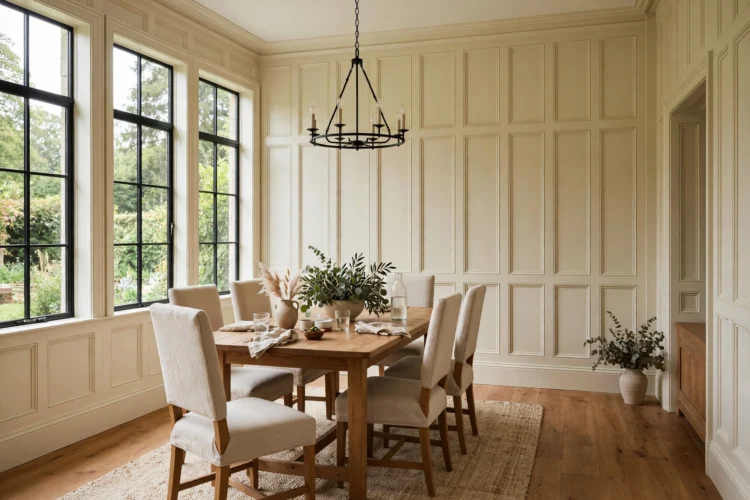
Wainscoting diy projects usually cover the lower third of the wall, but a full-height version turns a dining room into a paneled room. Run the stiles from baseboard to a chair rail or a crown detail, and keep every panel the same width.
Work from the center of the wall outward so the end panels match. If the wall length does not divide evenly, adjust all the panels by a small amount rather than leaving one narrow panel at the end. That small adjustment is the difference between a wall that looks planned and one that looks improvised.
Use paint-grade poplar or MDF for interior walls. Both take paint well and cost far less than hardwood. Seal MDF edges with primer so they do not drink up the first coat and turn fuzzy.
Geometric molding breaks the rectangle habit. Triangles, diamonds, and offset squares give a bedroom wall a modern pattern without any wallpaper. Sketch the design on paper first, then transfer the lines to the wall with a level and a pencil.
Cut each piece to fit the line it sits on, and number the pieces on the back as you cut them. The numbering matters because two pieces that look identical often differ by a few millimeters once the angles stack up.
Keep the color simple. One flat color lets the geometry do the work, while two colors can fight the pattern. If the room needs more warmth, add it with bedding and lamps instead of a second paint color on the wall.
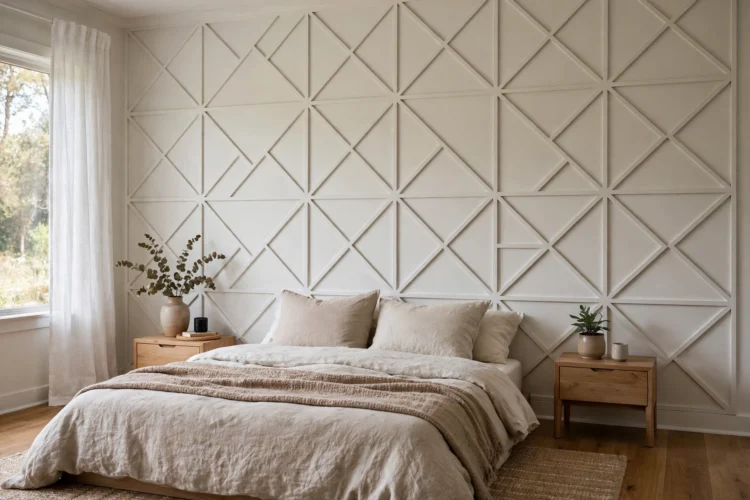
Applied wall molding can stand in for a headboard. Build one large frame, or a set of tall panels, on the wall behind the bed and paint them to match the trim. The bed then sits against a finished backdrop instead of a bare wall.
Size the frame to the bed, not to the wall. A queen bed is 60 inches wide, so a frame around 66 to 72 inches wide leaves a small margin on each side. Center it on the bed, and set the bottom of the frame just above the mattress line so pillows do not hide the lower rail.
This is a one-afternoon project. Two rails, two stiles, adhesive, nails, caulk, and paint are the whole list. The same framing logic works for picture frame upcycle ideas when you want smaller frames for photos above a dresser.
A shallow picture ledge is molding with a job. A thin strip with a small lip holds framed prints, small canvases, and books, and you can swap them without new nail holes. Install two or three ledges in a row for a gallery that changes with the seasons.
Build each ledge from a 1 by 4 board for the shelf and a thin strip for the lip. Anchor into studs, since a loaded ledge gets heavy fast. A 4 foot ledge with five frames can hold 15 pounds or more, so screws beat adhesive alone here.
Leave 12 to 14 inches between ledges so tall frames fit without crowding. The spacing also keeps the wall from looking like a ladder of shelves.

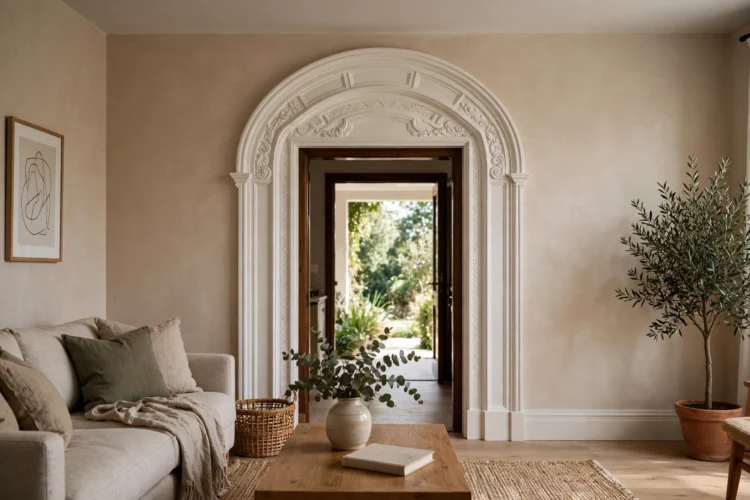
Arches soften a room full of straight lines. A half-round trim arch above a doorway, or a full arch outline on a blank wall, adds a curve that paint alone cannot give. Flexible trim, sold in coils, bends to the curve without steam or special tools.
Draw the arch with a string and a pencil. Pin one end of the string at the center point, hold the pencil at the radius length, and sweep the arc. That trick gives a true curve on the first try, which a freehand line rarely does.
Paint the arch the same color as the wall for a subtle shadow effect, or paint it a contrasting color to make the shape the focal point. Either way, the curve reads as intentional because the line is clean.
The last step is the one people rush, and it shows. Caulk every joint, fill every nail hole, sand the filler flush, and apply two thin topcoats instead of one thick one. Thin coats dry harder and show fewer brush marks.
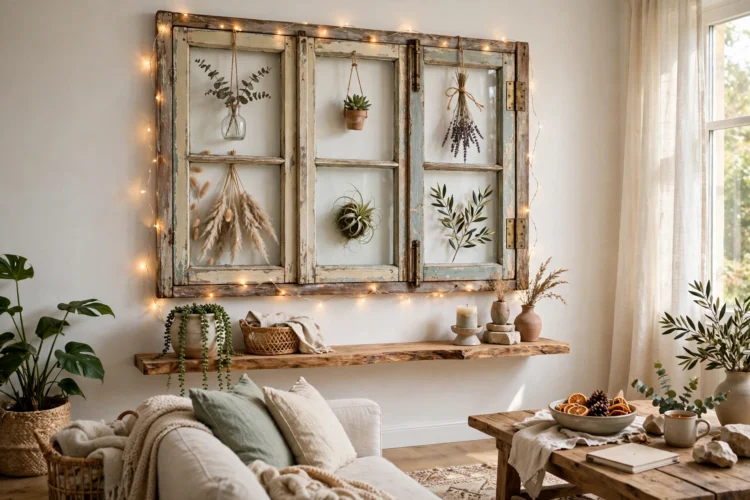
Combine molding with a shelf for a finished look. A short ledge or a floating shelf you build yourself mounted across a paneled wall gives the molding a purpose and the room a place for books or plants. Keep the shelf depth under 8 inches so it does not crowd the walkway.
Step back often while you work. Molding looks different from across the room than it does from six inches away, and the view from the doorway is the one you will live with. When the lines look straight from there, the project is done.