Physical Address
304 North Cardinal St.
Dorchester Center, MA 02124
Physical Address
304 North Cardinal St.
Dorchester Center, MA 02124

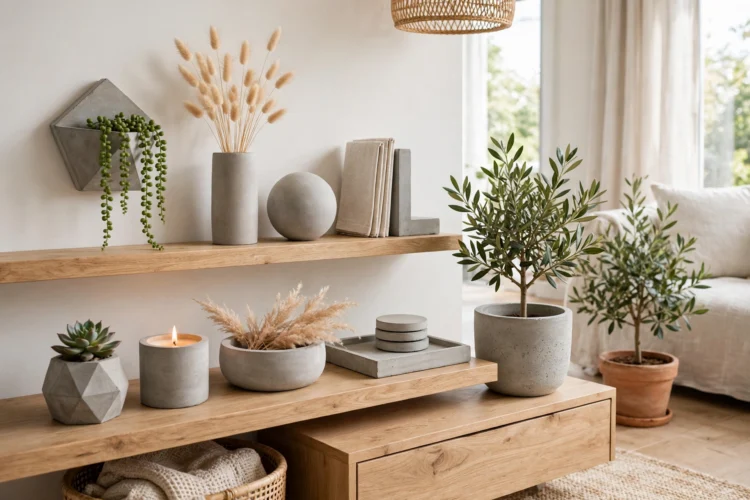
Concrete suits modern homes better than most people expect. These nine small-cast projects use ready-mix and simple molds, and each one fits a weekend afternoon.
Concrete has a reputation for being cold and industrial, but in small doses it does the opposite. A planter, a candle holder, or a tray adds weight and calm to a shelf without shouting for attention. DIY concrete decor works well for modern homes because the material takes simple shapes and leaves the finish to you. Smooth it, sand it, seal it, or leave it raw. This guide covers nine small-cast projects that use ready mix concrete and silicone molds, plus a few you can shape with household containers. Start with a planter, learn how the mix behaves, then move on to the bigger pieces.
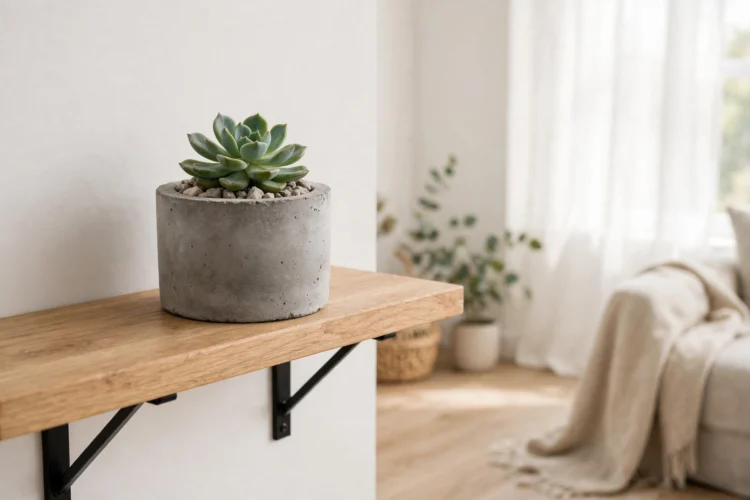
Planters are the best first cast. The shape is forgiving, small cracks read as texture, and the finished piece holds a succulent or a small herb with ease. Pick a silicone mold or an old plastic tub as the outer mold and a smaller cup for the inner cavity. Mix ready mix concrete to a thick oatmeal consistency, pour it halfway, press the inner cup down, and tape it in place so it does not float. Let it cure for a full day before you pull the mold away, then drill a drainage hole with a masonry bit. A coat of concrete sealer keeps water from staining the surface. Pair the planter with a DIY plant stand to lift it off the sill and give the greenery some height.
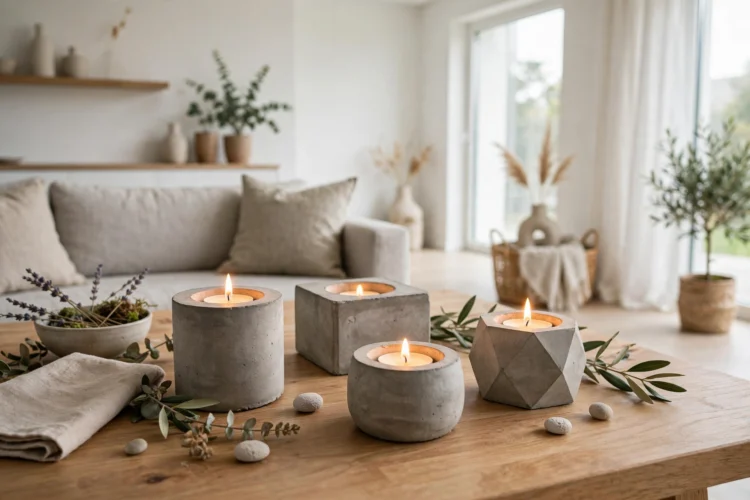
Concrete candle holders turn a plain tea light into a small piece of sculpture. Small silicone molds made for soap or baking work well here, and a short cardboard tube can form the candle well. Pour the mix, tap the mold on the counter to release air bubbles, and press the tube into the center. After curing, sand the rim with 220-grit paper so it sits flat and feels smooth in the hand. Concrete candle holders look best in a group of three at different heights on a dining table or a mantel. Keep the flame away from curtains and never leave a lit candle unattended. A matte sealer keeps soot from marking the surface over time.
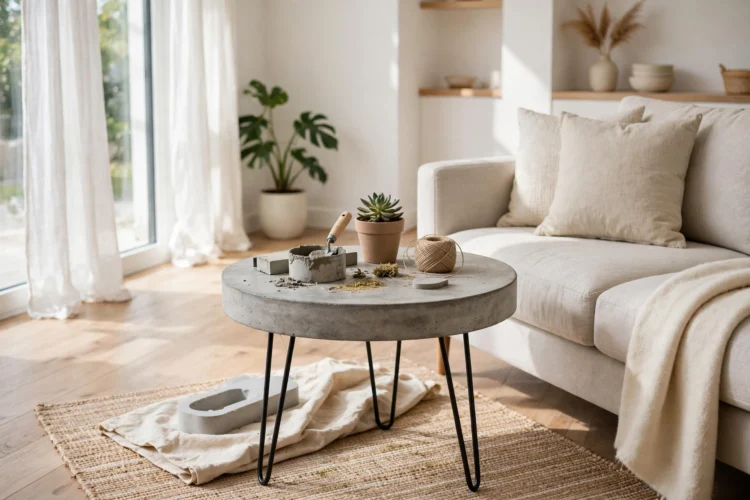
A concrete side table sounds like a heavy job, but a small round top cast in a cake pan is a manageable weekend project. You only need a bag of ready mix concrete, a round pan, a piece of plywood for the base, and three hairpin legs. Pour the mix into the pan, level it with a straight edge, and let it cure for two days before you flip it out. Sand the edge, seal the top, then screw the legs into the plywood base and set the top on it. The result weighs enough to stay put beside a sofa but still moves with two hands. If a full table feels ambitious, cast a tray first to practice the same steps on a smaller scale. For more ideas on where a side table earns its keep, see these concrete countertop ideas for industrial-style kitchens.
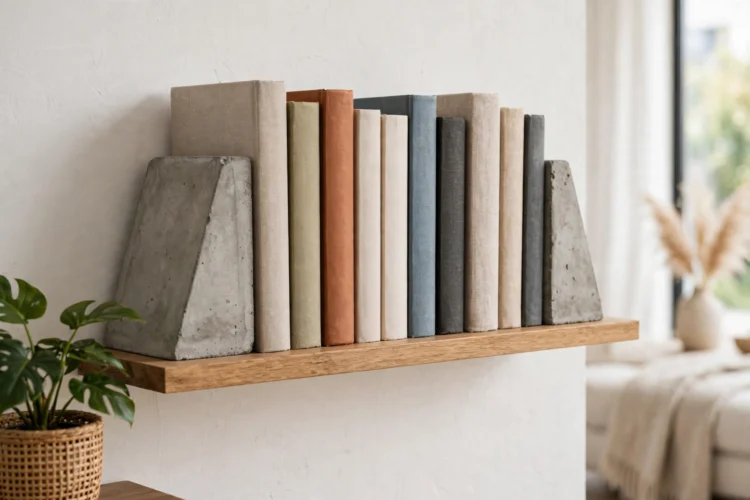
Books slide. Concrete does not. A pair of cast bookends keeps a shelf tidy and adds a quiet industrial note to a living room or office. Use two identical rectangular molds, such as small plastic storage boxes, and pour each one about three inches tall. Add a short length of threaded rod or a bent piece of wire inside the pour so the two halves of an L-shape can join later, or simply cast solid blocks and lean the books against them. Sand the faces that touch the shelf so they sit flat. Felt pads on the bottom protect wood shelves from scratches. Cast a matching pair in one session so the color stays consistent between the two pieces.
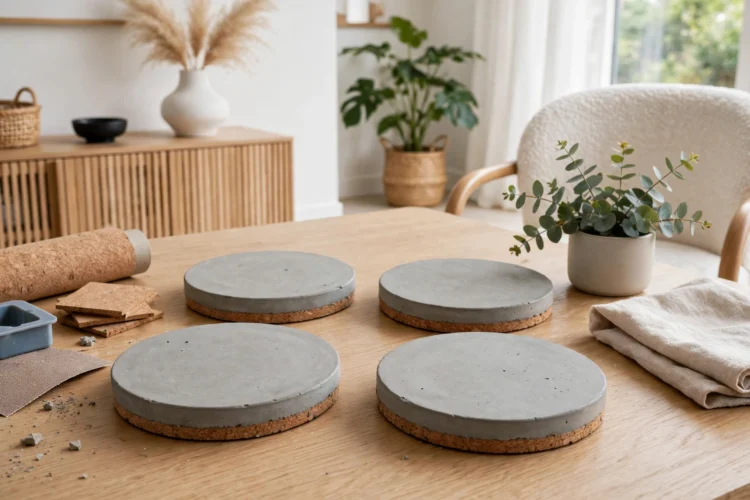
Coasters are the fastest cast on this list and a good way to test a new mix or pigment. Silicone molds for round coasters cost little and release cleanly. Pour the mix, tap out the bubbles, and let the pieces cure for 24 hours. The finish matters more here than anywhere else, because a rough coaster scratches a table. Sand the top through 220-grit, then 400-grit, until it feels smooth to the touch. Seal both sides so condensation does not leave rings. Add cork or felt to the bottom. A set of four makes a useful gift, and you can tint the mix with concrete pigment for a soft gray, terracotta, or charcoal set. Keep the pigment dose small, since a little goes a long way in a small mold.
An entryway tray catches keys, sunglasses, and mail before they scatter through the house. Cast one in a shallow rectangular baking pan lined with plastic wrap, or build a simple mold from scrap wood and tape the seams. A tray about 12 inches long and 8 inches wide suits most consoles. Pour the mix about an inch deep, level it, and let it cure for a day. Sand the rim and seal the whole piece. A tray pairs well with a wall hook nearby, and you can read more about floating shelf styles you can build yourself if the entryway needs storage above the console too. Keep the tray away from the door swing so it does not get knocked off a narrow surface.
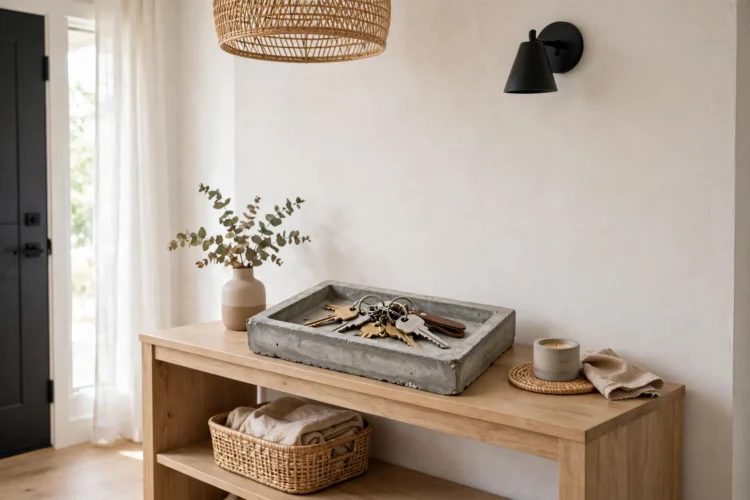
Dried stems need a vase with weight, and concrete gives exactly that. Cast a vase in a tall plastic bottle with the top cut off, and press a narrow tube down the middle to form the opening. Pampas grass, eucalyptus, and dried lavender all sit well in a heavy base that will not tip when someone brushes past. Cure the piece for two days, then sand the rim smooth and seal the inside so dust does not cling to the walls. A group of two vases at different heights works on a dining table or a bedroom dresser. Skip fresh flowers here, since standing water can stain unsealed concrete over time.
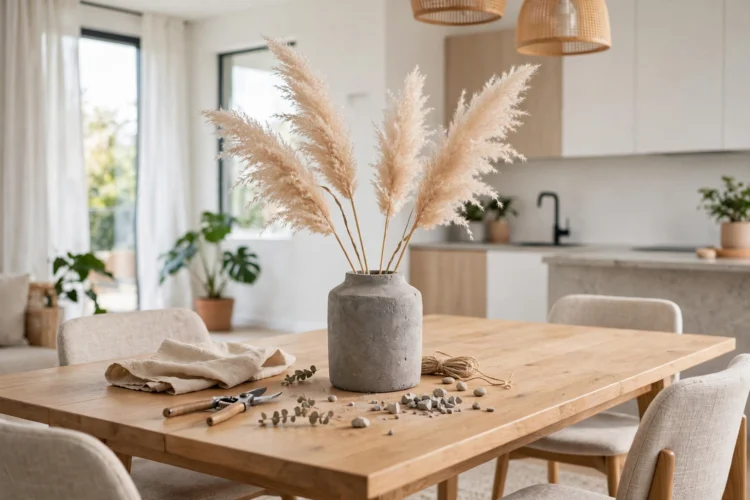
Wall hooks cast in concrete bring a small industrial detail to an entryway or mudroom. Use a short section of PVC pipe or a round silicone mold, and set a metal hook or a bent bolt into the wet mix so it anchors firmly. Once cured, mount the disc to the wall with a French cleat or a heavy-duty wall anchor rated for the weight. Space three hooks in a row for keys, dog leashes, and a light jacket. The concrete disc spreads the load better than a bare hook, but check the anchor rating before you hang anything heavy. If you are new to wall mounting, these beginner woodworking projects you can build in a weekend include mounting basics that transfer to this project.
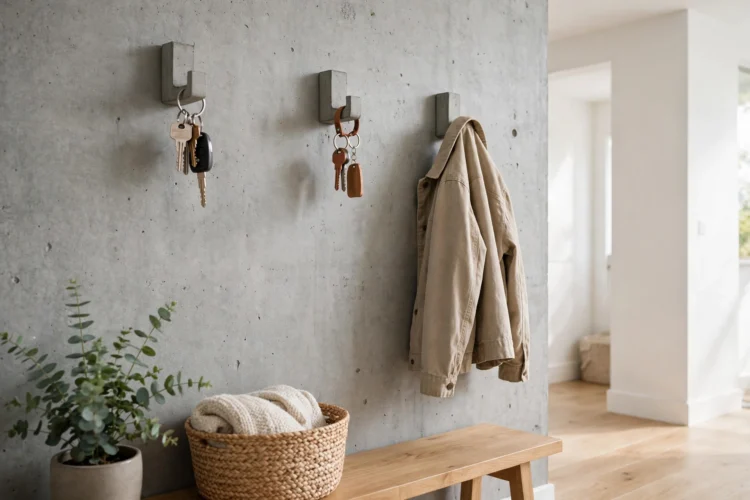
Stepping stones move the same casting skills outdoors. A round cake pan or a shallow plastic tray makes a stone about 14 inches across, which suits most garden paths. Pour the mix, press a leaf, a handprint, or a mosaic of broken tile into the top, and let it cure for three days before you set it in the soil. Space the stones one comfortable step apart and bed them in sand so they sit level. A light seal keeps moss from taking hold in damp climates. Make one stone first to test the spacing, then cast the rest in a batch so the path reads as a set rather than a collection of singles.
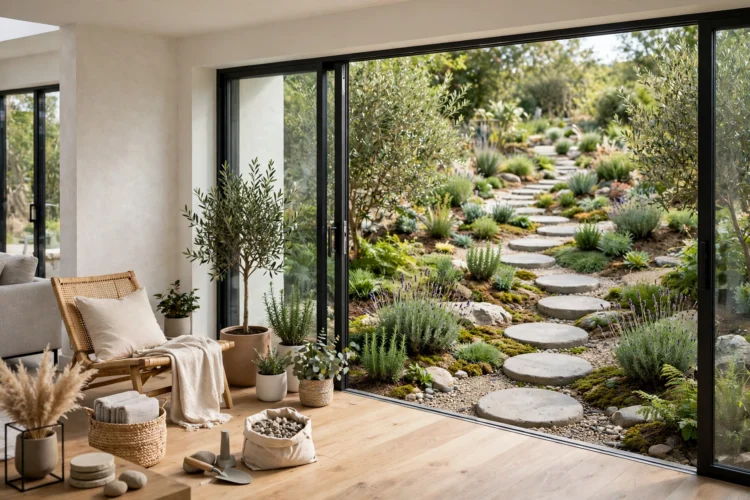
Start with the planter, then pick the project that fits the room you use most. Each cast teaches you something about the mix, and by the third piece you will know how thick to pour, how long to wait, and how much sanding a finish needs. Keep a notebook of mix ratios and cure times so the next batch comes out better than the last.