Physical Address
304 North Cardinal St.
Dorchester Center, MA 02124
Physical Address
304 North Cardinal St.
Dorchester Center, MA 02124

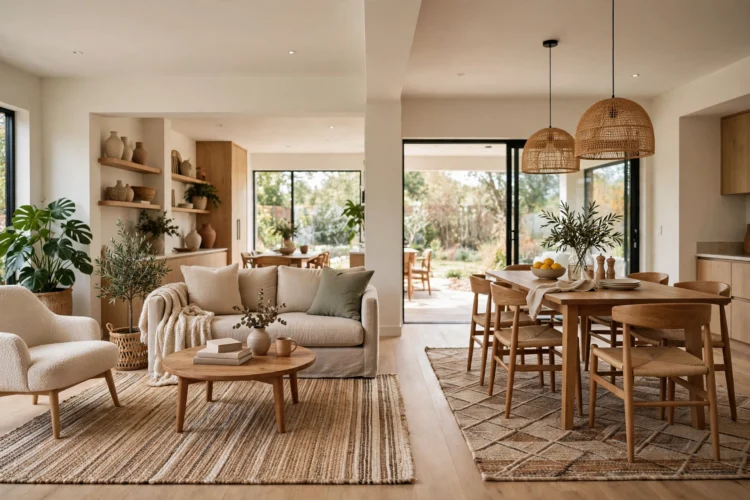
Open-plan rooms fail when furniture floats in the middle of nowhere. These eleven ideas use sofa placement, rugs, lighting, and storage to carve distinct living zones out of one big room.
Open plan living room ideas solve a problem traditional rooms never had: without walls, every function competes for the same open floor, and the result often feels like a furniture showroom instead of a home. Zoning fixes that without building anything. A sofa turned at an angle, a rug with a clear edge, a lamp that belongs to one corner, these signals tell the eye where living ends and dining begins. The room stays open, but each part gains a purpose.
Before moving any furniture, name the zones the room must hold: living, dining, and usually one more, such as reading, working, or play. Sketch them on paper with rough sizes, and assign each zone a primary piece: sofa for living, table for dining, chair and lamp for reading. Zoning open plan living room space on paper first prevents the most common error, which is letting the sofa drift to the middle of the room with no zone behind it. Give each zone a boundary signal, a rug, a light, or a furniture back, and check that walkways between zones stay at least 75 centimeters wide. If the sketch shows a zone with no boundary signal, it will disappear in real life too.
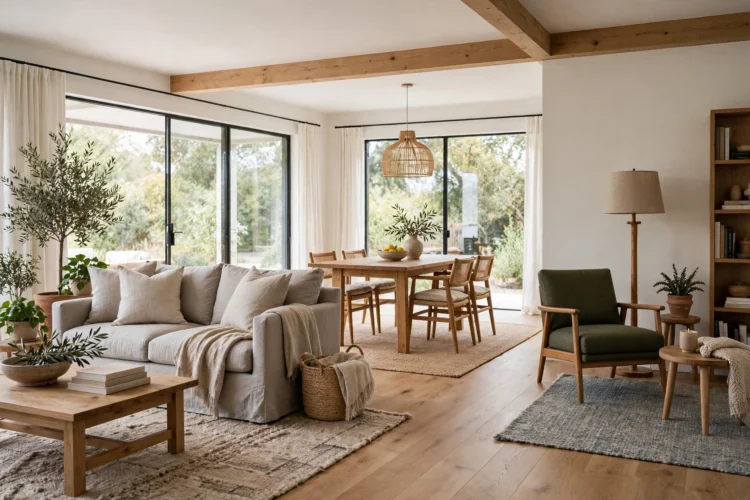
The fastest zone boundary in an open room is the back of the sofa. Pull the sofa off the wall and turn its back toward the dining area, and the living zone instantly gains a wall it did not have. Add a narrow console behind the sofa to finish the boundary: it gives the dining side a surface and stops the sofa back from looking unfinished. This is the same logic that shapes a master bedroom sitting area, where a chair grouping away from the bed creates a room inside a room. Keep the sofa length proportional to the zone: a three-seater divides a large room well, while a loveseat leaves the boundary too weak to read from across the space. A console also hides cable clutter and gives guests a place to set a drink on the dining side, which makes the boundary feel generous rather than blocking.
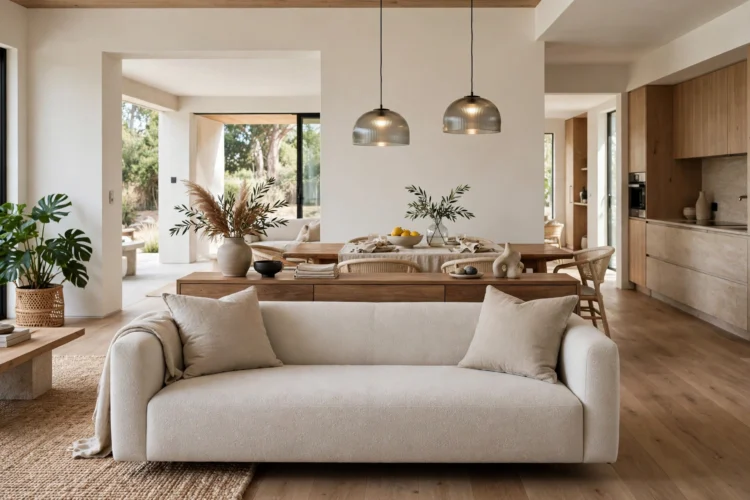
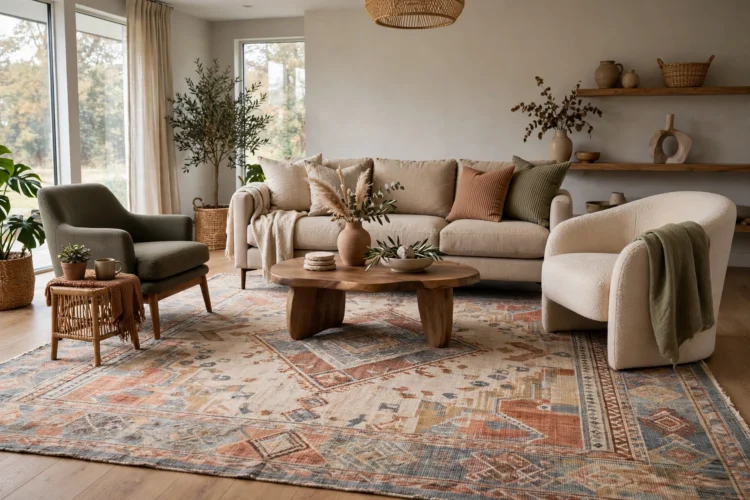
Open plan rug zones work when each zone gets its own rug, sized to its furniture group. The living rug holds the sofa and chairs with front legs on. The dining rug holds the table and chairs with room to pull chairs out, which usually means at least 60 centimeters of rug beyond the table edge on every side. Choose rugs that share a palette but differ in pattern, so zones feel related, not matched. Leave bare floor between rugs so the boundary stays visible. Furniture placement in open layout rooms depends on these rug edges more than on walls, because the eye follows the rug the way it used to follow the wall line. The same grounding logic in bedroom rug placement applies here: furniture with no rug under it reads as temporary.
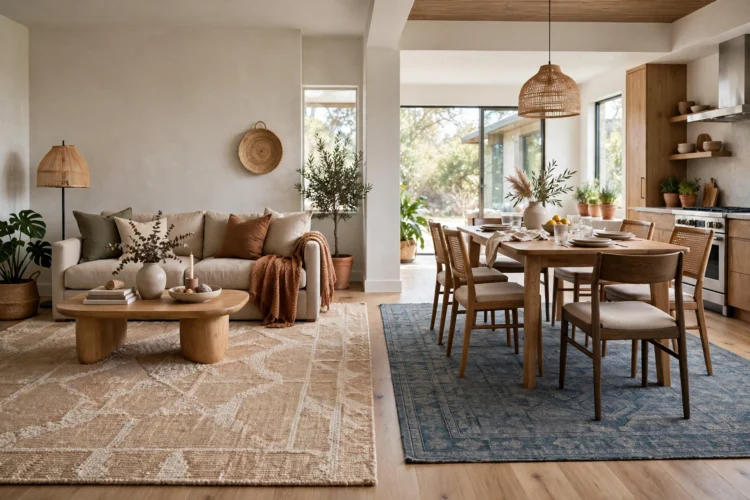
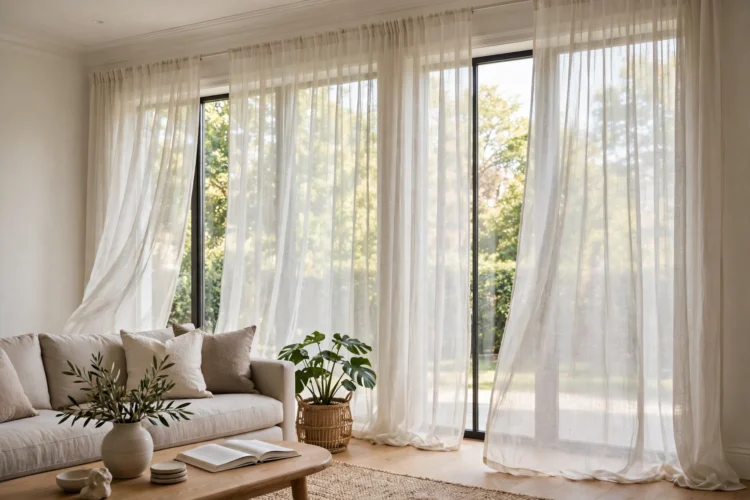
Lighting zones a room after dark even when furniture placement cannot. Hang a pendant low over the dining table, around 75 to 90 centimeters above the surface, so the dining zone gains a ceiling anchor. Keep living room light lower and warmer, with floor and table lamps instead of overhead glare. A dimmer on each zone lets you brighten dining during a meal and soften it afterward while the living zone stays lit. The principle mirrors bedroom lighting ideas, where layered sources at different heights replace a single overhead light and give each corner its own mood. When the pendant is the only lit element, the dining zone reads as a stage, and the rest of the room recedes politely. A pendant on a dimmer earns its place twice, since it can shine for dinner and soften for conversation afterward.
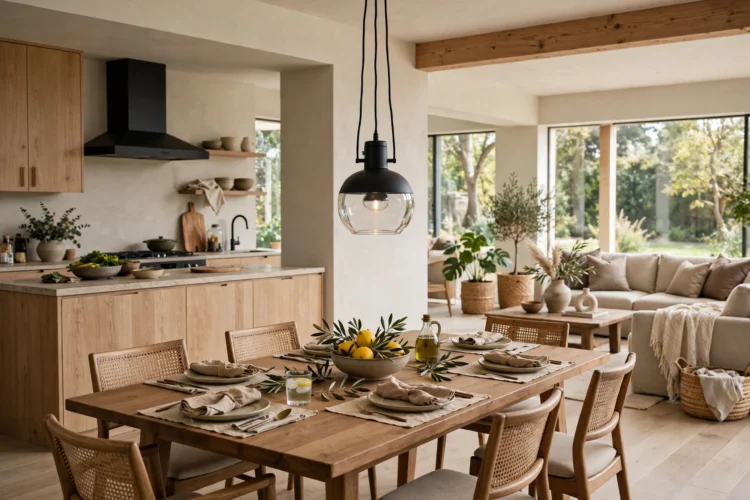
Open shelving, a low bookcase, or a credenza can divide zones without blocking light or conversation. Keep dividers below eye level, around 90 to 110 centimeters high, so sightlines survive and the room still feels open. Style the shelves from both sides, since a divider gets viewed from two zones, and keep the top surface clear of tall objects that would rebuild the wall you just avoided. A living dining divider idea like this also adds storage exactly where it is needed: books and games on the living side, table linens and serving pieces on the dining side. Avoid tall bookcases as dividers in small open rooms; they chop the space and block the light that made the open plan attractive in the first place.
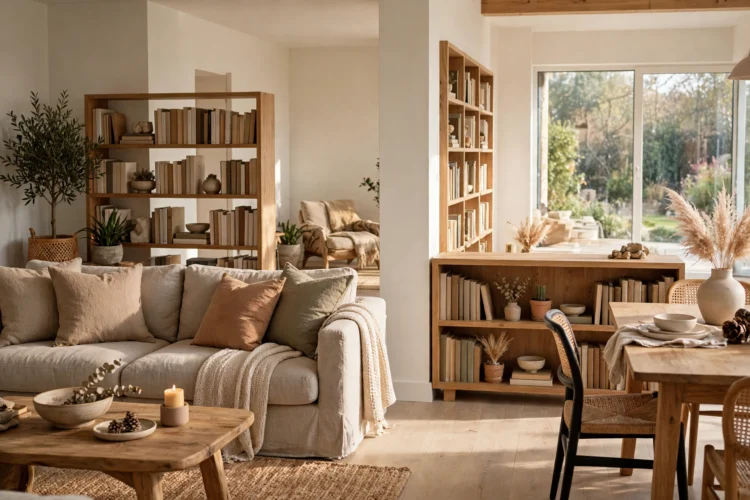
Zones fail when traffic cuts through them. Map the paths people actually take, from kitchen to dining, from entry to sofa, from sofa to bathroom, and keep those paths free of furniture edges, rug corners, and low obstacles. A walkway of 75 to 90 centimeters feels comfortable; narrower feels like squeezing past. If a path must cross a zone, route it behind the sofa rather than between sofa and coffee table, where it interrupts conversation. Layout planning in tight spaces follows the same discipline: the way a small bedroom layout protects a clear path to the bed shows how circulation, not furniture, decides whether a room feels easy. Test paths by walking them with a laundry basket in hand; if you clip a corner, the path is too tight.
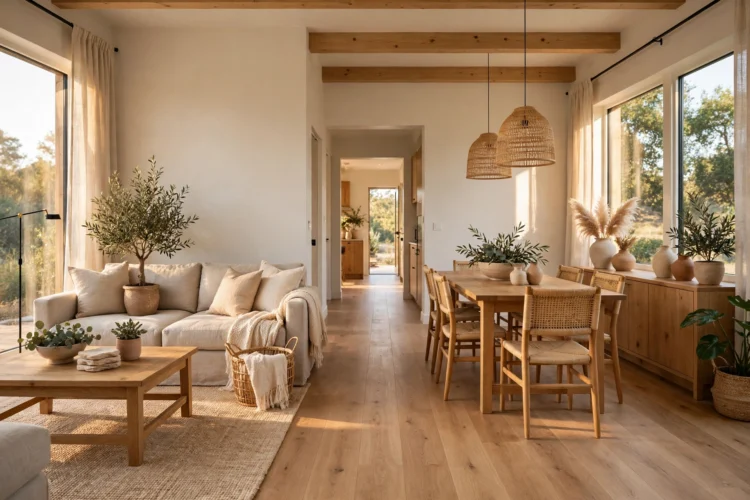
Zones need difference to read, but the room needs unity to feel like one home. Repeat one palette across all zones: the same neutral base, the same wood tone, and one accent color that appears in each zone in different amounts. The living zone might carry the accent in cushions, the dining zone in a centerpiece, and the reading zone in a throw. This repetition lets zones differ in function without clashing, and it stops the open room from looking like three unrelated rooms pushed together. When a new piece enters the room, check it against the palette before checking it against the zone; a piece that matches the palette but not the zone can move, while a piece that matches neither will fight the whole room. Test the palette with the actual cushions and centerpiece in place, since paint swatches alone never show how colors behave under your evening light.
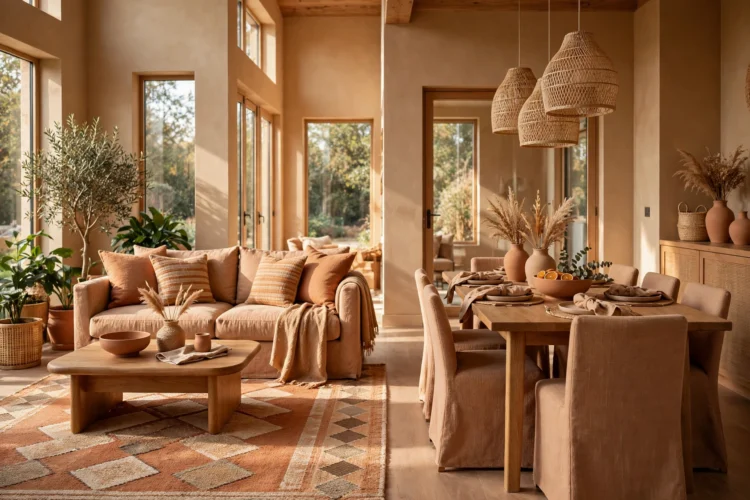
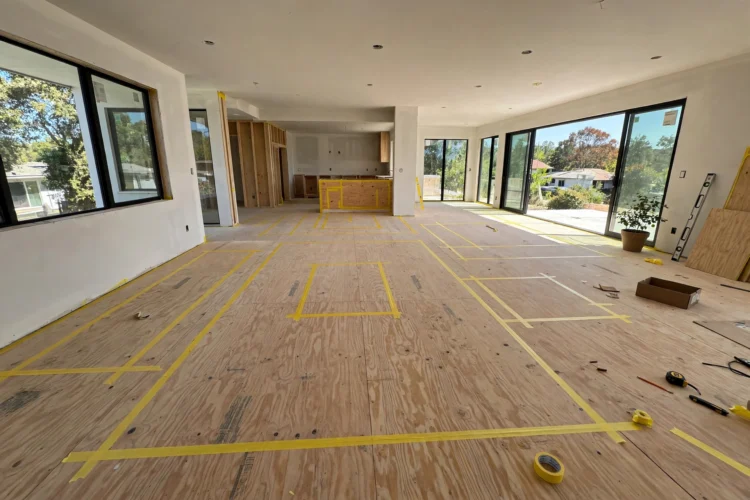
Open-plan layouts look obvious on paper and surprising in real life, so test before committing. Tape rug outlines on the floor, place furniture inside them, and live with the arrangement for a weekend. Check the sightlines from the kitchen while cooking, from the entry when guests arrive, and from the sofa during a normal evening. Move one piece at a time when something feels off, and note which change fixed it. The most common late discovery is a television glare problem or a dining chair that blocks the kitchen path, both cheap to fix before rugs are bought and holes are drilled. A weekend of testing beats a month of regretting a heavy sofa placement.
Zone first, then decorate. Name the zones, draw boundaries with sofa backs and rugs, separate the light, and keep paths clear. The open room stays open, but every part of it finally has a job. Walk the room once more after zoning, checking that every zone has a seat, a light, and a reason to be there, and adjust the smallest thing first.