Physical Address
304 North Cardinal St.
Dorchester Center, MA 02124
Physical Address
304 North Cardinal St.
Dorchester Center, MA 02124

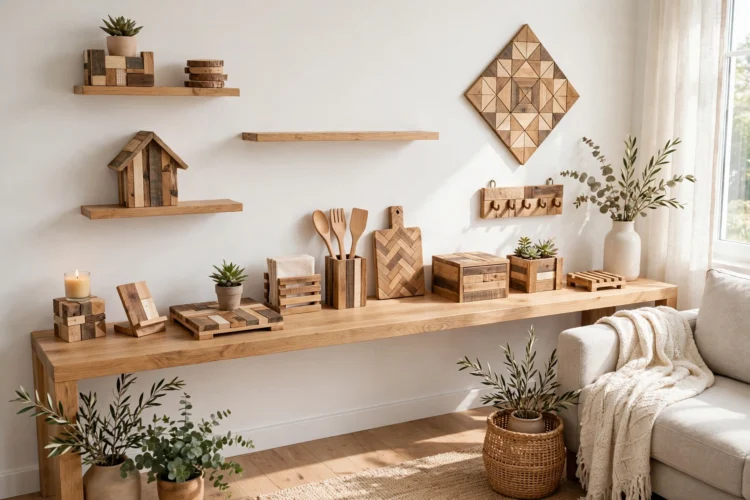
Every woodworking project leaves a pile of offcuts too good to burn and too small to shelve. These fourteen small builds turn those scraps into trivets, stands, hooks, and shelves your home will use daily.
Every woodworking project leaves a pile of offcuts too good to burn and too small to shelve. The pieces sit in a corner, get in the way, and eventually go in the bin. These scrap wood project ideas rescue them. Each build below takes an hour or less, uses pieces you already own, and ends with something your home will use every day.
Sort your scraps before you start. Keep pieces at least as long as your hand for small builds, and set aside anything split, warped, or full of nails. A quick pass with sandpaper on every edge keeps the finished pieces safe to handle, and a wipe of food-safe oil finishes anything that touches food. Then pick a project and start cutting.
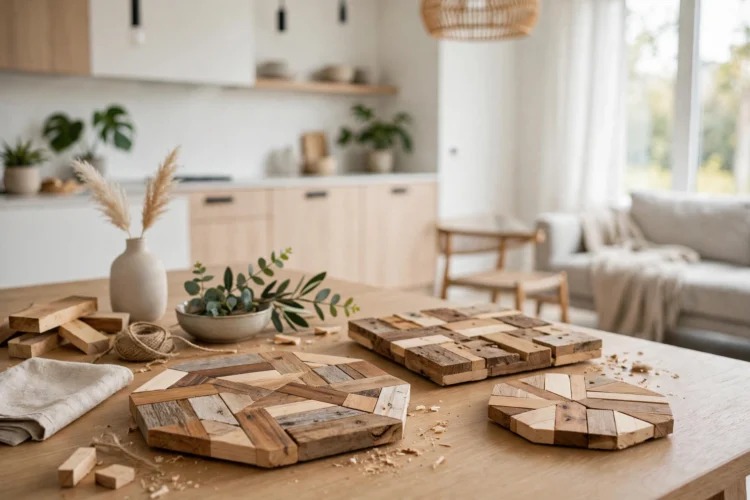
A trivet is one of the simplest scrap builds, and it saves your table from hot pots every single day. Cut five or six short slats from an offcut board, lay them side by side with a small gap between them, and screw two cross pieces to the back to hold them together. Sand the top smooth and seal it with a food-safe oil so heat and spills do not stain the wood.
A scrap wood trivet also makes a good gift, since it is small, useful, and easy to make in a batch. Cut the slats for four trivets at once, assemble them in one sitting, and you have a set ready for the holidays or a housewarming. Vary the wood species in each trivet for contrast, or keep them all in one species for a matching set.
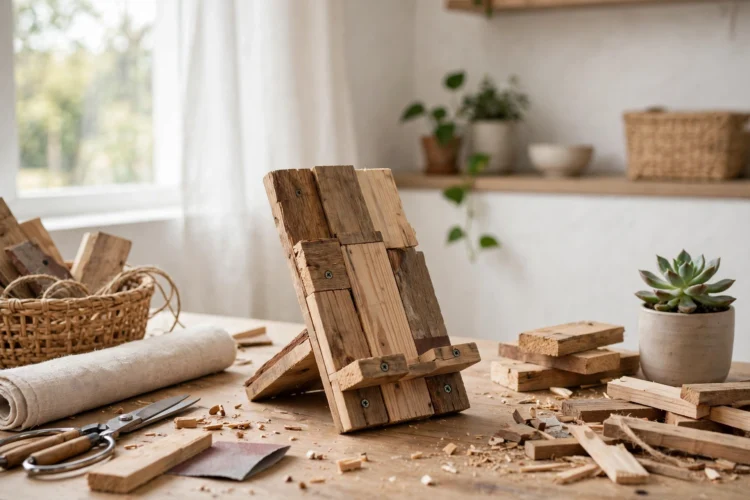
A phone stand needs only two cuts and a slot. Cut a small base from a thick offcut, cut a second piece for the backrest, and saw a narrow groove across the base at an angle so the phone leans back against the rest. Glue and screw the two pieces together, sand the groove smooth so it does not scratch the phone, and the stand is done.
A wooden phone stand keeps your screen visible while you cook, follow a workout, or join a video call. Cut the groove wide enough for a phone in a case, since a slot that fits a bare phone will not fit a cased one. Make the same stand taller and wider for a tablet, and it holds a cookbook open at eye level while you work at the counter.
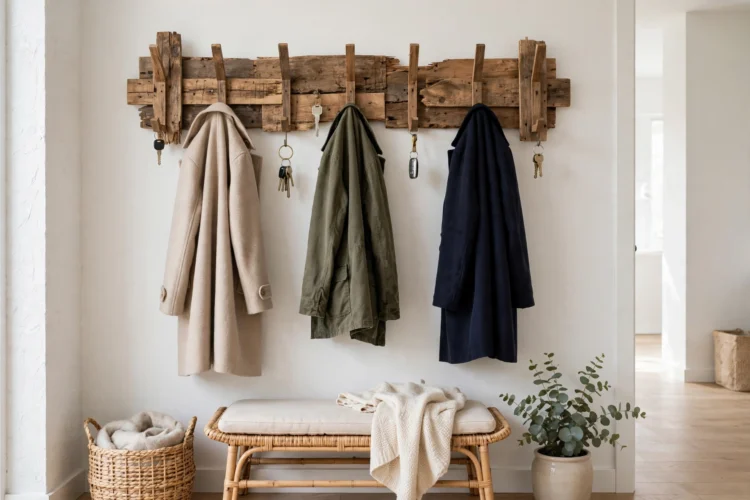
A short board with three hooks organizes a whole entryway. Cut a board about as long as your forearm, sand it smooth, and screw three hooks into the front at even spacing. Mount the board to wall studs with two long screws, and coats, bags, and dog leashes finally have a home that is not the floor.
Scrap wood wall hooks also work at a smaller scale for keys. Cut a narrow strip, add two or three small hooks, and mount it beside the front door at hand height. Label each hook if your household shares keys, and the morning hunt for car keys ends for good. A key holder this small takes fifteen minutes to build, which makes it a good first project for a new woodworker.
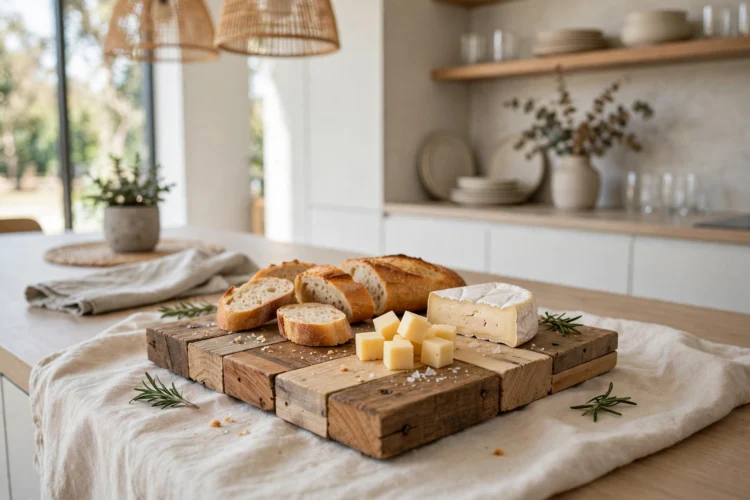
A serving board needs one flat offcut, a handle shape, and a smooth finish. Cut the board to the size of a bread loaf or a cheese plate, round the corners with sandpaper, and drill a hole through one end for a leather hanging loop. Sand through the grits until the surface feels smooth to the touch, then seal it with food-safe oil.
Serving boards sell well at craft markets for a reason: everyone uses one, and a handmade board looks better than a store-bought one. Make three in different sizes from the same offcut pile and stack them on a shelf as a set. Keep one for bread, one for cheese, and one for the table, and wash them by hand so the oil finish lasts.
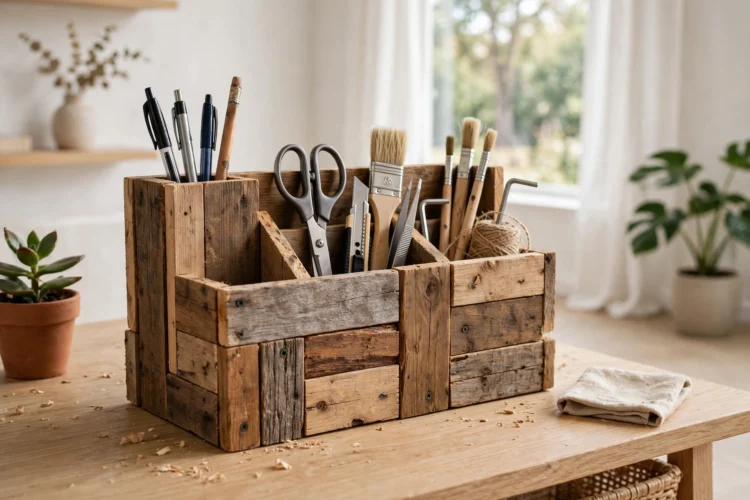
A desk organizer is a small box with dividers, and offcuts are the perfect size for it. Cut four sides from thin offcuts, glue and nail them into a shallow tray, then add two dividers across the inside to create three compartments. Pens, scissors, and charging cables each get a slot, and the desk stops looking like a junk drawer.
Drill several holes of different sizes into a solid block of offcut wood, and you have a pen holder with no assembly at all. Sand the top smooth, wipe on a little oil, and set it beside your keyboard. A block holder suits thick markers and scissors better than a tray does, so make one of each and your desk is sorted. These beginner woodworking projects include tray and box builds like this one that teach measuring and gluing on a forgiving scale.
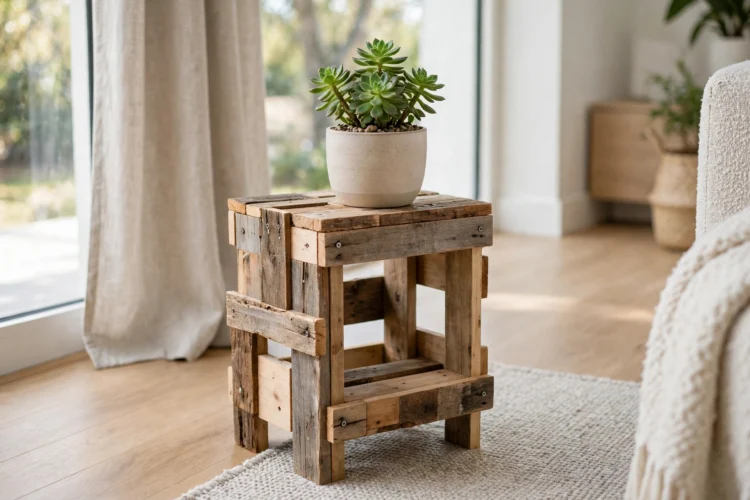
A plant stand lifts a pot off the floor so air reaches the leaves and the pot does not trap moisture on wood floors. Cut four short legs and a square top from offcuts, screw the legs to the corners of the top, and sand everything smooth. The stand only needs to be a few inches tall to do its job.
Make the same piece wider and shorter and it becomes a pot riser for a windowsill, lifting a small plant above the sill edge so it catches more light. These DIY plant stand designs show how a simple stand changes the look of a plant corner, and a scrap-built stand costs nothing but an hour of your time.
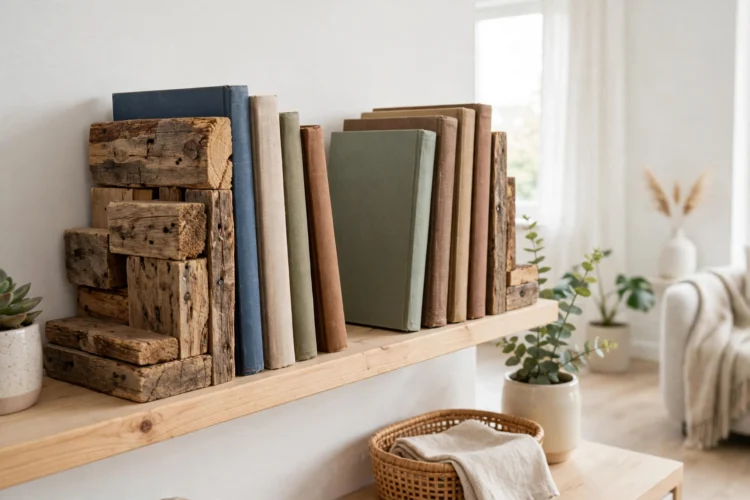
Bookends are two L-shaped pieces of wood, and offcuts make them in minutes. Cut two uprights and two bases, screw each upright to its base at a right angle, and add a small triangular brace behind the joint if the books are heavy. Sand the pieces smooth and paint or stain them to match the shelf.
Heavy books need heavy bookends, so use thick offcuts and keep the base long enough to slide under the first few books. The weight of the books on the base is what holds the bookend upright, so a short base tips over no matter how solid the upright is. Make the pair match, or make each one different for a collected look.
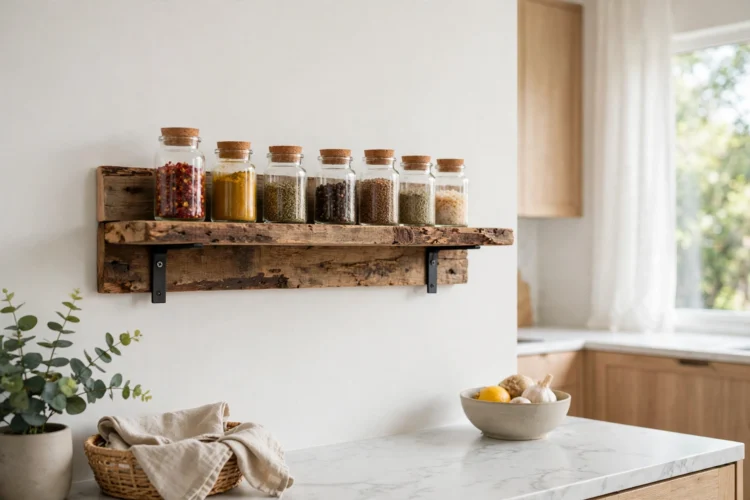
A mini shelf is a short board with a hidden bracket, and it holds spice jars, small plants, or bathroom bottles. Cut the board to the length you need, drill a hole in the back for a keyhole bracket, and screw the bracket to the wall. The shelf slides onto the bracket and hides it completely, so the board looks like it floats.
Cut a long, narrow board, add a thin lip along the front edge, and mount it inside a cabinet door or on a kitchen wall for a spice rack. The lip keeps jars from sliding off when the door closes, and the rack holds a row of jars at eye level where you can read the labels. These floating shelf styles include small shelves like this one that you can build and hang in a single afternoon. These pallet wood projects offer more ideas for turning reclaimed boards into shelves and storage with the same simple joinery.
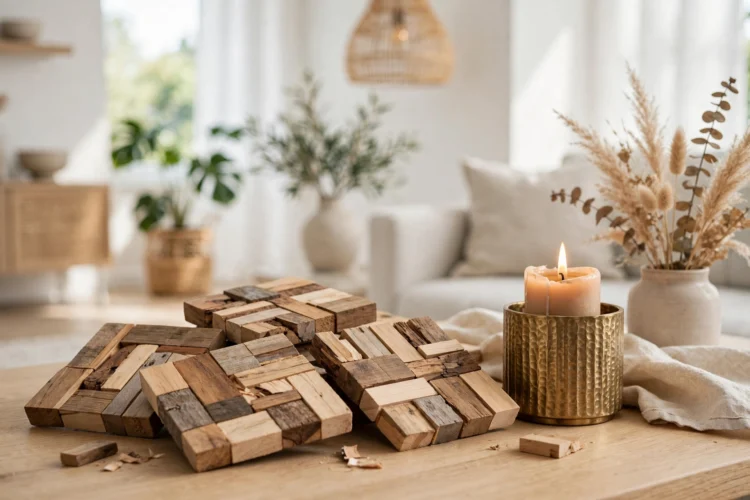
Coasters are the smallest scrap build, and a set of four takes less than an hour. Cut squares or circles from a flat offcut, sand the edges round, and seal them with oil or wax so water rings do not stain them. A set of matching coasters looks far better than a random pile of cork ones, and they make a good gift when you tie them with twine.
Use the same offcut to make a candle holder by drilling a shallow hole sized to a tea light into a small block. Sand the block smooth, wipe on oil, and the holder is safe for a tea light on a dining table. Keep candle holders away from curtains and never leave a lit candle unattended, since even a small flame deserves respect.
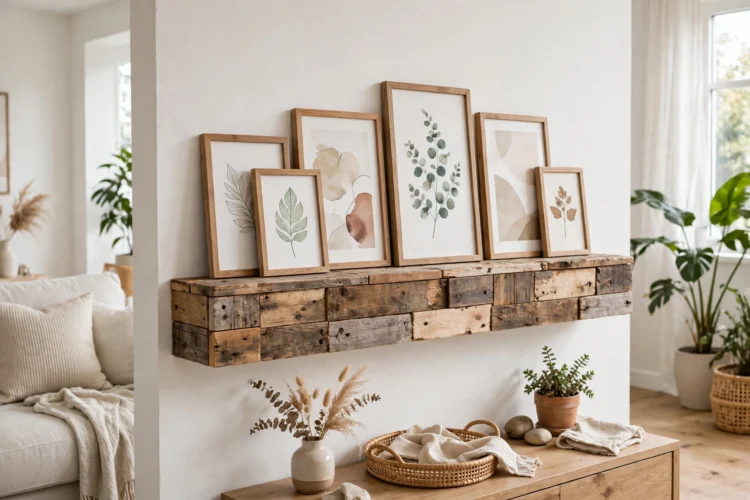
A picture ledge is a narrow shelf with a lip that holds framed prints leaning against the wall. Cut a board, add a thin strip along the front edge as a lip, and mount it with brackets or a French cleat made from a second offcut. Lean two or three frames on the ledge and swap them whenever you like, with no new nail holes each time.
Offcut wood projects like these ledges leave short pieces that suit a hanging planter. Cut a small square base, drill four holes near the corners, thread rope through the holes, and knot it above a small pot. Hang the planter from a ceiling hook near a window, and a trailing plant gets the light it needs without taking up shelf space. A ledge and a planter built from the same offcut pile tie a room together with matching wood tones.
Walk to your scrap pile tonight and pull out five pieces you would otherwise throw away. One becomes a trivet, one a phone stand, one a set of hooks, and the rest wait for the next project. Offcuts are not waste. They are the next build, already cut to size.