Physical Address
304 North Cardinal St.
Dorchester Center, MA 02124
Physical Address
304 North Cardinal St.
Dorchester Center, MA 02124

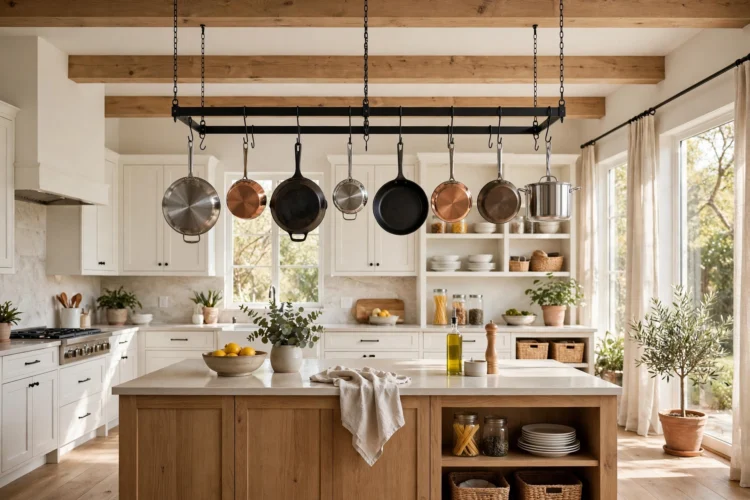
A hanging pot rack frees a whole cabinet and keeps cookware within reach, but only when the mounting is solid. These eight ideas cover ceiling, wall, and island racks with the safety rules that matter.
Pots and pans eat cabinet space faster than anything else in a kitchen. They stack badly, their lids never fit, and the one you need is always at the bottom of the pile. Hanging pot rack ideas solve this by moving cookware to the wall or the ceiling, where it stays visible, dry, and easy to grab. The catch is that a rack full of cast iron is heavy, so the mounting has to be right. These eight ideas cover ceiling, wall, and island racks, with the height, clearance, and fixing rules that keep suspended cookware safe.
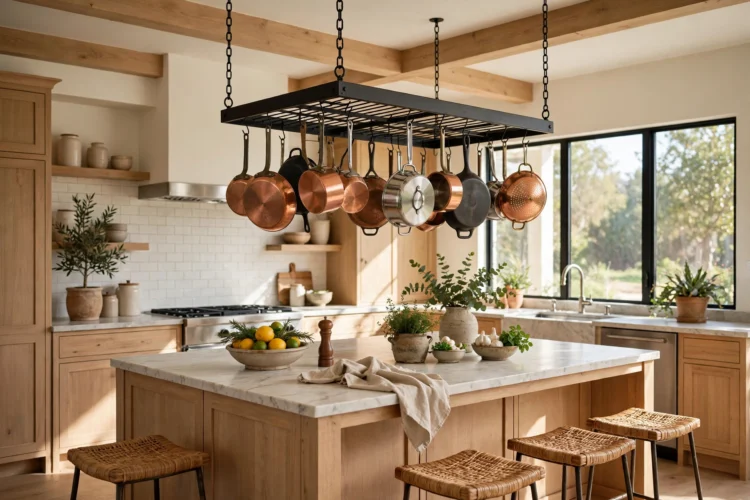
A ceiling pot rack over the island puts pots where you cook and frees a whole cabinet below. It works best over an island with a clear ceiling above it and no pendant lights in the way. Choose a rectangular rack that matches the island footprint, so the pots hang inside the island edge rather than over the walkway.
Fix the rack into ceiling joists, not plasterboard, since a loaded rack can weigh more than a grown adult. Use a stud finder to mark the joists and drive lag bolts through the mounting plate. Hang the rack so the lowest pot sits at least a hand span above head height for the tallest person in the house. Space the hooks so lids hang beside their pots. A rack that is too wide forces cooks to duck around it, so keep it inside the island edge. For more ways to clear the counters, see these wall mounted kitchen storage ideas that free the counters.
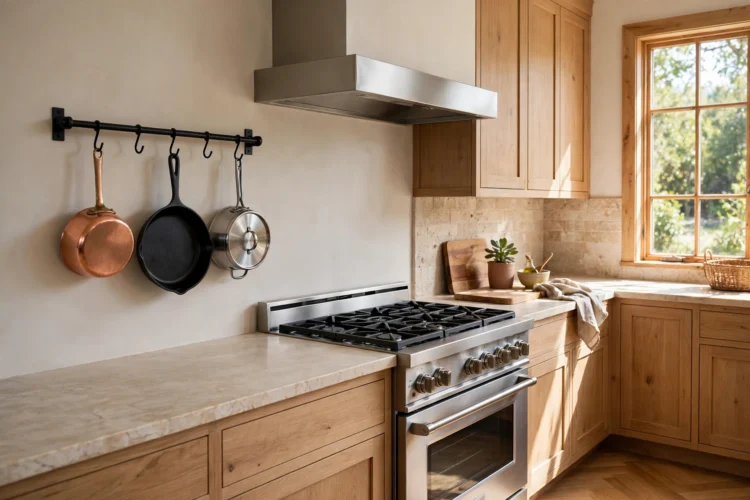
A wall rack beside the stove keeps the pans you use daily within arm’s reach. A steel rail with S-hooks is the simplest version, and a wall mounted pot rack with a shelf above it adds room for oils and spices. Mount it on the wall beside the hob, not above it, so steam and heat do not rise straight into the handles.
Fix the rail into studs or use fixings rated for the full weight of the pans, since a rail that pulls out of plasterboard drops everything at once. Leave a gap between the rail and the wall so pan handles clear the surface. Hang the heaviest pan nearest a fixing point, not in the middle of the span. Wipe the rail weekly, since grease settles on steel fast near a stove. Keep the rail at shoulder height so pots lift off without a stretch.
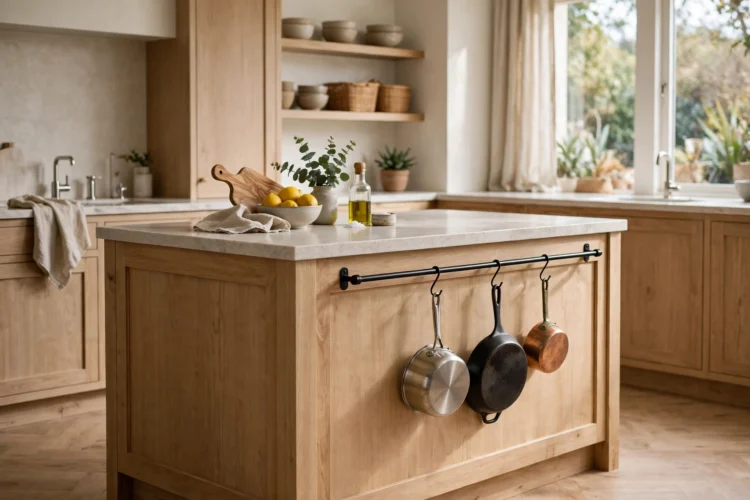
An island rail mounts to the side of the island or under the overhang, which suits kitchens with no free wall and a ceiling that cannot take a rack. A short rail with four or five hooks holds the everyday pans, while the rest stay in a cabinet. It keeps the most used cookware visible without turning the kitchen into a display.
Check the island build before you drill. A solid wood side takes screws well, while a hollow panel needs a backing plate inside. Keep the rail clear of the seating side so knees never hit a hanging pan. Use hooks with a closed end so a pan cannot slide off when the island gets bumped. Paint the rail to match the island so it reads as part of the furniture, not an add-on. This small rack suits a compact kitchen where a full ceiling rack would crowd the room. It also pairs well with other small space storage, as these kitchen storage ideas for small spaces show.
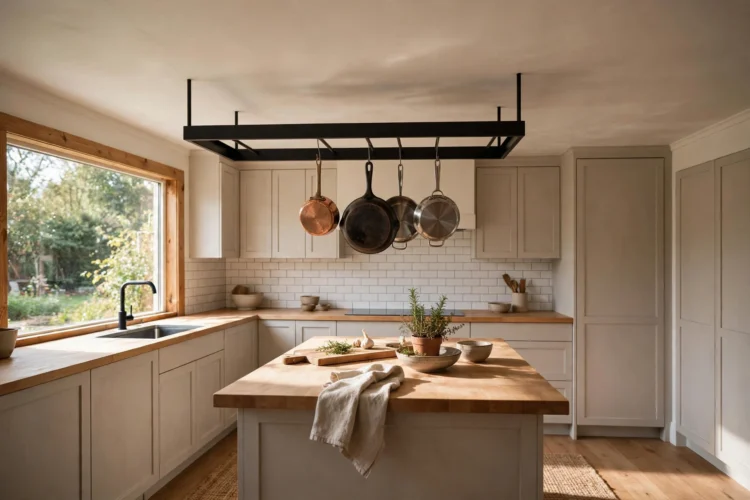
Low ceilings rule out a long drop chain, but they do not rule out a hanging rack. A low profile rack mounts close to the ceiling, with pots hanging just below it on short hooks. The trick is keeping the lowest handle above head height, which means choosing shallow pans for the rack and keeping tall stockpots in a cabinet.
Measure from the floor to the ceiling, then subtract the height of the tallest person in the house plus a margin for comfort. If the numbers do not work, move the rack to a wall instead. A ceiling rack on a short drop also needs a solid joist fixing, since the load is the same as a longer rack. Pot rack height is a safety rule, not a style choice, so measure it before you drill. Keep the rack over a worktop rather than a walkway, so nobody passes under it. A low ceiling kitchen still gains from a rack, as long as the clearance is honest.
A rail on the backsplash wall turns dead space between the worktop and the cabinets into storage. It holds ladles, spatulas, and small pans on hooks, which clears a drawer and keeps tools where you cook. A stainless steel rail suits a modern kitchen, while a brass rail suits a traditional one.
Mount the rail into tile with a masonry bit and proper plugs, or fix it into the studs behind the wall. Keep the rail at least a hand span above the worktop so tall pots clear the surface. Hang utensils by use, with the most reached for tools at the center. A rail also works as a drying spot for washed ladles, since air moves freely around them. Wipe it down after frying, since the backsplash wall catches grease first.
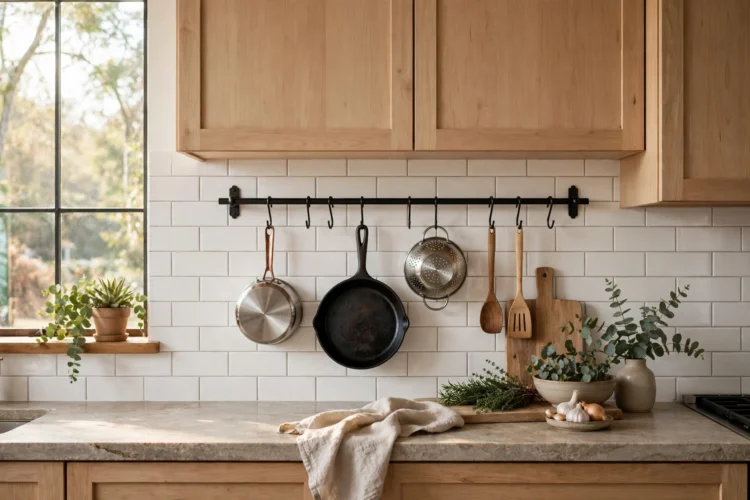
A corner rack uses the wall space where two walls meet, which is often wasted in a kitchen. A triangular shelf with hooks below it, or two short rails meeting at the corner, holds a small set of pans without blocking a walkway. It suits galley kitchens and L-shaped rooms where a straight run of wall is hard to find.
Fix each side into its own wall so the load spreads across two surfaces. Keep the pans small, since a corner rack has less room for a wide frying pan to swing. Hang lids on the inside edge where they stay out of the way. A small shelf above the corner rack holds oils and spices within reach of the stove. A corner rack also works above a corner sink, where the wall space is awkward for anything else. It is a modest gain, but in a tight kitchen every hook counts. For a full clear out, these kitchen organization ideas for cluttered cabinets help with the rest of the room.
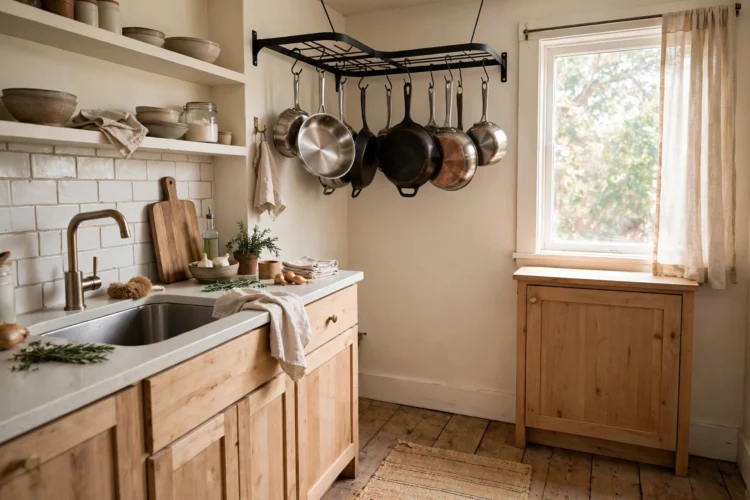
A ladder rack hangs horizontally like a small ladder, with rungs that hold hooks and a shelf on top for bowls or plants. It suits a peninsula, where the rack can hang over the worktop without blocking the room. The shelf on top adds storage that a plain rail cannot offer.
Hang the ladder from the ceiling on two short chains, and fix the chains into joists. Level it carefully, since a tilted ladder slides hooks to one end. Keep the top shelf light, with bowls and plants rather than cast iron, since the chains carry that weight too. Hang a small plant from the end rung to soften the steel and bring a little green into the room. The open rungs make it easy to add or move hooks as your pan set changes. A ladder rack reads as furniture rather than hardware, which suits a kitchen that opens onto a living room.
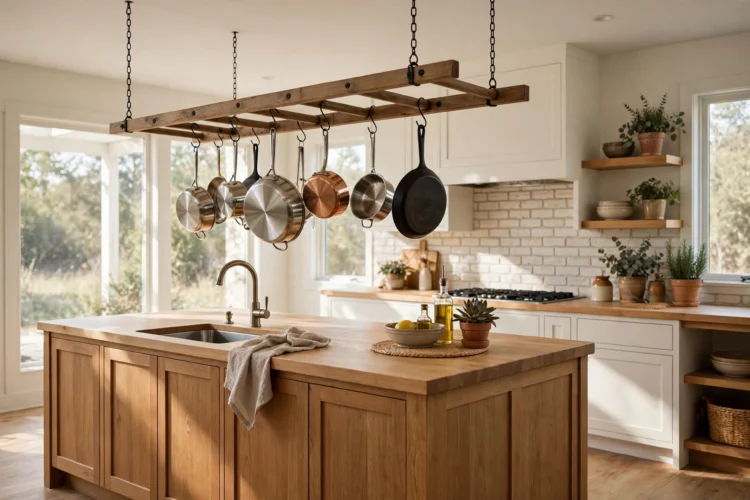
A rolling rack stands on the floor on castors, so it needs no drilling and moves where you need it. It suits a rental kitchen, where the walls and ceiling are off limits, and it works as extra storage beside a fridge or at the end of a counter. The frame holds hooks on both sides, so it carries more than a wall rail.
Choose a rack with locking castors so it stays put while you lift a pan off. Keep the heaviest pans low on the frame so it cannot tip, and leave the top rail for light lids and utensils. A rolling rack also works as a serving station when guests come, since it wheels to the table. Measure the gap it will stand in before you buy, since a rack that is too wide blocks a drawer. When the tenancy ends, it rolls out with you. For drawer space to match, these kitchen drawer organization ideas for utensils and tools finish the job.
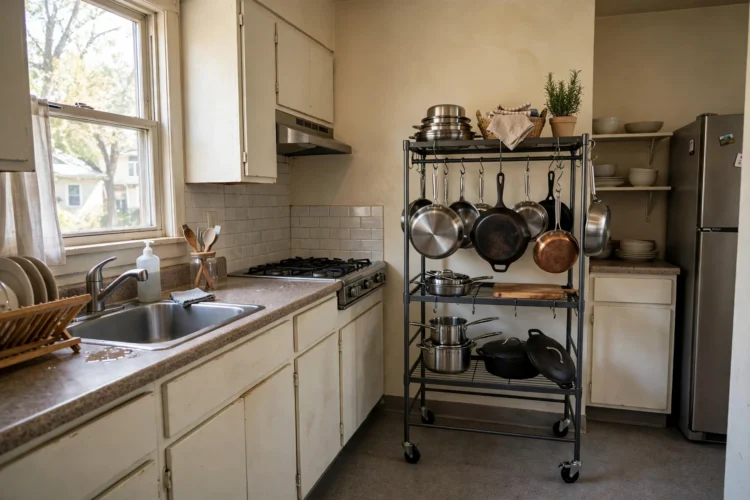
A pot rack earns its keep when the mounting is solid and the clearance is honest. Fix into joists or studs, keep the lowest handle above head height, and hang the pans you reach for daily. The cabinet space you free up is a bonus. The real gain is cooking without digging through a pile every time you need a pan.