Physical Address
304 North Cardinal St.
Dorchester Center, MA 02124
Physical Address
304 North Cardinal St.
Dorchester Center, MA 02124

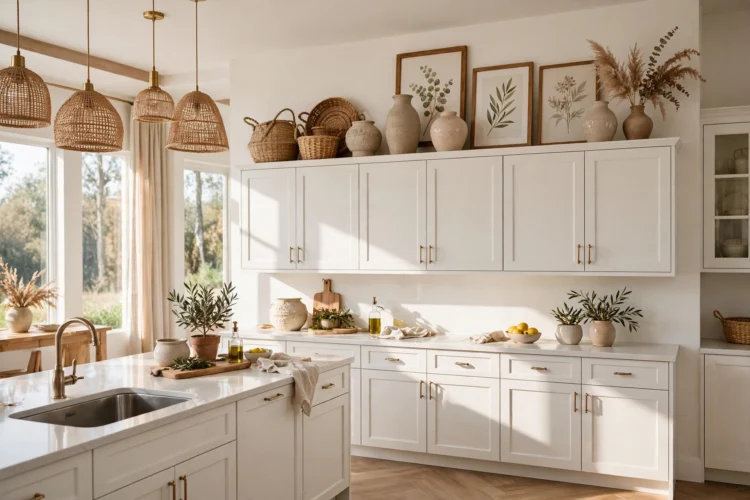
The strip of wall above the cabinets collects dust, grease, and whatever has no home. These eight ideas show what to put up there, what to leave out, and how to close the gap for good.
Decorating above kitchen cabinets is the answer to a gap most kitchens did not plan for. The cabinets stop short of the ceiling, and the strip of wall above them collects dust, grease, and whatever you could not find a home for. The dusty ivy and the fake grapevine that used to fill that strip made the problem worse, not better. The modern fix is simpler: put less up there, choose pieces with a reason to be there, and clean the ledge on a schedule. These eight ideas cover what to put up, what to leave out, and how to close the gap for good.
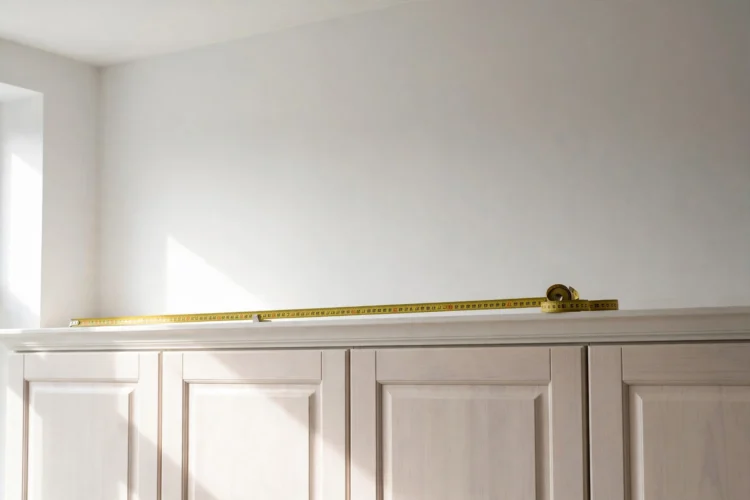
Before you buy anything, measure the gap. If the strip above the cabinets is less than a foot tall, leave it empty. A short gap cannot hold anything worth looking at, and whatever you squeeze in there will read as clutter from the floor. If the gap is a foot or more, you have room to work with, and the ideas below will fit.
The second decision is whether the gap should be decorated at all. In a kitchen with a high ceiling and a clear view of the cabinet tops from the dining table, the gap is part of the room and deserves attention. In a kitchen where the cabinet tops are barely visible, the honest answer is to leave them alone and spend the effort somewhere you can see it. Above cabinet decor only works when the ledge is actually visible from where people stand, so check the view from the doorway and the dining table before you start.
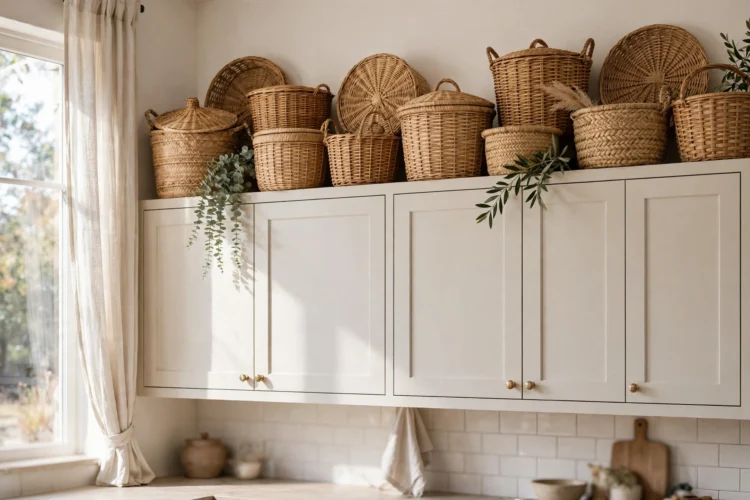
One or two large baskets are the easiest answer for the space above the cabinets. A basket is big enough to fill a wide stretch, light enough to lift down for cleaning, and warm enough to soften a wall of painted cabinets. Choose baskets in a natural fiber, seagrass, rattan, or woven willow, and keep them in the same tone so they read as a set rather than a collection of leftovers.
Put the largest basket at the end of the run and a smaller one beside it, or use a single long basket that spans the whole cabinet. Do not mix five small baskets of different sizes and colors. Small baskets on a high ledge read as clutter, because the eye cannot tell them apart from the gap behind them. Two baskets, one color family, and a little space around them is the whole formula.
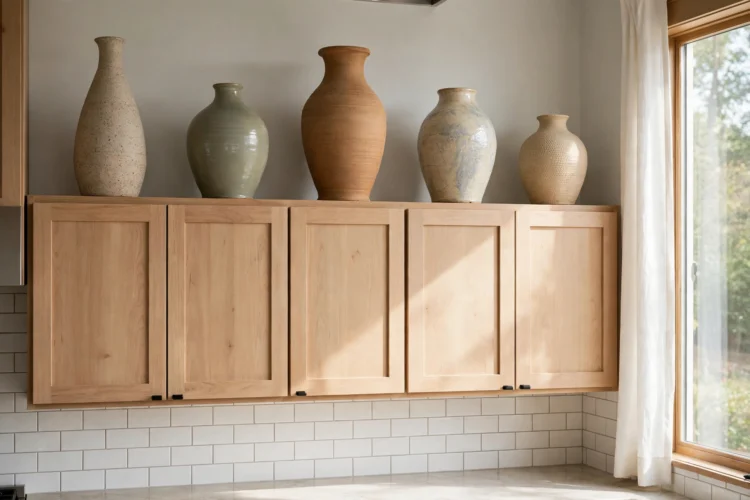
Ceramics work above cabinets for the same reason they work on a shelf: they have weight, color, and a shape the eye can follow from the floor. Use odd numbers, three or five pieces, and keep them in one color family so the group reads as a set. A row of cream stoneware vases, a trio of terracotta pots, or a set of glazed bowls in the same blue will always look calmer than a mix of every color you own.
Scale matters more than style here. The pieces need to be tall enough to clear the cabinet tops and be seen from the floor, which usually means at least a foot tall. Anything shorter disappears behind the cabinet edge. The top of kitchen cabinets is also a dusty place, so choose glazed ceramics that wipe clean with a damp cloth, and skip anything with a rough, unglazed surface that traps grease.
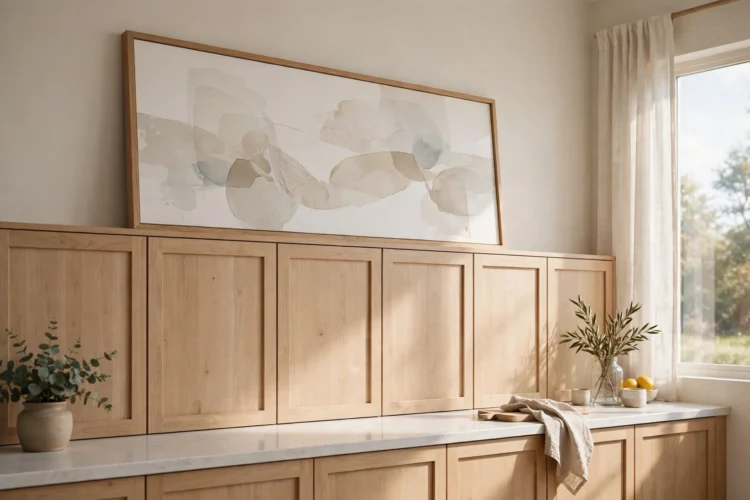
When the gap above the cabinets is wide but low, framed art fits better than any object. A long, low frame, a landscape print, or a row of three small frames in a line can fill the whole run without looking crowded. Lean the frame against the wall rather than hanging it, so you can lift it down for cleaning without tools.
Keep the art simple. A print with one strong color, a black and white photograph, or a piece of textile in a plain frame will hold up from a distance. A busy, detailed painting will turn to noise from the floor, and anything with glass will catch the light and show every fingerprint. If the gap runs the full length of the kitchen, one long piece beats three small ones, because the eye reads it as a single deliberate gesture instead of a row of afterthoughts.
The most common mistake above cabinets is lining up a dozen small objects like a souvenir shelf. From the floor, small objects blur into a cluttered edge, and each one collects dust on its own schedule. One long object does the opposite. A wooden dough bowl, a long tray, a row of same-height jars, or a single piece of driftwood fills the run with one clear shape.
The rule is one object per cabinet run, or one repeated object in the same size and color. A row of five identical jars reads as a pattern. Five different jars read as a mess. If you already own a collection of small pieces, group them on a single tray so they read as one object from the floor, and keep the tray itself plain. The tray is what turns a clutter of small things into a single deliberate display.
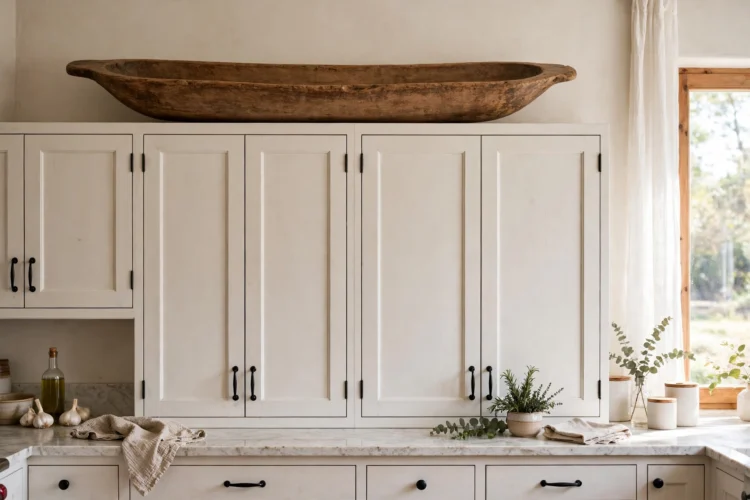
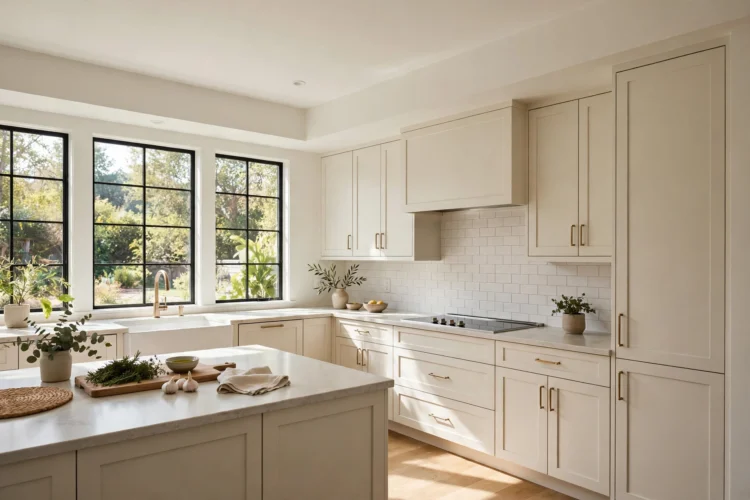
Sometimes the best answer is to remove the gap entirely. Kitchen soffit ideas fall into two camps: build a soffit, which is a boxed-in section that drops from the ceiling to the top of the cabinets, or extend the cabinets to the ceiling with taller doors or a stacked row of short cabinets. Both remove the dust shelf and make the kitchen look taller, and both cost more than decorating the gap.
A soffit is the cheaper of the two, and it works best when the gap is uneven or the ceiling is not level, because the box can hide the difference. Extended cabinets are the better choice if you need the storage, and a stacked row of glass-fronted cabinets at the top adds display space without adding another dust shelf. Either way, the kitchen cabinet gap disappears, and so does the cleaning job that came with it. These backsplash ideas that run to the ceiling show the same principle on the wall below: take a surface all the way up and the room looks finished.
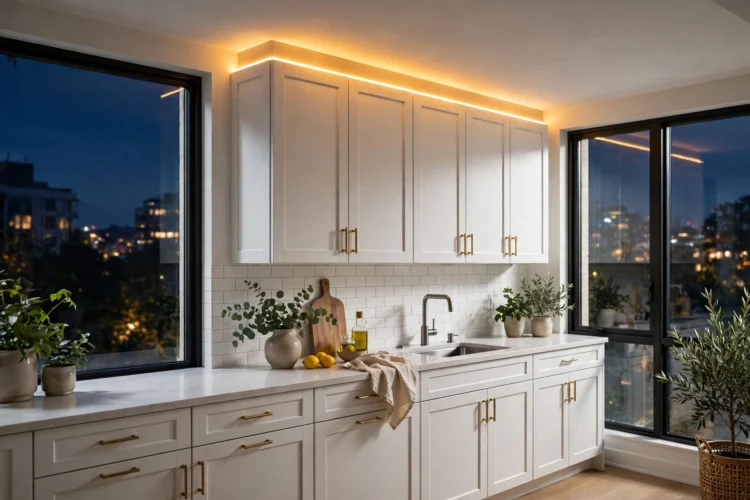
Whatever you put above the cabinets, light decides whether people notice it. A slim LED strip tucked behind the front edge of the cabinet top throws a soft wash of light up the wall and across the objects, and it turns the ledge from a dark shelf into a display. Warm light suits wood and cream cabinets. A cooler light suits white and gray.
Keep the strip hidden. If the light source is visible from the floor, the eye goes to the strip instead of the objects. Run the strip along the whole cabinet run, not just one section, so the light is even. These kitchen lighting ideas beyond the basic flush mount cover the same layered approach for the rest of the room, and a dimmer on the strip lets you turn the ledge down to a glow in the evening.
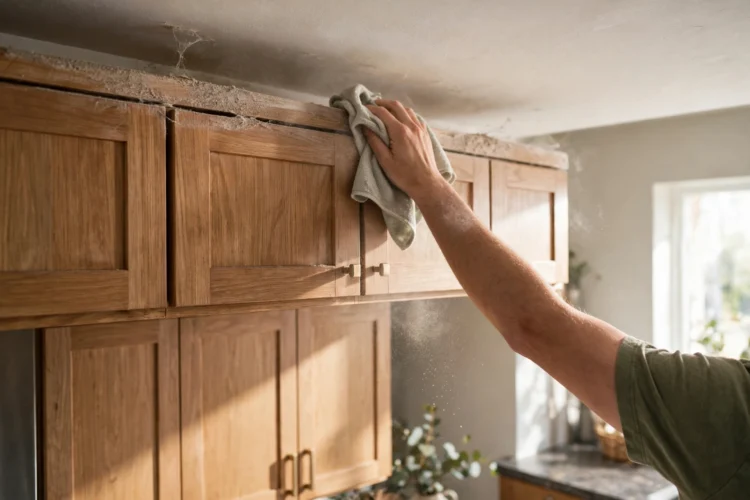
Grease rises with cooking steam and settles on every horizontal surface, and the top of the cabinets is the highest horizontal surface in the room. That is why the ledge gets dirty even in a kitchen that looks clean from the floor. The fix is a schedule, not a deep clean once a year. Wipe the ledge once a month with a damp cloth and a mild degreaser, and vacuum the objects with a brush attachment at the same time.
Line the ledge with a sheet of plain paper or a cut-to-fit piece of shelf liner before you put anything back. The liner catches the grease and the dust, and replacing it takes a minute, while scrubbing a painted cabinet top takes far longer. For the objects themselves, choose pieces that can be wiped in seconds, and keep a small step stool nearby so the monthly wipe is easy instead of a chore. If the gap is hard to reach, that is a sign to close it with a soffit or extended cabinets rather than decorate it. These open shelving kitchen ideas face the same grease problem, and the same monthly wipe keeps them looking intentional instead of dusty.
The gap above the cabinets is not a storage shelf and it is not a museum. Put one good thing up there, light it, and clean it on a schedule, or close it and be done with it. Either choice beats a row of dusty ivy.