Physical Address
304 North Cardinal St.
Dorchester Center, MA 02124
Physical Address
304 North Cardinal St.
Dorchester Center, MA 02124

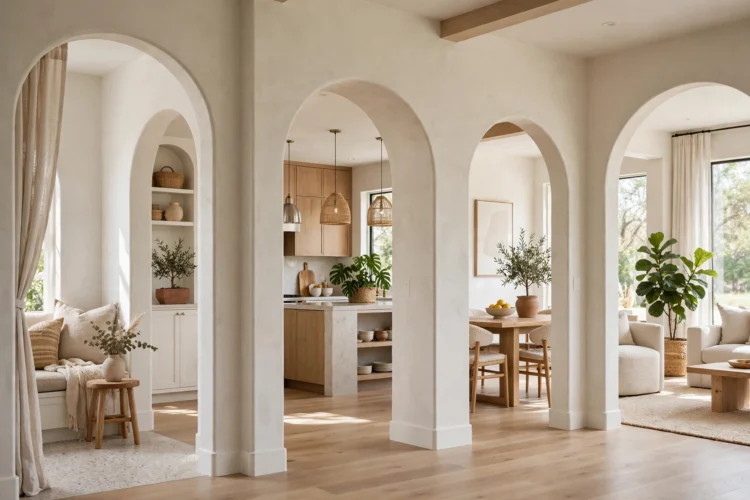
An arch softens the edge where two rooms meet and makes a boxy floor plan feel like it flows. These eleven ideas add curves without moving a single wall.
Most floor plans are a row of boxes joined by square doorways, and the eye reads every hard corner. Curves break that pattern. An arch softens the edge where two rooms meet, and it makes the walk from one space to the next feel like a passage instead of a gap in the wall. These interior archway ideas work with the walls you already have, so you can add the curve without moving a single stud. Some take a weekend and a kit. Others need only paint and a steady hand. Start with the opening you walk through most, and let the curve set the tone for the rooms around it.
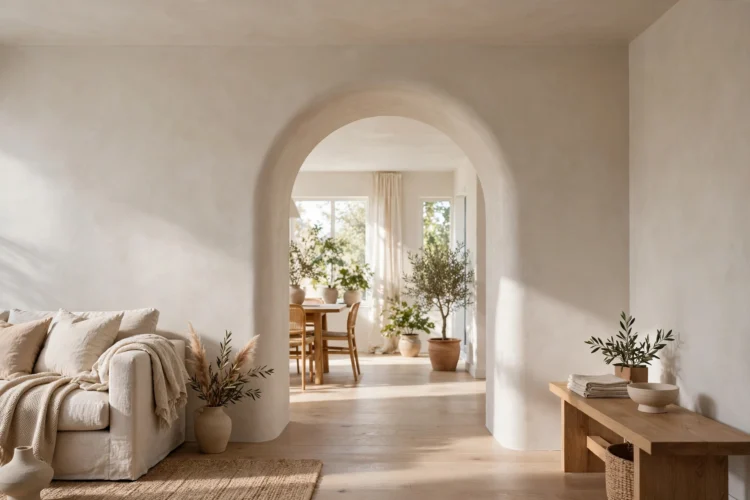
A half-round arch is the classic shape: a perfect semicircle sitting on two straight sides. It suits the wide opening between a living room and a dining room, where the curve reads from both sides and the opening stays generous. The semicircle keeps the headroom high at the center, so tall furniture passes through without a second thought. Paint the arch the same color as the walls and the curve looks built in, not added on. Paint it a shade darker and the opening becomes a frame for the room beyond. Either way, the shape does the work. When the two rooms need to feel connected but still distinct, these open-plan living room ideas show how to zone the space so the arch marks the boundary.
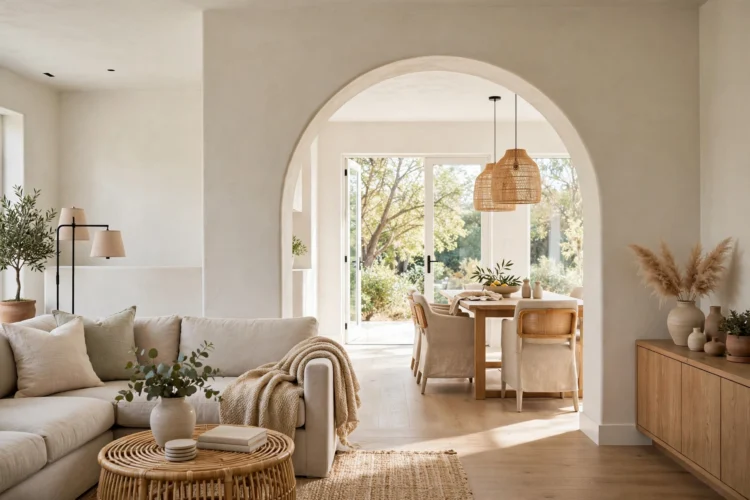
An elliptical arch is wider and flatter than a half-round one, so it suits openings that are broad but not tall. The gentle curve reads as calm rather than formal, which fits a modern house better than a tall Roman arch does. Elliptical arches work well over a kitchen pass or a wide hallway opening, where a full semicircle would eat too much headroom. The shape needs a template to cut cleanly, so most people buy a kit or have a carpenter trace the curve from a flexible strip. Once the shape is set, the finish is the same as any drywall opening: tape, mud, sand, and paint. The result looks like the house was built that way.
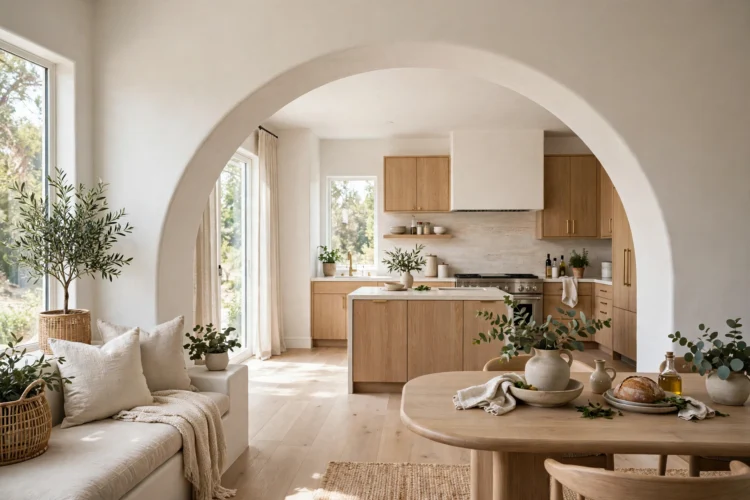
A drywall arch kit is the fastest route to a curved opening for anyone who has never framed an arch. The kit is a set of foam or molded corner pieces with a paper face, made to butt against standard half-inch drywall and take paint like the wall around it. You cut the opening square, fix the kit pieces into the top corners, and finish the seams with tape and compound. Kits come in sizes for different radii and for both 2×4 and 2×6 framing, so measure the wall thickness before you order. A typical kit install takes a weekend, including drying time for the compound. The curve comes out perfect every time, which is the part most DIY attempts get wrong. If you want the arch look without learning to bend drywall, a kit is the honest shortcut.
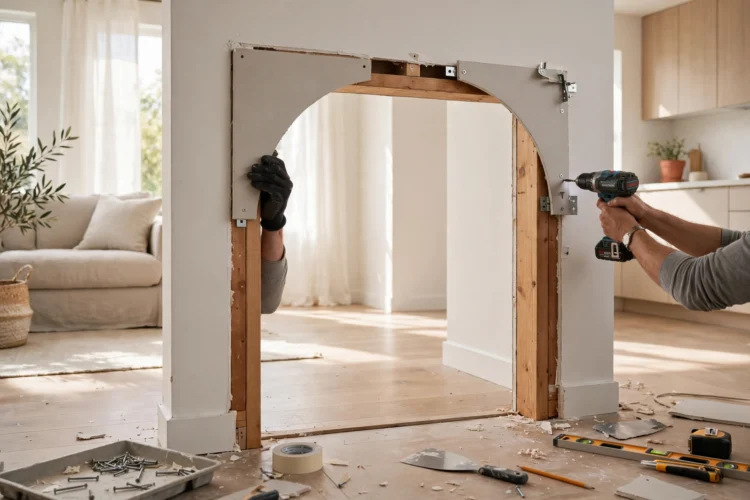
An arched cased opening is a doorway with no door, finished with trim around the edges. Add an arched top and the trim follows the curve, which gives the opening a finished, carpentered look that bare drywall cannot match. Slim trim suits a modern house, while a wider casing with a small rosette at the corners suits a traditional one. Paint the trim the same color as the wall for a quiet effect, or paint it white against a colored wall so the arch stands out. The trim also protects the edge of the opening from scuffs, which matters in a hallway that sees daily traffic. Measure the curve before you order trim, since the casing must match the radius of the arch.
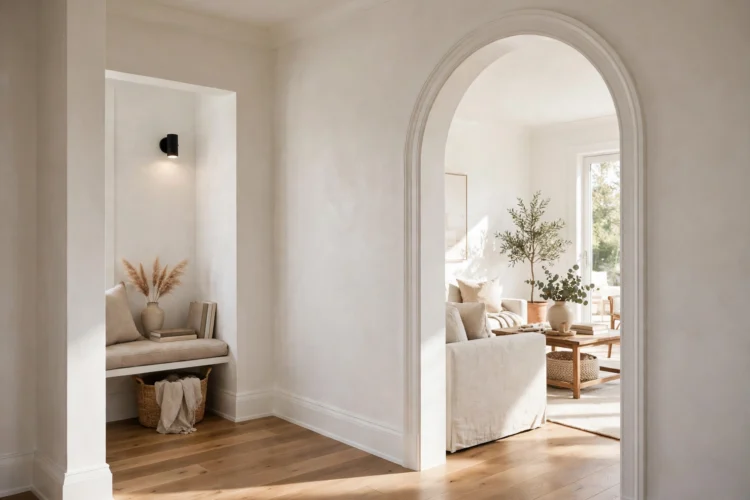
Two arches side by side turn a plain wall into a feature. A pair of matching openings between a kitchen and a living room frames the view from each side, and the column between them gives the wall a rhythm that a single wide opening lacks. Keep the two arches the same width and the same height, or the pair looks like a mistake. A slim column between them reads as elegant, while a wide column reads as solid and can hold a shelf or a piece of art. Double arches suit a long wall that needs breaking up, and they work in a dining room where the pair frames the table beyond. When the wall between the rooms still needs to do some work, these open-plan room divider ideas show how to keep the flow while giving each side its own purpose.
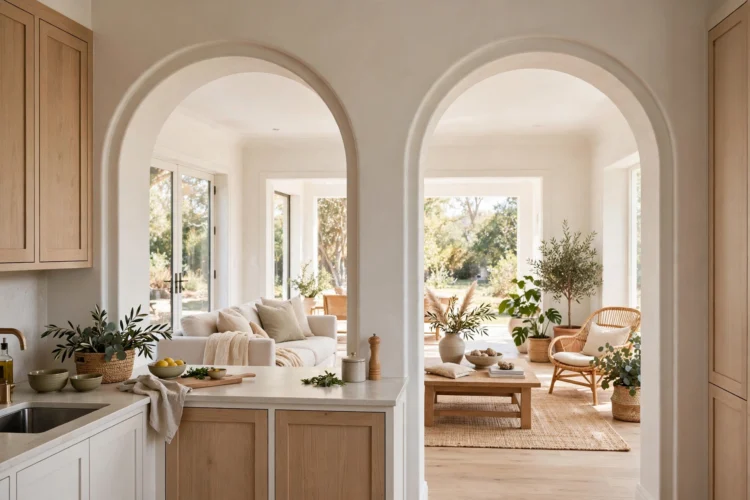
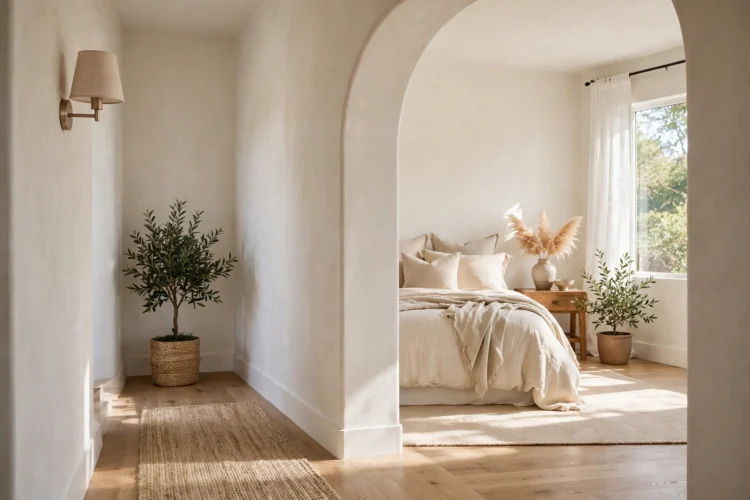
Removing the door from a doorway and arching the top changes how a room feels without changing its size. The opening stays wide enough to carry a laundry basket or a tray of food through, and the curve tells the eye that the two rooms belong together. This works best for bedrooms that open onto a hallway, where a door would only stay open all day anyway. Keep the arch high enough that the curve starts above head height, so nobody ducks under it. A simple drywall finish suits a modern house, while a timber lining suits a cottage. If the room beyond is narrow, the arch can make it feel wider by drawing the eye through the opening. These narrow living room ideas use the same trick of pulling the eye forward to make a tight space feel balanced.
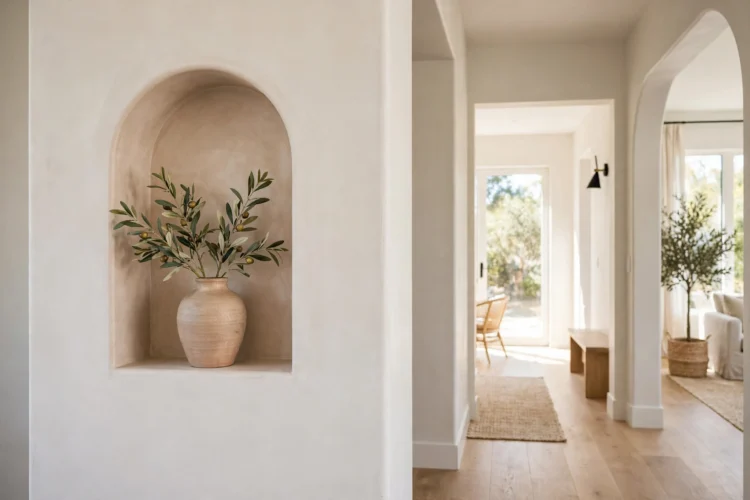
An arch does not have to span a doorway. A shallow arched niche in a hallway wall holds a vase, a candle, or a small stack of books, and the curve turns a flat wall into a display. Cut the niche into a non-load-bearing wall, line it with the same paint as the wall, and light it from above with a small picture light. A pass-through arch between a kitchen and a dining room does similar work at a larger scale. The opening sits at counter height, so plates and glasses pass through it while the curve above frames the cooks at work. Both ideas use the arch as decoration rather than structure, which means they cost less and need no new header. Pick one wall, cut one curve, and the room gains a focal point.
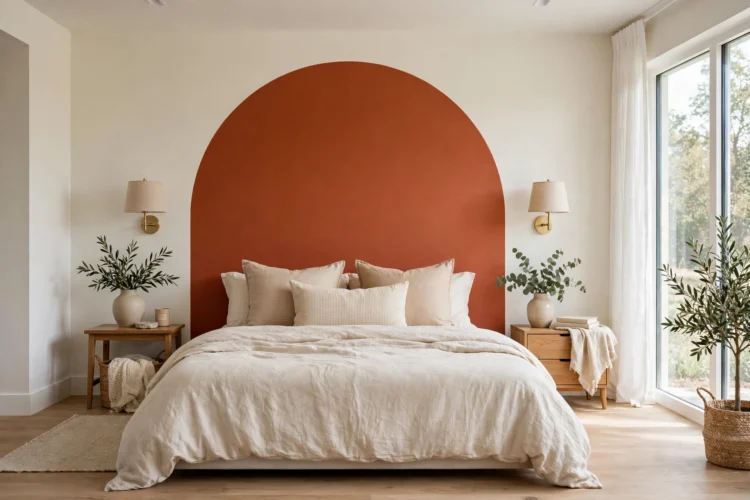
Paint is the cheapest arch of all, and it needs no cutting, no kit, and no carpenter. Mark the curve on the wall with a pencil tied to a string, paint the arch shape in a color that contrasts with the wall, and the eye reads a curve even though the wall is flat. A painted arch behind a bed turns a plain headboard wall into a feature. A painted arch over a doorway suggests the shape of a real arch for the cost of a small pot of paint. Keep the edges crisp with painter’s tape, and use a matte finish so the shape reads as flat color rather than a trick of the light. If the paint version wins you over, a real arch can follow later.
An arched alcove turns a dead corner into a place to sit. Build the arch into a bay window or a deep wall recess, add a cushion and a reading light, and the alcove becomes the seat everyone argues over. The curve overhead makes the small space feel sheltered rather than cramped, which is why arched alcoves work in bedrooms and landings as well as living rooms. Keep the seat deep enough that legs rest naturally, and line the back wall in a soft color so the light inside the alcove feels warm. A bay window gives you the depth for free, and these bay window living room ideas show how to dress the alcove once the arch is in place.
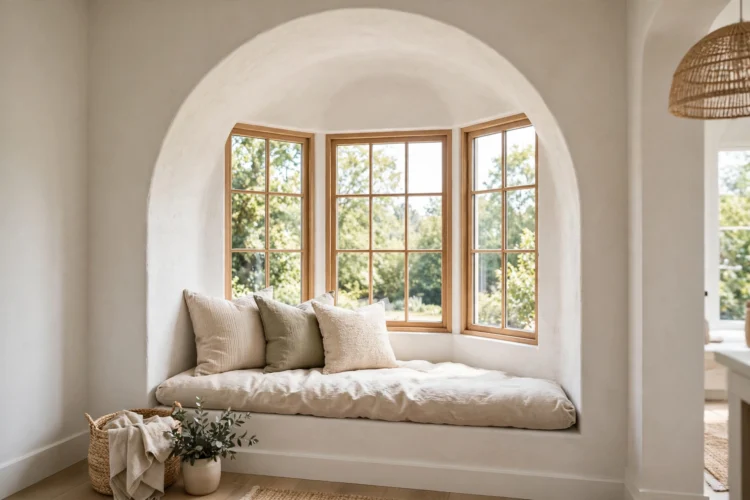
A curved opening finished in plaster or microcement reads as one continuous surface, with no trim line and no corner bead to catch the eye. The material wraps the curve in a single skin, so the arch looks carved from the wall rather than added to it. Microcement suits bathrooms and kitchens, where its sealed surface handles steam and splashes. Lime plaster suits bedrooms and living rooms, where its soft matte texture warms the curve. Both finishes need a skilled hand, since the curve shows every trowel mark. Ask the plasterer to show you a finished arch before you hire them, and budget for two coats rather than one.
Pick the opening you pass through most and give it a curve. A kit, a coat of paint, or a weekend of drywall work is enough to start. Once one arch is in place, the rest of the floor plan starts to look like it wants the same treatment.