Physical Address
304 North Cardinal St.
Dorchester Center, MA 02124
Physical Address
304 North Cardinal St.
Dorchester Center, MA 02124

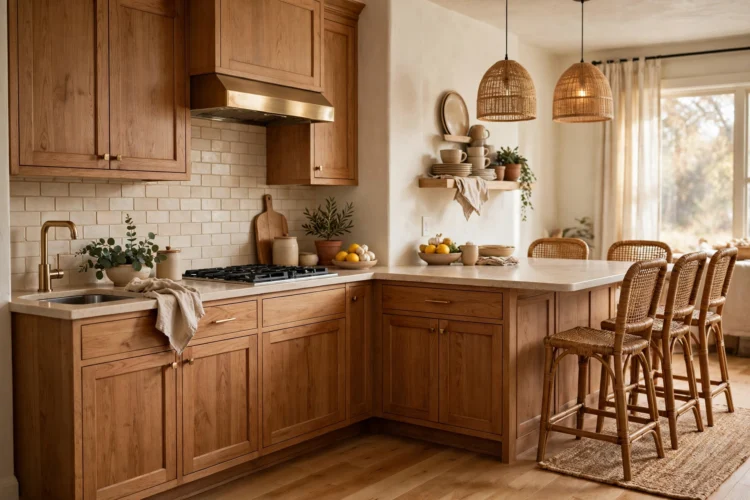
A peninsula delivers island perks without island square footage. These ten designs add seats, storage, and style to kitchens where a freestanding island just will not fit.
When the kitchen measures too tight for an island, most people give up on extra seating and storage. A peninsula changes the math. It is a counter anchored to the wall or to a run of cabinets on one end, jutting into the room like a half island, and it delivers nearly everything an island does: seats for breakfast, counter space for prep, and cabinets below. These kitchen peninsula ideas fit galley kitchens, L-shaped kitchens, and open-plan rooms where a freestanding island would choke the walkways. The rules are simple. Keep at least 36 inches of clearance around the open end, leave a 12-inch overhang wherever someone will sit, and pick a kitchen peninsula layout that matches how you actually cook and gather. Start with the ten below and see which one fits your floor plan.
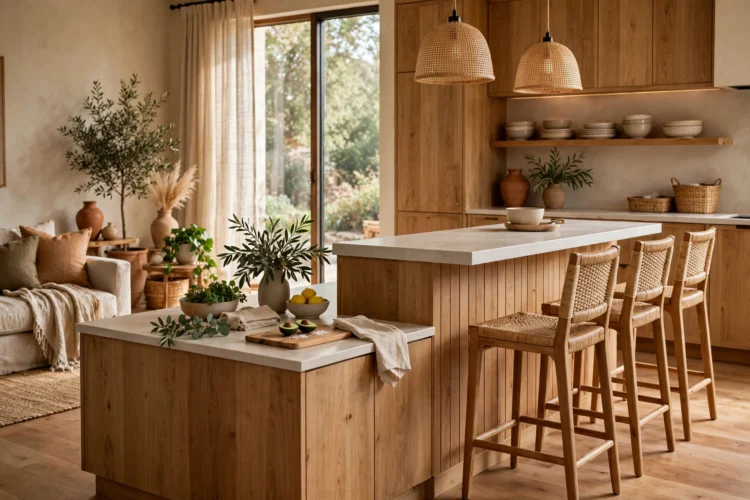
Start with the workhorse of kitchen peninsula layouts: a straight run of base cabinets extended perpendicular from the wall, topped with a counter that overhangs by 12 inches on the seating side. Two counter stools slide under, and you have a breakfast spot that costs far less than an island. Standard counter height runs 36 inches, so pick stools with seats around 24 inches. Keep the peninsula 24 inches deep in cabinets plus the overhang, which puts the total footprint near 36 inches. In a galley kitchen, this single addition can add six linear feet of prep space and seating for two without touching the main walkway. For many small kitchens, a peninsula breakfast bar like this is the only extra seating the room will hold. Wire a pair of outlets into the side panel while the cabinets are open, because phones and laptops will fight over them.
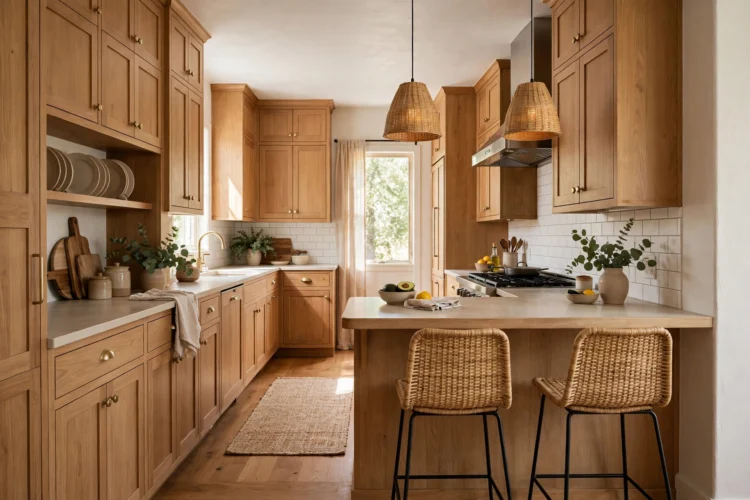
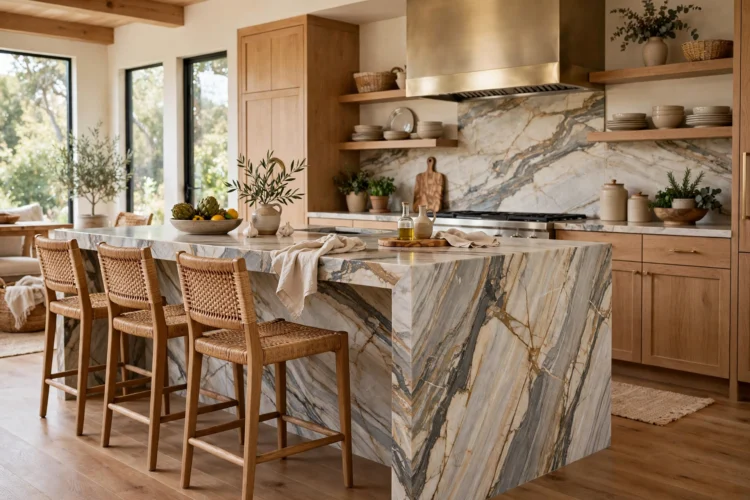
End the peninsula with a countertop that turns the corner and runs straight to the floor. The waterfall edge hides the cabinet end panel, protects the corner from chair scuffs, and makes a stock cabinet run look custom. Stone or solid-surface tops take this treatment best, since the fabricator can miter the corner so the veining continues down the side. Ask for the seam to land on the underside of the miter so it stays invisible at eye level. This detail costs more than a simple eased edge, but it reads as intentional design rather than leftover cabinets. It pairs well with flat-front cabinets and a single bold pendant, because the clean lines carry the whole look. Keep the floor beneath it clear of rugs, since the stone base looks best meeting the floor directly.
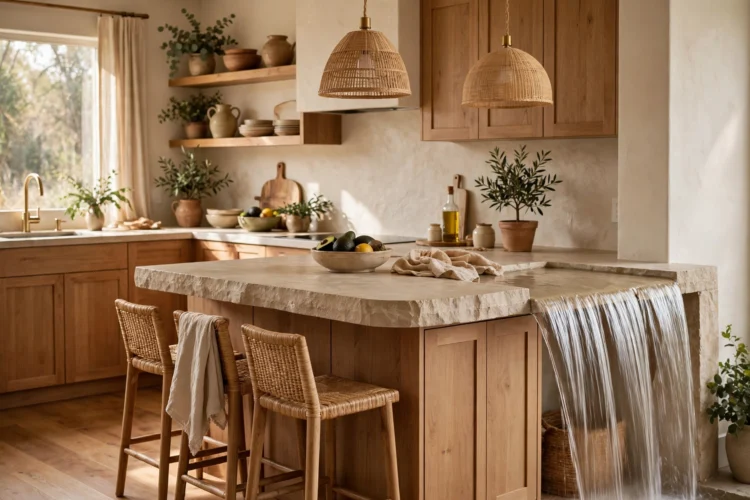
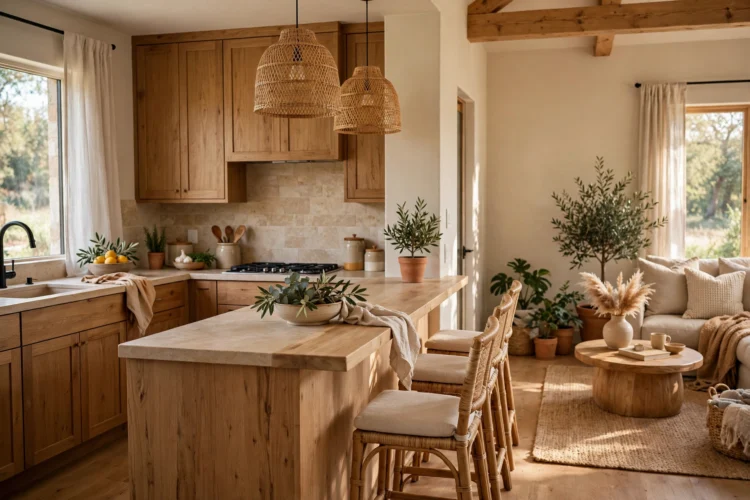
In open-plan homes, a peninsula draws the line between cooking and living better than any rug. Run it perpendicular from the kitchen wall toward the living area, then face the seating side outward so guests sit looking into the living room, not into your dish pile. A 42-inch high raised bar section blocks the view of counter clutter while keeping conversation open. Anchor the living-room side with a low console or a narrow bookcase set against the peninsula cabinets, and the two zones feel finished instead of blurred. This is the move for studio apartments and great rooms where the kitchen has no walls to lean on. Hang two pendants over the bar side to mark the boundary in light as well as furniture.
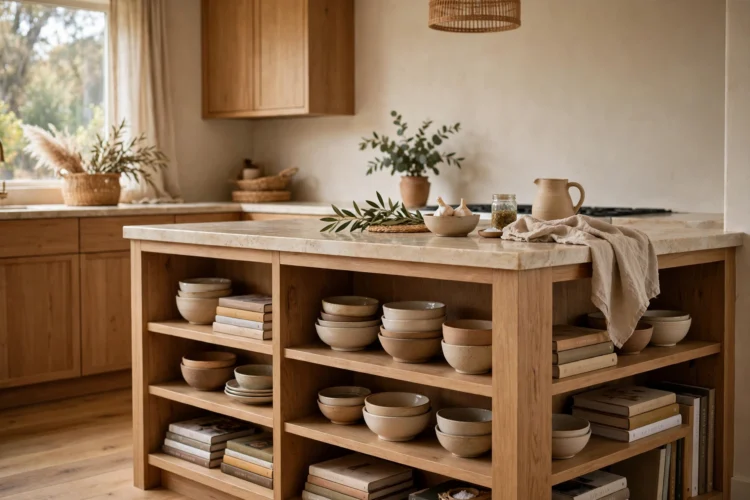
Swap some base cabinets for open shelves on the outward-facing side of the peninsula. You gain display space for cookbooks, bowls, and a row of glasses, and the kitchen looks wider because the eye travels through the shelving instead of stopping at cabinet doors. Use shelves 10 to 12 inches deep so they hold real dinnerware, and line the back of the cubbies with beadboard or a scrap of the backsplash tile for a finished look. Style them in threes: a stack of bowls, a leaning cutting board, a small plant. Leave one cubby empty on purpose. It keeps the display from reading as clutter. Dust the shelves weekly, because open storage in a kitchen collects a thin film of cooking grease faster than you expect.
Keep the kitchen side at standard 36-inch counter height for prep, and raise the outer 12 inches of the peninsula to 42 inches for bar seating. The height change hides dirty dishes from the living room and gives each person a defined zone. Standard raised-bar depth runs 12 to 14 inches, which fits a plate and a drink but not a full place setting, so treat the high side as a perch rather than a dining table. This split works best in kitchens that already had a half wall or a raised bar from an older remodel. Keep the structure, swap the laminate for stone, and the whole kitchen reads current. Choose bar stools with footrests, because 42-inch seating gets uncomfortable fast without a place to rest your feet.
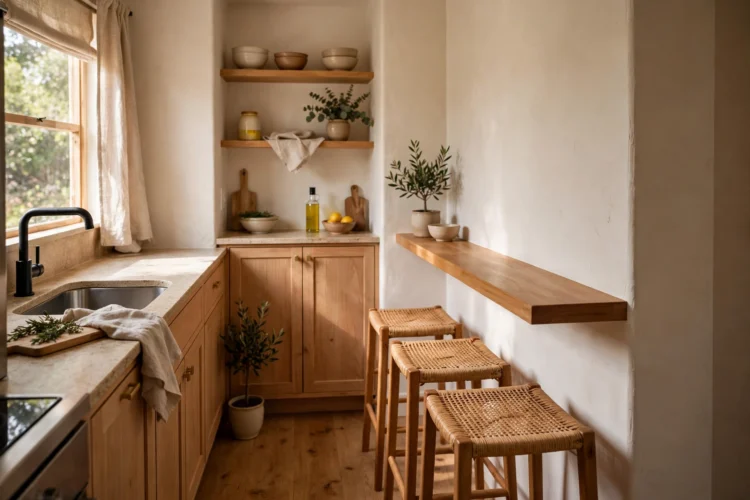
When the room only allows 36 inches of walkway, shrink the peninsula instead of skipping it. A 15- to 18-inch deep counter over a 12-inch deep wall-cabinet base creates a ledge that seats two on backless stools, and it only steals about two feet from the room. Backless stools tuck fully under the counter when nobody is eating, which matters in a galley where every inch of clearance counts. Mount the counter on steel brackets instead of full cabinets to open the knee space and lighten the look. Paint the base the same color as the walls so the narrow peninsula recedes instead of jutting. Even a small kitchen peninsula earns its footprint when it doubles as the room’s only eating spot.
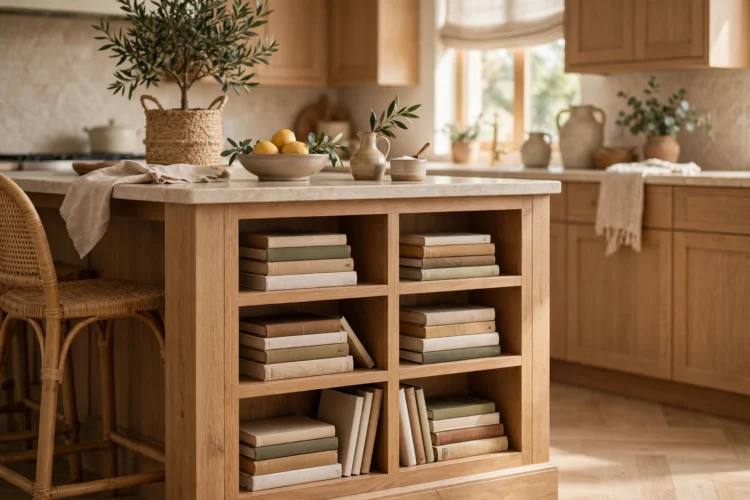
Carve two or three cubbies into the end panel of the peninsula and give your cookbooks a permanent home. Cubbies 12 inches wide and 10 inches deep fit most cookbooks upright, and the open ends let you grab one while stirring. Line them with the same wood as a butcher block for a warm detail against painted cabinets. This is also the spot for the paper towel holder, a charging drawer, or a narrow slot that swallows baking sheets. One dedicated nook keeps the counters clear of the small clutter that makes kitchens feel crowded. If the end panel faces the living room, style the cubbies like a bookshelf and let them do double duty as decor.
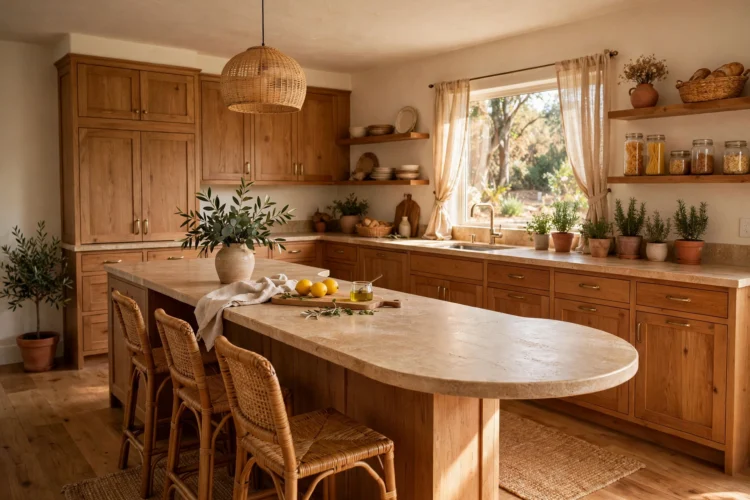
A peninsula with a rounded or angled end moves traffic better than a sharp 90-degree corner. The curve softens the junction where the peninsula meets the walkway, which your hip will appreciate in a busy kitchen. Cabinet makers call it a radius end, and most can bend a base cabinet front or build a curved end panel for a modest upcharge. Finish the curve with a countertop that follows the same radius, and the whole piece looks sculpted instead of assembled. Round the corner of the overhang too, because corners at bar height have a way of finding foreheads. The rounded end also gives kids a safer edge to bump into, which matters in family kitchens.
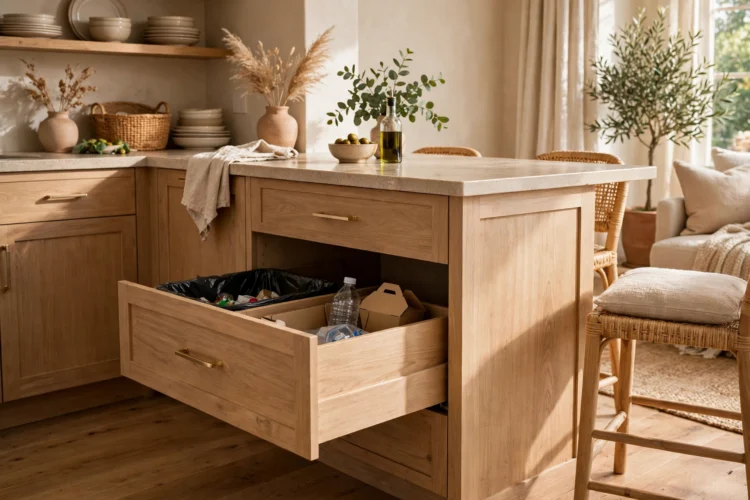
Hide the trash inside the peninsula and the kitchen instantly looks twice as tidy. A pull-out unit with two bins, trash on one side and recycling on the other, fits a standard 18-inch base cabinet and costs less than most countertop upgrades. Position it at the end nearest the sink run so scraps travel a few feet, not across the room. Ventilated bins or a lid with a carbon filter keep odors down between empties. Line the cabinet floor with a waterproof mat. Bags tear, and a mat saves the cabinet box from a slow leak you would not notice for weeks. This is the least glamorous idea on the list and the one owners praise most a year later.
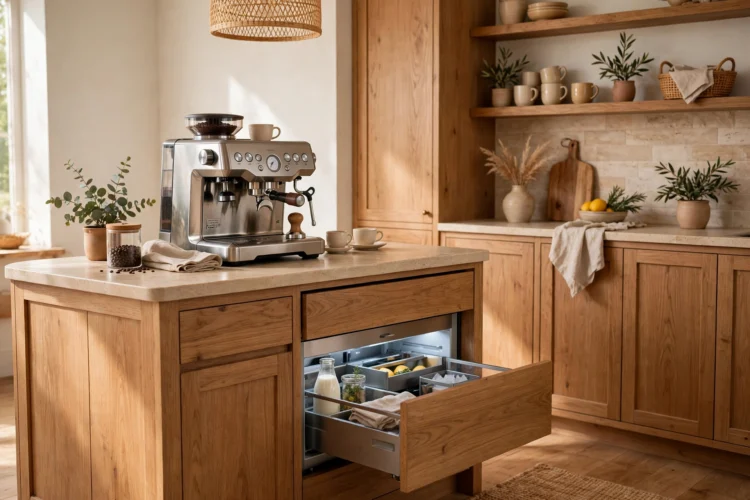
Turn the seating side of the peninsula into a coffee and drinks station that serves the living room. Set the espresso machine, mugs, and a small undercounter fridge drawer into the base facing outward, and weekend guests pour their own without entering the work triangle. A fridge drawer 24 inches wide holds cans, wine bottles, and creamer within arm’s reach of the stools. Add a stone or wood tray to corral the coffee gear so it reads as a station, not clutter. Keep the machine near an outlet wired with a dedicated circuit, since espresso machines pull more power than the phone chargers sharing the strip. Morning routines get faster when the coffee never crosses the cooking zone.
Measure your walkways first, then match the peninsula to the room. A straight breakfast bar suits galleys, a room divider suits open plans, and a narrow ledge suits kitchens where inches matter. The right peninsula gives you the seats and storage you wanted from an island, attached to the kitchen you already have.