Physical Address
304 North Cardinal St.
Dorchester Center, MA 02124
Physical Address
304 North Cardinal St.
Dorchester Center, MA 02124

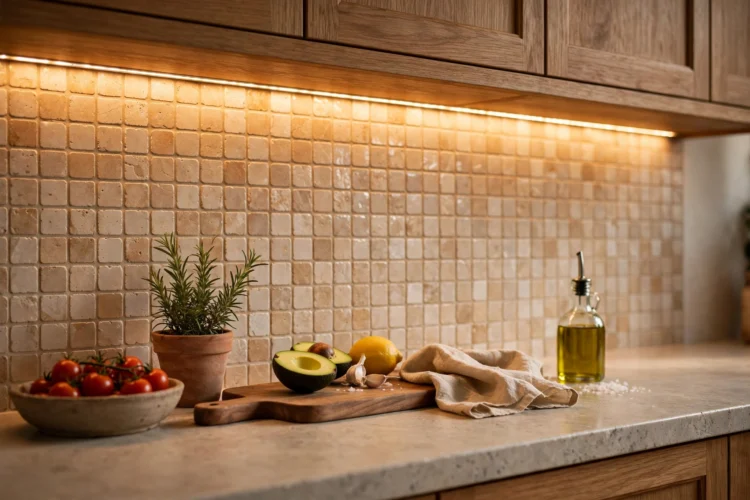
Eight under-cabinet lighting ideas that turn dark counters into proper workspaces, from LED strips in aluminum channels to rechargeable pucks.
Under cabinet lighting turns a dark stretch of countertop into the best-lit workspace in the house. The cabinet bottom sits about 18 inches above the counter, and a strip or bar mounted there throws light straight down with no shadow from your body. The three formats, puck lights, LED strips, and tape lights, each suit a different job. Pucks create pools of accent light. Strips and tape deliver an even wash for chopping and reading labels. Target 300 to 500 lumens per linear foot for real task light, pick a color temperature between 2700 and 4000 Kelvin to match the room, and check that the color rendering index is 85 or higher. These eight ideas show how to match the format to the task.
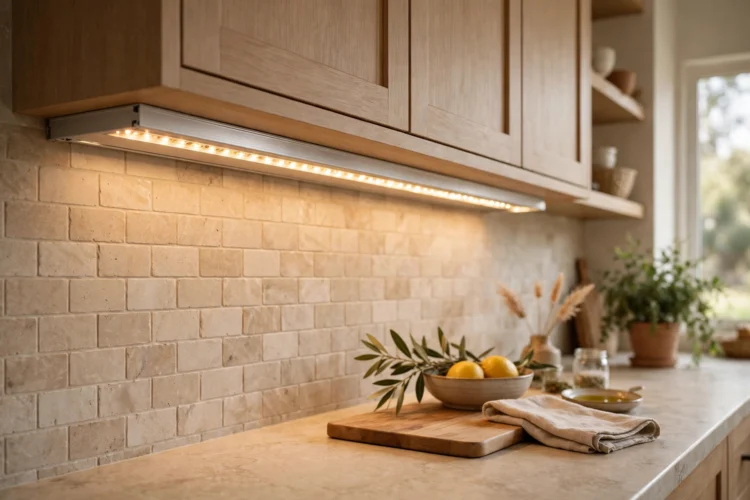
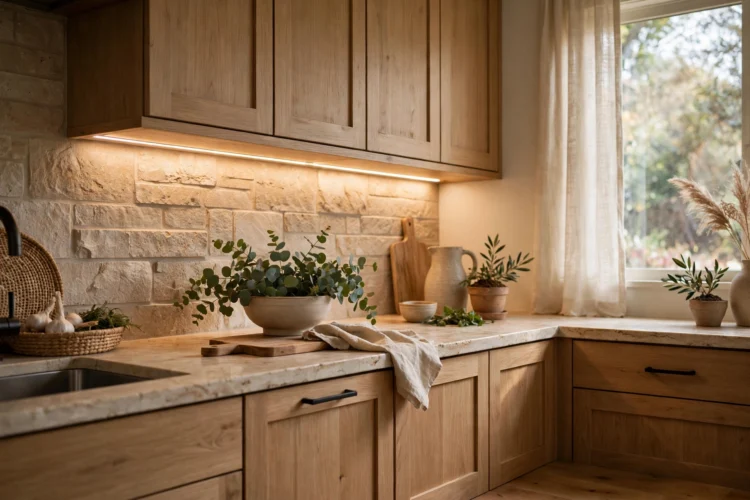
LED strip lighting is the default choice for a continuous wash of light. The strip itself is a flexible ribbon of diodes on adhesive backing, but the adhesive alone is not enough for a clean install. Press the strip into a slim aluminum channel with a frosted diffuser cover. The channel sinks heat away from the diodes, which extends their life, and the diffuser hides the individual dots so the counter gets one smooth band of light. Mount the channel toward the front third of the cabinet bottom, not against the wall. Front mounting pushes light across the full depth of the counter instead of pooling it behind the toaster.
If the cabinet bottom has a light rail, tuck the channel behind it so the fixture disappears completely from standing eye level.
Puck lights are small round fixtures, usually two to three inches across, that throw a focused pool of light. They suit glass-front cabinets, open shelves, and pantry interiors more than they suit long prep counters. Space pucks eight to twelve inches apart for coverage that reads as continuous from below. Most pucks run on batteries or rechargeable cells with magnetic mounts, so installation takes minutes. The tradeoff is unevenness. Between two pucks the light dips, which is fine for display but frustrating for knife work. Use pucks where you want highlights and leave the heavy task lighting to strips or bars.
Check the beam angle before you buy. A 60-degree puck spreads wider than a 30-degree one, which means fewer pucks per shelf.
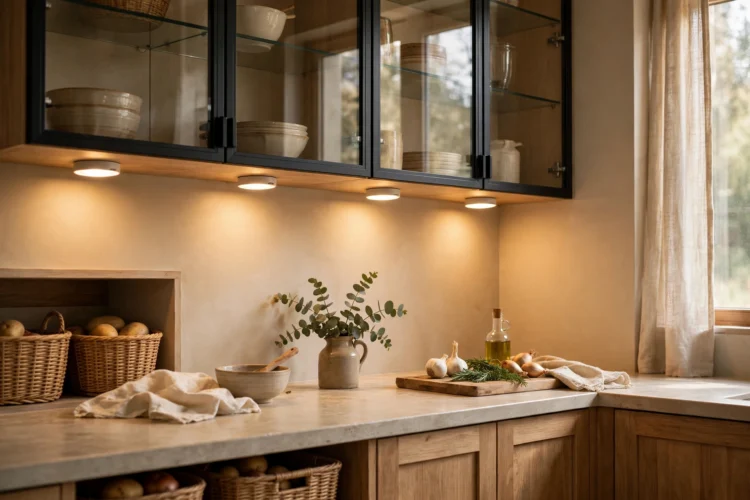
Rigid LED bars bridge the gap between flexible strips and spotty pucks. They mount with screws or clips, link end to end with short connector cables, and give a polished look that strips in channels only approximate. Many bars ship with three selectable color temperatures, typically 2700, 3500, and 4000 Kelvin, chosen with a switch on the housing. The cabinet light color temperature decision gets simpler when you can test all three in place. Start at 3000 Kelvin for warm wood cabinets or 4000 Kelvin for white and gray kitchens, then flip the switch and compare at night before you commit.
Link no more than the manufacturer allows per run, usually four to six bars, so the last bar in the chain does not dim.
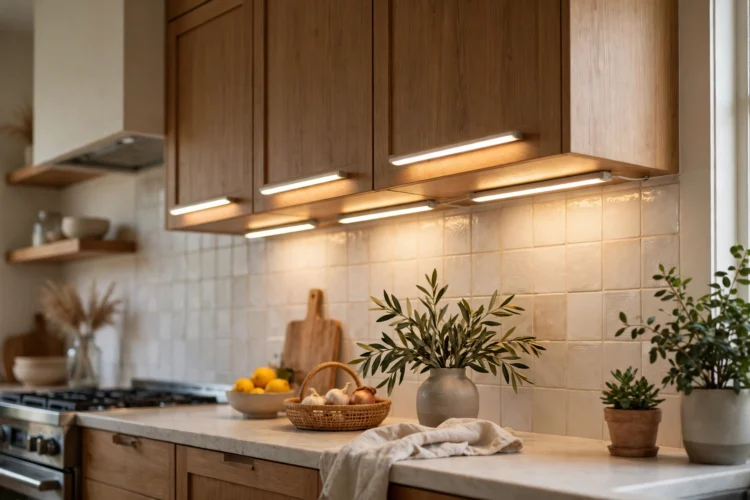
Tape light is the same flexible ribbon as strip lighting, usually sold in thinner profiles for ultra-shallow cabinet recesses. The failure mode is visible dots. Diodes spaced a quarter inch apart read as a dotted line on glossy counters. The fix is an aluminum tape light channel with a milky diffuser, mounted so the diodes sit at least half an inch behind the cover. High-density tape with 180 or more diodes per meter helps too. Trim the tape at the marked cut lines to fit each cabinet run, and plan one continuous run per counter section rather than several short pieces with dark joints between them.
Wipe the cabinet bottom with a degreaser before mounting. Kitchen grease is the main reason tape channels peel loose within a year.
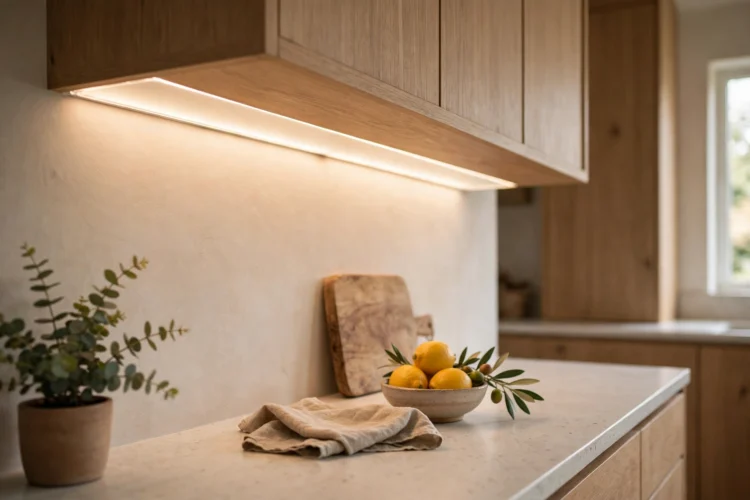
Renters get most of the benefit with none of the wiring. Rechargeable puck lights with magnetic mounting plates stick to the cabinet bottom with adhesive metal discs and pop off for charging. A full charge typically runs a set of pucks for six to twelve hours at medium brightness, so a once-a-week charging routine covers a normal kitchen. Place two or three pucks under the cabinet where you do the most prep. Many sets include a remote with dimming and a timer. The motion-sensor models turn on when your hands enter the zone, which keeps you from touching a switch with wet fingers.
Keep a spare set charging in a drawer so a dead puck never leaves your main prep zone dark mid-week.
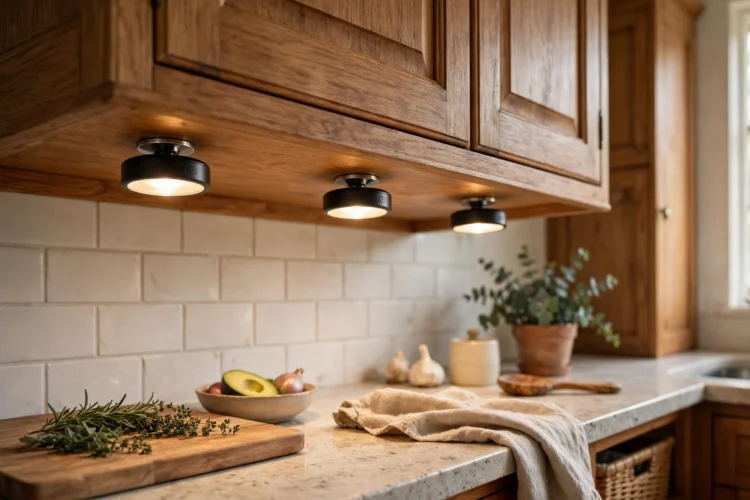
The premium route is a hardwired 24-volt system with the driver tucked inside a nearby cabinet. An electrician wires the low-voltage runs to a wall dimmer, so the under cabinet lighting behaves like any other room light. No cords, no batteries, no remotes to lose. The 24-volt driver runs cooler than 120-volt bars with onboard drivers, which matters in the warm air trapped under a cabinet. Pair the system with a compatible dimmer and you can drop output to ten percent for late-night drinks without installing a second circuit. This is the setup to spec during a remodel when the walls are open.
Ask the electrician to leave a spare low-voltage lead in the cabinet. Adding a second run later costs almost nothing when the wire is already there.
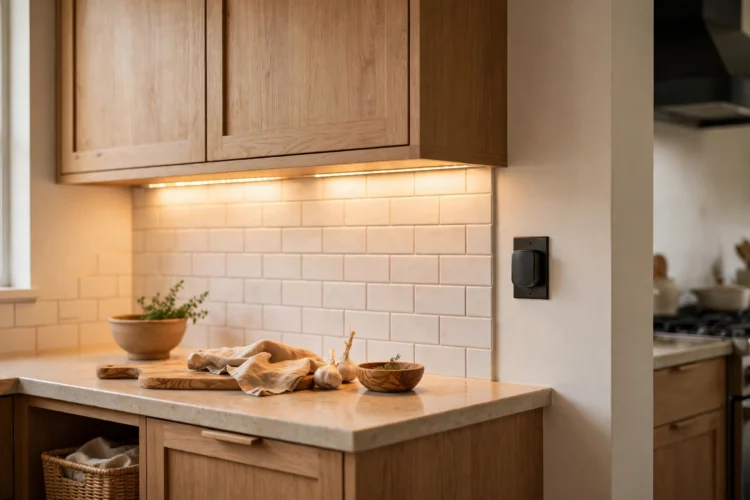
If the kitchen serves as office, homework station, and dinner venue, one color temperature will not cover all three. Tunable white strips carry two sets of diodes, warm and cool, and a controller blends them anywhere from 2700 to 4000 Kelvin. Run 4000 Kelvin at noon for label reading and vegetable prep, then slide to 2700 Kelvin for dinner so the wood tones glow. The controller usually lives on the wall or in an app. Buy strips with a color rendering index of 90 or above. Tunable strips with weak color rendering make the color shift pointless because food looks off at every setting.
Set a schedule on the controller if it supports one. Cooler light in the morning and warm light by default in the evening removes the daily fiddling.
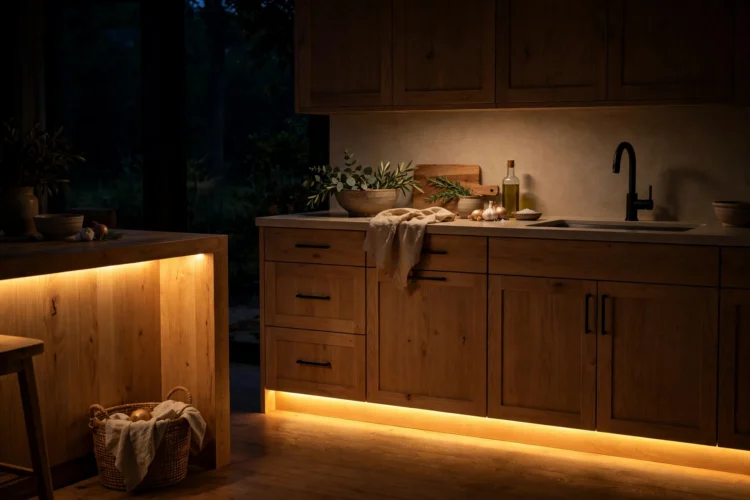
The eighth idea is not under the cabinet at all. A strip mounted in the toe-kick recess, the setback at the bottom of the base cabinets, throws a soft wash across the floor. Wire it to a motion sensor so it wakes when someone enters the kitchen at night. At ten percent brightness it guides a path to the fridge without switching on the overheads. Use warm 2700 Kelvin tape here. The low, warm glow reads as intentional design during the day too, floating the cabinets visually off the floor. Keep the strip set back at least an inch behind the cabinet face so the diodes stay hidden from standing sightlines.
A second motion sensor at the far entry keeps the strip from going dark when you walk the long way around the island.
Match the format to the job, front-mount the fixture, and choose the color temperature for the cabinets you have. Task light is a measurement problem first: 300 to 500 lumens per foot, diodes hidden, no dotted lines on the counter.