Physical Address
304 North Cardinal St.
Dorchester Center, MA 02124
Physical Address
304 North Cardinal St.
Dorchester Center, MA 02124

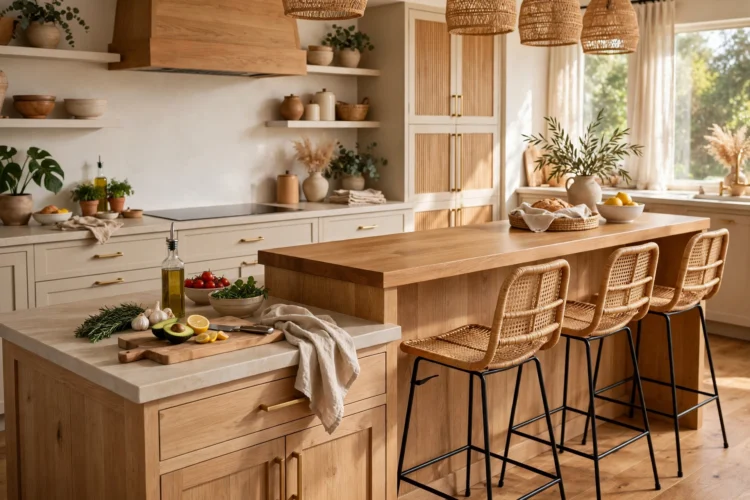
A two tier kitchen island keeps messy prep on the lower level and clean dining up top. These seven layouts show how to split the two without cramping either side.
A two tier kitchen island splits one island into two jobs: a 36-inch work surface for chopping and a 42-inch raised bar for eating. The height difference hides the cutting board full of onion peels from guests while giving everyone a comfortable perch. It works best on islands at least 8 feet long, because each level needs enough depth to do its job. The seven layouts below show how to split the levels for cooking, seating, and serving without making either side feel cramped.
The classic split puts the 36-inch prep counter on the kitchen side and the 42-inch bar on the room side. The raised bar hides the mess from the living room while you finish cooking, and seated guests face you instead of a pile of dirty bowls. Give the prep side at least 24 inches of depth for real work and the bar side about 18 inches, which fits a dinner plate with room for a glass. Bar stools for the 42-inch level should measure 28 to 30 inches at the seat. This two tier kitchen island layout has survived every trend cycle because it answers the oldest hosting problem: the cook wants company, not an audience staring at the mess. If your island runs longer than 10 feet, split the raised bar into two seating zones with a gap in the middle for serving platters, and traffic flows around both sides.
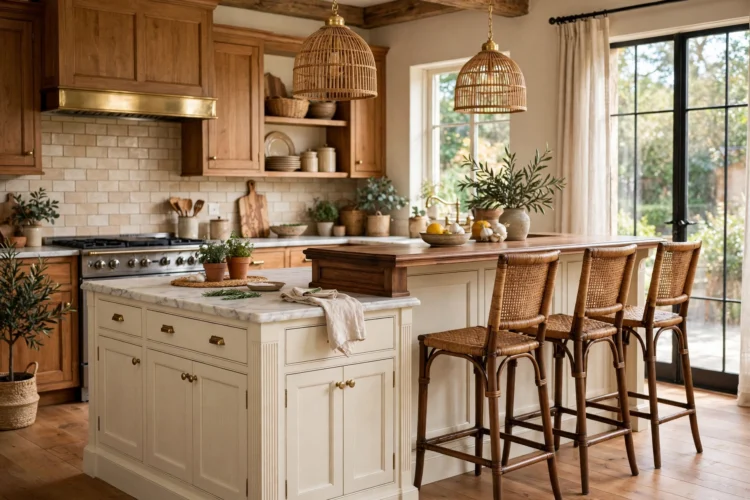
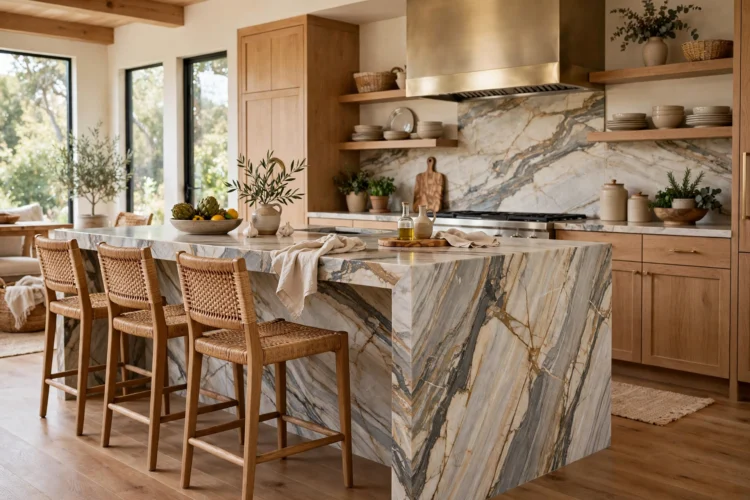
A waterfall edge runs the countertop material down the side of the island to the floor, and on a split level island it makes the height change look intentional. The stone or quartz wraps from the raised bar down the end panel in one continuous sheet, which hides the seam where the two levels meet. This costs more than a standard edge because the fabricator cuts and miters an extra slab, but the result reads as furniture instead of cabinetry. Keep the prep side matte and easy to clean, and let the waterfall side carry the visual weight. The look suits open-plan rooms where the island is visible from the sofa. Match the waterfall material to the perimeter countertops and the island stops competing with the rest of the kitchen. Under-cabinet lighting on the prep side keeps the waterfall shadow from darkening the workspace after sunset.
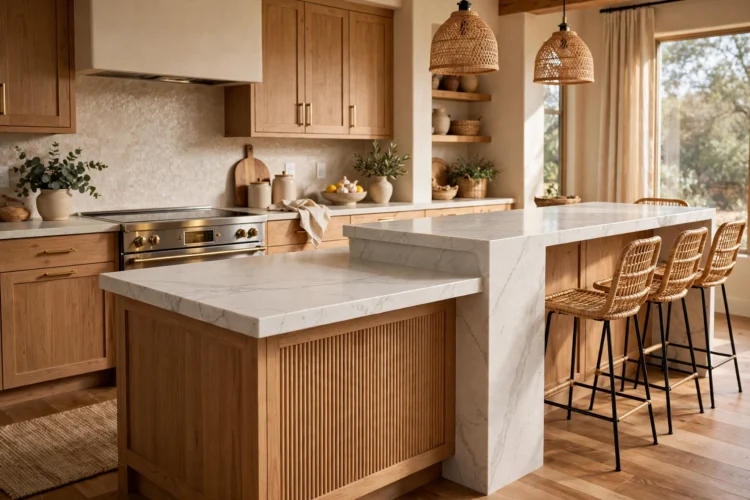
Turn the raised bar toward the living room and the island becomes the boundary between cooking and relaxing. A raised bar island in this position lets the cook face the room instead of the wall, so conversation flows while dinner finishes. Leave at least 36 inches of walkway behind the bar stools so people can pass without squeezing. A pendant light hung over each seating spot marks the bar as its own zone after dark. The lower prep side stays hidden from the couch, which means the weeknight chaos of homework papers and mail never photobombs the living room. A 15-inch-deep raised bar works for drinks and laptops, while a full 18 inches is the minimum for actual dinner plates with cutlery on both sides. Keep the bar stools backless so the sightline from the living room stays clean, and the whole raised bar island reads as one calm horizontal line.
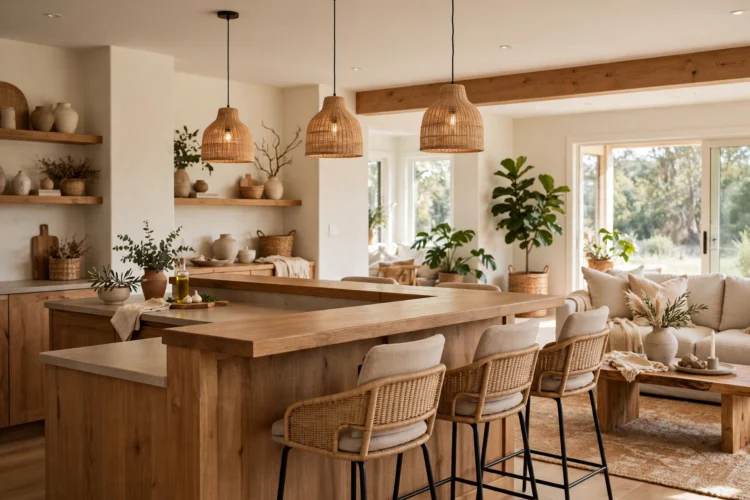
Two level island seating works when every stool gets the same view and the same legroom. Line three or four stools along the raised side with about 24 inches of bar width per person, which is the minimum for elbows at dinner. The raised bar needs a 12-inch overhang past the base cabinets so knees clear the doors. Keep the prep level free of appliances on the seating side, because nobody wants to eat dinner next to the toaster. This arrangement suits families who eat most meals at the island, since the lower level stays clear for the actual cooking while everyone sits up top. Children do their homework at the raised bar while dinner cooks below, which keeps the family in one room without anyone underfoot. A wipeable quartz or sealed wood top on the bar side survives markers, glue sticks, and spilled juice.
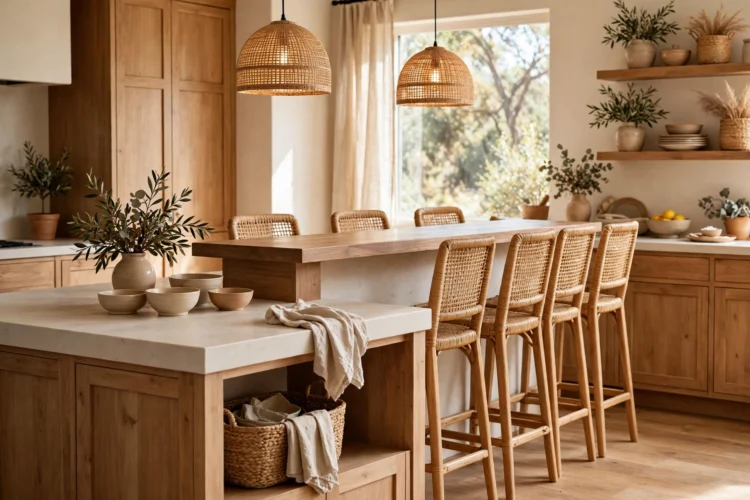
A curved raised bar bends the seating into a half-circle so everyone at the island can see each other. The curve adds about a foot of depth to the bar, so plan for an island at least 4 feet wide to keep the prep side usable. Curved stone tops cost more to fabricate than straight ones, and the seam placement needs a good template, so this idea fits a full remodel better than a weekend update. The payoff is a bar that feels like a restaurant booth: four people talk easily without anyone shouting down a straight line. Pair it with swivel stools so guests can turn toward the kitchen or the room. Template the curve with a cardboard mockup before the fabricator cuts stone, because a curve that looks right on paper can feel wrong at full size. Three stools around a gentle curve seat as many people as four along a straight bar, since the arc brings everyone closer together.
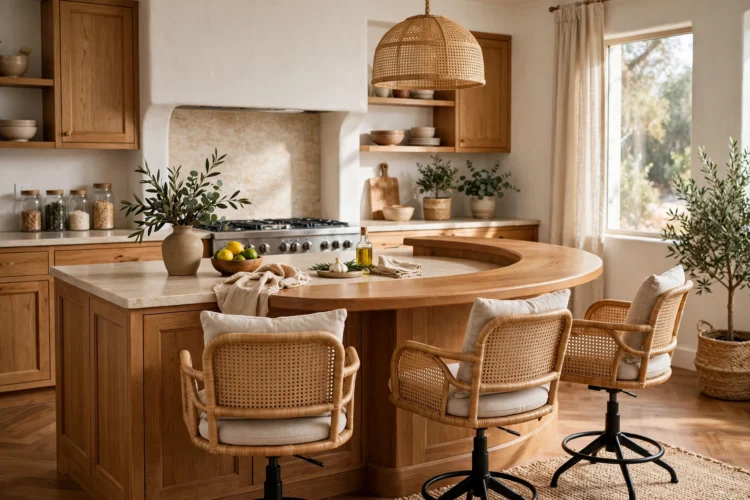
A kitchen island dining ledge stretches the raised bar past the end of the base cabinets, creating a table-like wing. The extension needs corbels or steel brackets underneath, spaced every 2 feet, because stone cantilevers only so far before it cracks. This ledge seats two more people at the end of the island, which is where the kids always want to sit anyway. Keep the overhang at 12 inches so the brackets stay hidden and the structure stays solid. The extended ledge also works as a buffet line during parties: set the dishes on the raised bar and let guests serve themselves without entering the cooking zone. Paint the corbels to match the island base and they disappear, or pick a contrasting wood and they become a deliberate design detail. The dining ledge also makes a natural homework spot, with the lower prep level close enough for a parent to supervise while chopping.
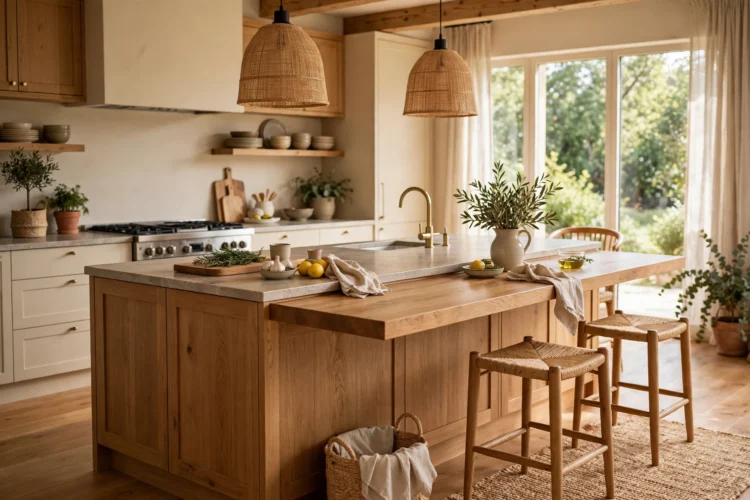
Putting the sink in the lower tier keeps splashes off the dining surface and off your guests. A two tier kitchen island with the sink on the lower level lets you rinse vegetables at 36 inches while the raised bar stays dry and clean. The faucet should stay under the bar’s sightline so the raised edge still hides the basin from the room. Run the dishwasher directly under or beside the sink to shorten the unload path. This layout shines in open kitchens where the island faces the main living space, because the raised bar keeps the wettest, messiest zone permanently out of view. Add a small cutting board that fits over the sink basin and the lower level gains back its full prep surface in seconds. A pull-down faucet with a high arc clears tall stockpots, which matters because the raised bar limits how you approach the sink from the dining side.
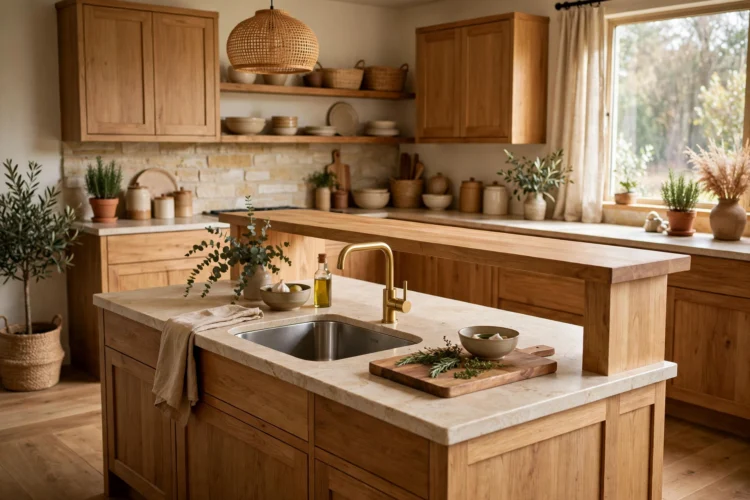
Pick the split that matches your biggest daily friction. If guests see the mess, raise the bar. If the kids need seats, extend the ledge. The right two tier kitchen island does not add space, it just stops the two jobs from getting in each other’s way.