Physical Address
304 North Cardinal St.
Dorchester Center, MA 02124
Physical Address
304 North Cardinal St.
Dorchester Center, MA 02124

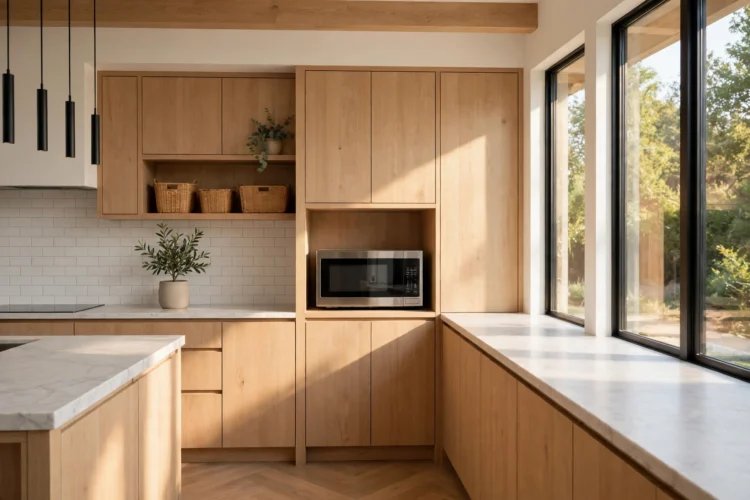
A microwave eats a big chunk of counter. These 7 microwave nook ideas move it into a shelf, pantry slot, or island cubby so your counters stay clear.
Microwave nook ideas solve one of the most annoying problems in a small kitchen: a big box eating a big chunk of counter. The microwave is too useful to get rid of, but it does not need to sit where you chop, roll, and plate food. The fix is a dedicated nook, a shelf, slot, or cubby built for the microwave alone, with an outlet and enough air around it to vent. The seven ideas below cover every common kitchen shape, from a pantry slot to an island cubby, and each one frees the counter for the work that actually needs it. Pick the nook that fits your kitchen layout and the way your household reheats food.
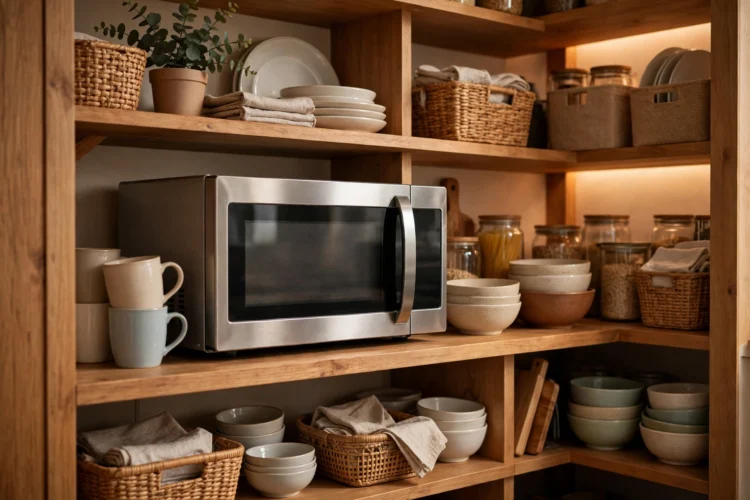
A shelf inside the pantry is the simplest microwave nook, and it hides the box completely. Give the microwave its own shelf at chest or waist height, add an outlet on the pantry wall, and leave a few inches of air on every side so the vents can breathe. A microwave pantry slot like this works best when the pantry sits close to the main counter, so you can carry a hot bowl two steps instead of across the room. Keep a heatproof mat under the microwave and a small tray for the things you reheat most, like mugs and soup bowls. The trade-off is the door: you open the pantry, heat the food, and close it again, which adds a step to a quick task. For most households the clean counters are worth it, and these pull-out pantry ideas show how to make the space around the microwave work harder too.
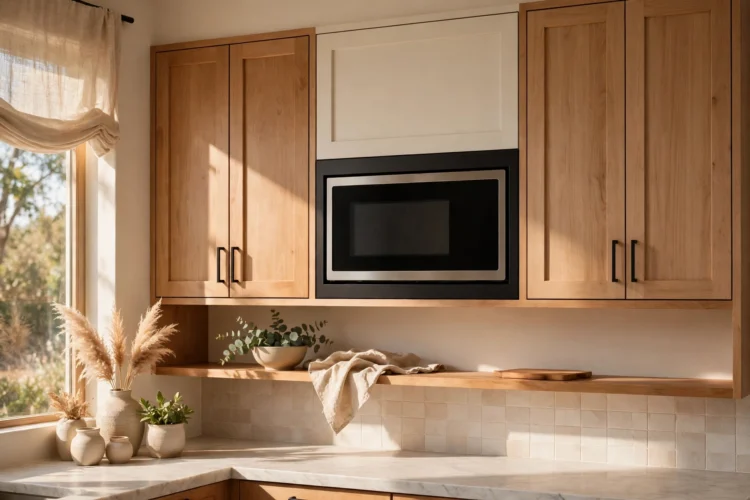
A built in microwave shelf sits between the upper cabinets, at eye level, with a trim kit that frames the microwave like a built-in appliance. This is the classic spot, and it works because the microwave stays within reach while the counter below stays completely clear for prep. Measure the opening carefully: the trim kit needs the exact width and height of your model, and the shelf needs an outlet behind it, not a cord draped down the backsplash. Leave the venting path open at the front or top, exactly as the manual asks, and do not box the microwave in tight on all four sides. The shelf height matters too. Too high and shorter cooks cannot see inside; too low and it crowds the counter. Chest height is the sweet spot for most adults, and a small step stool handles the rest.
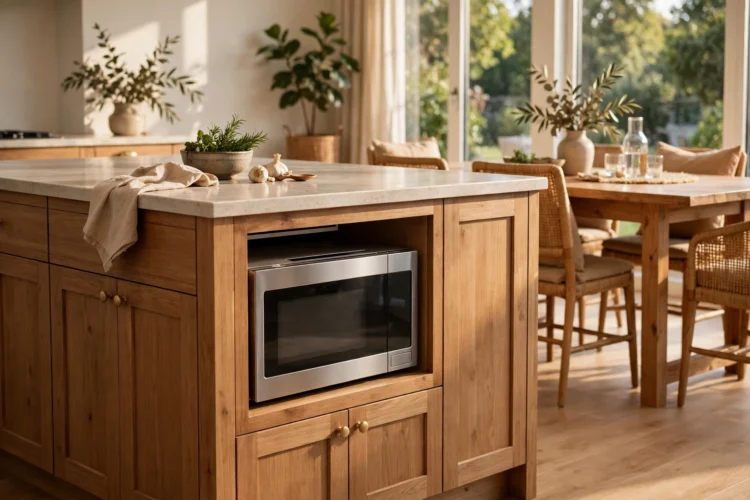
An island cubby puts the microwave at waist height on the side of the island, facing the room instead of the wall. Kids can reach it without climbing, and adults can load it without lifting a hot bowl above shoulder height. A microwave island cubby needs an outlet inside the island and a shelf strong enough to hold the unit, plus a vent gap at the front so steam escapes into the room, not into the cabinet. Face the cubby toward the dining side of the island if you can, so the cooktop side keeps its full stretch of counter. The island does need enough depth for this: a standard island is about 24 inches deep, which fits most countertop microwaves with room to spare. These kitchen island storage ideas show how to plan the base so the cubby and the storage around it share the space without fighting.
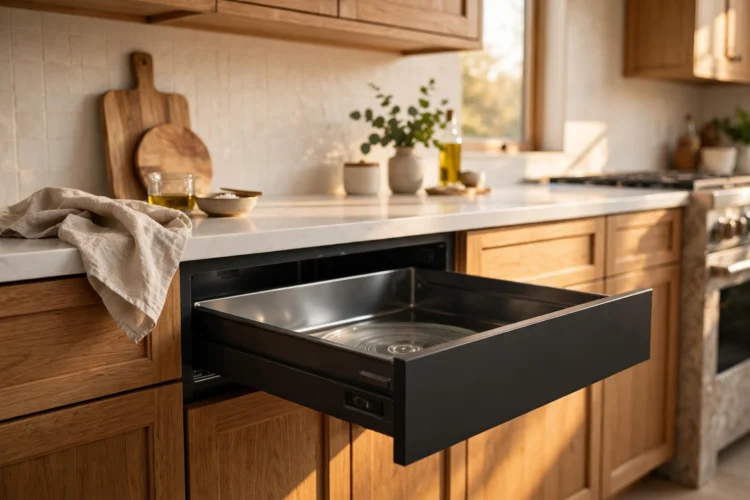
A microwave drawer slides out from under the counter like a deep drawer, and it is the most ergonomic nook on this list. You load food from above instead of reaching into a box at chest height, which makes it easy to lift out a heavy casserole or a bowl of soup without spilling. Drawer microwaves cost more than countertop models, and they need a dedicated circuit, so plan this one with an electrician if your kitchen is not already wired for it. The drawer fits under a standard 24-inch counter, and it pairs well with a small island or a peninsula where the counter is used for serving. If you are planning a new island to hold one, these small kitchen island ideas show layouts that fit a drawer microwave without giving up storage.
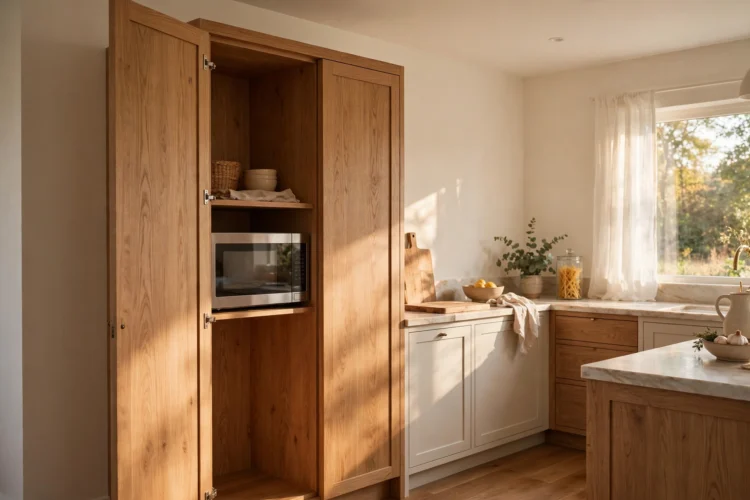
A tall cabinet, the kind that runs floor to ceiling beside the fridge, can hold a microwave at chest height behind a door. Open the door to use it, close the door and the microwave disappears. This nook suits households that use the microwave a few times a day rather than every hour, because the door adds a step. Build the shelf at a height where you can see into the microwave without bending, and add a pull-out shelf below it as a landing spot for hot dishes. The cabinet next to it can hold plates and bowls, so the whole reheating routine happens in one column. Corner cabinets are awkward for this, so pick a straight run of wall; these corner cabinet storage ideas explain why that dead corner is better used for something else.
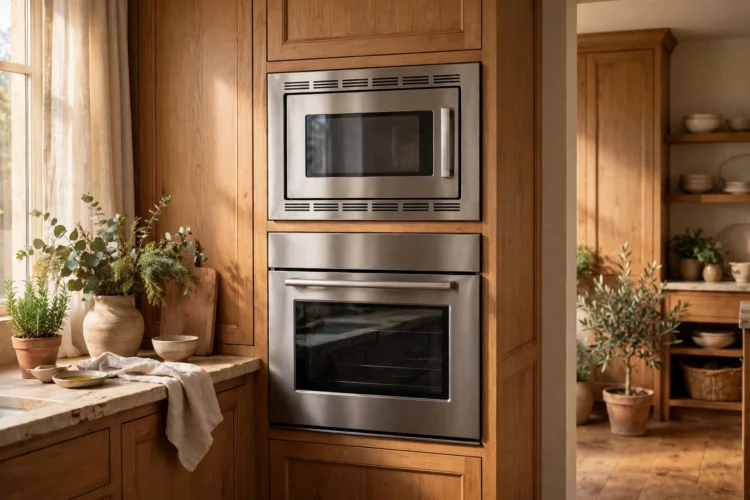
Stacking the microwave above a wall oven turns one tall cabinet into a cooking tower. The microwave sits at eye level, the oven below it, and the counter beside them stays free. This works best in kitchens that already have a wall oven, because the cabinet, wiring, and venting are already planned for heat. Check the clearances in both manuals: the microwave needs its own vent path, and the oven needs its own, and the two should not share a single tight cavity. The stack puts the microwave higher than the shelf idea, so it suits taller cooks and households without small children. If the height worries you, a trim kit with a drop-down door is easier to load than a side-hinged one at that height.
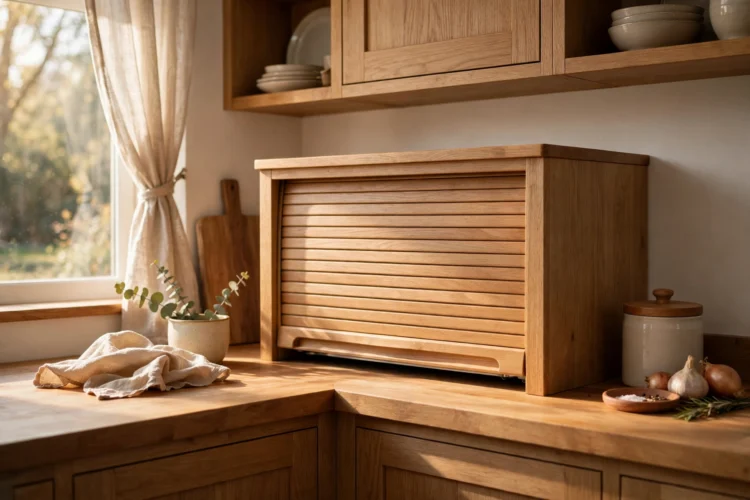
An appliance garage with a roll-up door gives the microwave a home on the counter that still hides it from view. The microwave stays plugged in inside the garage, and you roll the door up to use it, then roll it down when you are done. This is the easiest nook to add to an existing kitchen, because it needs no new wiring beyond an outlet on the backsplash and no new cabinets beyond the garage itself. The garage needs to be deep enough for the microwave plus a few inches of air at the back, and the door needs to roll up fully so it does not block the vent. It takes a small slice of counter, but it takes far less than a microwave sitting in the open, and it keeps the box out of sight when the kitchen needs to look tidy. A microwave off the counter is the goal, and the garage gets you most of the way there with the least work.
Before you pick a nook, watch how your household actually uses the microwave for a week. If it is mostly kids reheating snacks, the island cubby or the drawer wins. If it is mostly adults reheating coffee and leftovers, the shelf or the pantry slot is enough. Measure the microwave you own, check the venting in its manual, and then choose the spot that frees the most counter with the least rewiring.