Physical Address
304 North Cardinal St.
Dorchester Center, MA 02124
Physical Address
304 North Cardinal St.
Dorchester Center, MA 02124

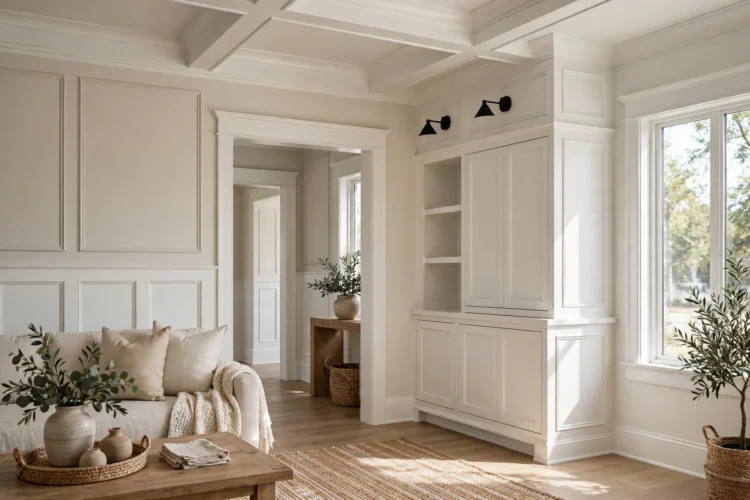
Twelve practical trim and casing upgrades that give builder-grade rooms a finished, custom look, one room at a time.
Most builder-grade homes share the same flat look: thin baseboards, plain window casing, and door trim that disappears into the wall. These interior trim ideas change that without a full remodel. A thicker baseboard here, a layered casing there, and a few well-placed blocks can make a standard room feel finished and intentional. The twelve upgrades below work room by room, so you can start with one hallway or one living room and build from there.
Each idea uses materials from a home center and tools most homeowners already own: a miter saw, a nail gun, caulk, and paint. Start with the rooms you use most and paint every new piece the same trim color so the work reads as one plan.
Baseboards set the tone for every room because they run along the floor where the eye rests. Builder boards are often only three inches tall with a flat face. A builder grade trim upgrade at the floor changes the whole room before you touch anything else.
Swap the stock baseboard for a taller profile with a shaped top edge. Five and a quarter inches suits most eight-foot ceilings, while a six-inch board fits nine-foot ceilings better. Remove the old board and cut the new pieces with mitered corners. Thicker baseboards also hide small gaps where the floor meets the wall. For a closer look at how baseboard height changes a room, read these baseboard styles that change how a room feels.
If the boards in place are sound, add a small cap molding along the top edge instead of replacing them. A one-inch cap with a rounded profile gives a flat board a shaped edge in an afternoon. Nail the cap to the top of the baseboard, fill the nail holes, and run a thin bead of caulk along the seam where the cap meets the wall. The result looks like a two-piece baseboard.
Do the main living areas first, then carry the same profile into bedrooms and hallways so rooms tie together even when wall colors change.
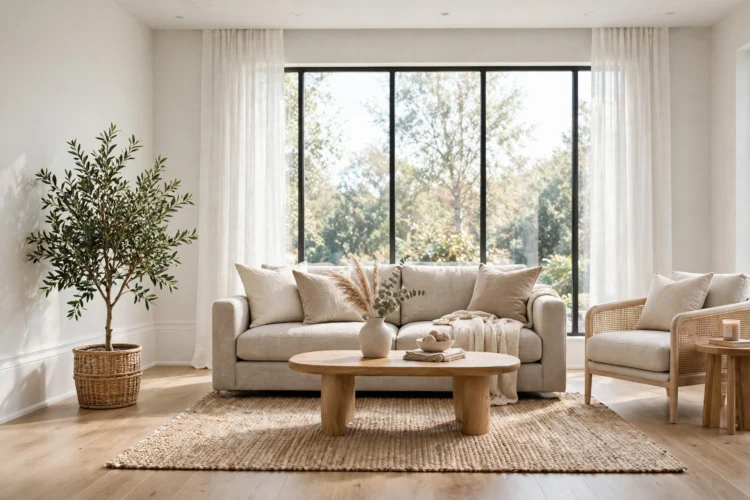
Builder windows usually get a single flat board around the frame. Layered window casing adds a second, thinner board on the outer edge, which creates a shadow line and a sense of depth.
A back band is a narrow molding nailed to the face of the existing casing, set slightly proud of the edge. Choose a band about one inch wide with a small step or bead. Miter the corners, keep the reveal even on all four sides, and paint it the same color as the casing.
Replace a thin window sill with a board that sticks out an extra inch and add an apron, a short piece of casing, under the sill. The deeper sill gives you a ledge for a plant or a photo frame, and the apron hides the joint where the sill meets the wall. In a bedroom or kitchen, this one change makes the window feel built in rather than stuck on.
Work window by window in the same room so the casing matches on every wall.
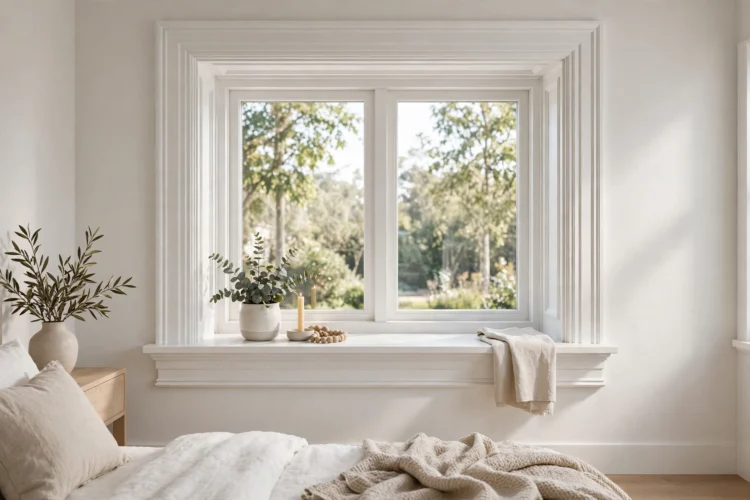
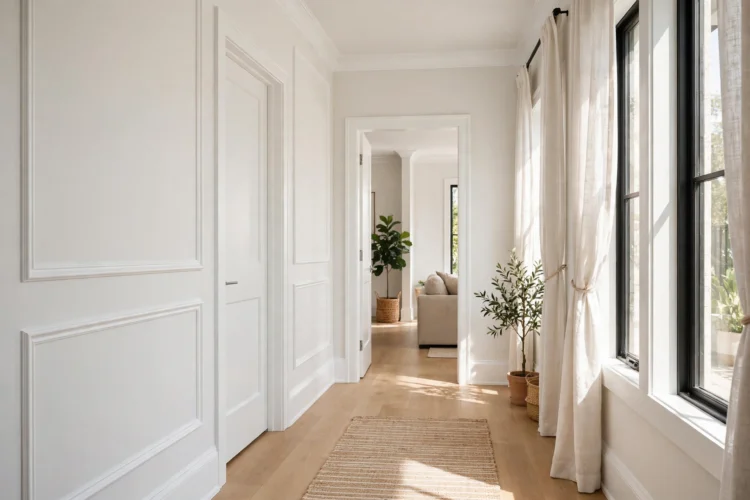
Door casing in a builder home often runs straight into the baseboard with a plain butt joint. Plinth blocks and rosettes break that joint into a clear, finished detail that makes every doorway look planned.
Plinth blocks are square or rectangular blocks that sit at the foot of the door casing, between the casing and the baseboard. They are slightly wider and thicker than the casing, so the baseboard butts into the block instead of into the casing. Cut the casing short and set the block plumb so the baseboard meets its side. Painted the same trim color, the block reads as a small pedestal for the door frame.
A rosette is a small square block with a carved or plain face that sits at each top corner of the door casing. It lets the side casing and the header meet at the block instead of at a mitered corner, which forgives small cutting errors and adds a classic touch. Keep the rosette the same width as the plinth block below so the door frame looks balanced from top to bottom.
Start with the doors you see every day, such as the front entry and the living room doors, then work through the bedrooms.
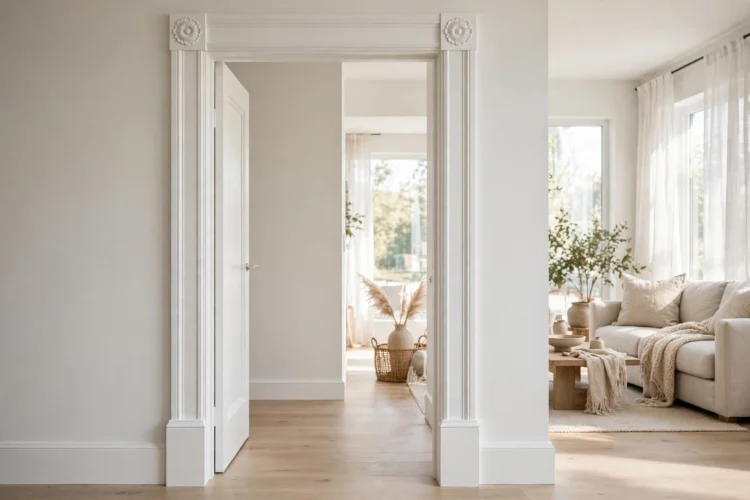
Crown molding closes the gap where the wall meets the ceiling, and that single line changes how tall a room feels. Builder homes often leave that joint bare. One clean crown profile in the main rooms is enough to fix it.
Pick a simple crown, about three to four inches tall, with one curve and one flat face. Cut the corners with a miter saw, cope the inside joints for a tight fit, and nail the crown into the wall studs and ceiling joists. Skip small bedrooms and bathrooms at first and put the crown where guests gather, because that is where the detail pays off. For rooms with lower ceilings, these crown molding ideas for low ceilings show profiles that add shape without crowding the wall.
Hold a sample piece against the wall before you buy a full run, since a profile that looks good on a shelf can feel heavy on a low ceiling.
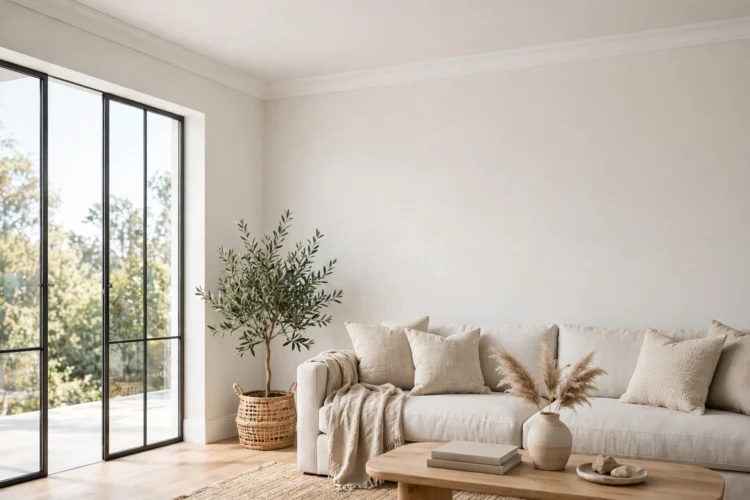
Flat drywall fills most builder homes, and large blank walls make a room feel unfinished even with good furniture. Wall molding breaks the wall into sections, which gives the eye something to follow.
Picture-frame molding is a set of thin rectangular frames made from small chair rail stock, applied straight to the wall. Measure each wall, keep the frames the same size on that wall, and leave even space between frames and around outlets. The frames add the look of wall panels without the cost of full wainscoting. These DIY wall molding projects that mimic custom millwork show how to lay out the frames so they stay even across a long wall.
A chair rail runs around the room at about thirty-two to thirty-six inches high and marks the top of a lower wall section. Install the rail level, then paint the wall below it a deeper shade or the trim color. The two-tone split gives a dining room or entry a finished look with one board and one gallon of paint. Different wainscoting styles for modern homes use the same rail as a starting point.
Keep the panel layout simple on walls with doors and windows, and plan the spacing on paper before you cut the first piece.
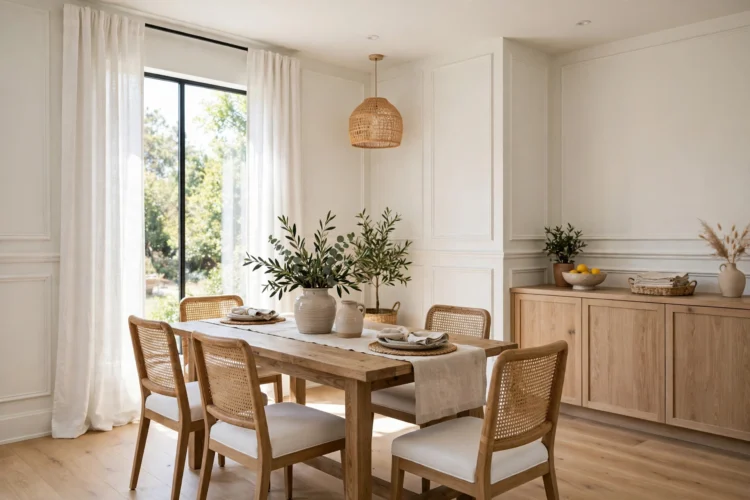
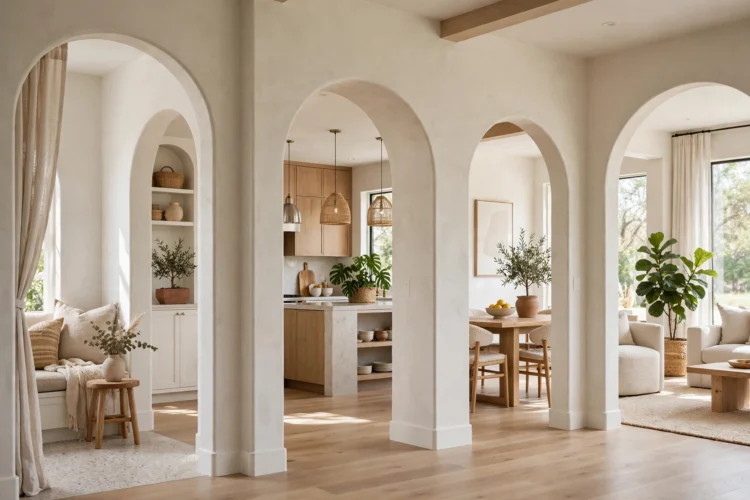
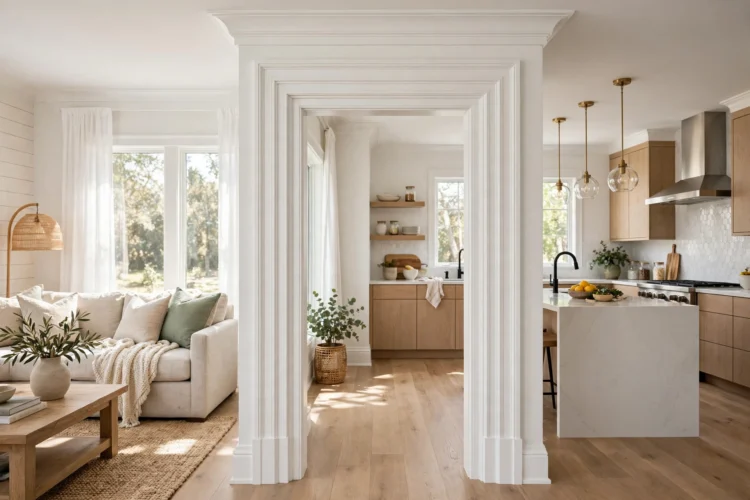
Open doorways between rooms often get the thinnest casing in the house, even though they are the frames you walk through all day. A wider, layered casing around a cased opening turns a plain pass-through into a clear threshold between rooms.
Use casing at least three and a half inches wide around the opening, and add a back band on the outer edge like the window treatment above. Miter the top corners, keep the reveal even, and add plinth blocks at the base so the opening matches the doors nearby. In a wide opening, the thicker frame slows the eye as you move from room to room, which makes each space feel separate even with an open plan.
Do the opening between the living room and the kitchen first if you have one, since that pass-through gets the most traffic.
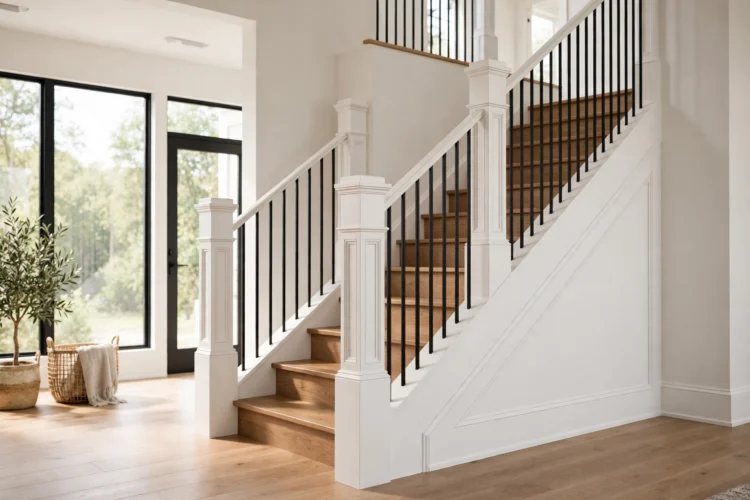
Stairs in builder homes often show bare drywall along the slope and plain newel posts at the turns. The stair wall is one of the largest blank surfaces in the house, so trim work there has a big effect on the entry and the upstairs hall.
A skirt board is a wide board that runs along the stair slope where the treads meet the wall. It covers the joint line, hides scuffs, and gives the staircase a finished edge. Cut the board to follow the tread and riser steps, or run a straight skirt with a cap on top for a simpler look. Add a small cap or a square block to the base of each newel post so the post meets the floor with a clear detail instead of a raw joint.
Measure twice on stairs because each tread can sit a little off level, and a skirt board cut to the real steps will sit tight.
New trim only looks custom when the finish matches. Gaps and raw nail holes will undo good carpentry, so the last upgrade is a set of habits rather than a new profile.
Fill every nail hole, sand it smooth, and run paintable caulk along each joint where trim meets wall or floor. Use one trim paint and one sheen, usually satin or semi-gloss, for every board in the house, and keep the can label so the next batch matches. When the profiles, the paint, and the details agree, twelve small upgrades read as one house that was built with care.
Pick one room this weekend and start with the baseboards. Once that room is done, the next room goes faster because you already know the cuts, the paint, and the pace. In a few weekends, the flat builder look is gone.