Physical Address
304 North Cardinal St.
Dorchester Center, MA 02124
Physical Address
304 North Cardinal St.
Dorchester Center, MA 02124

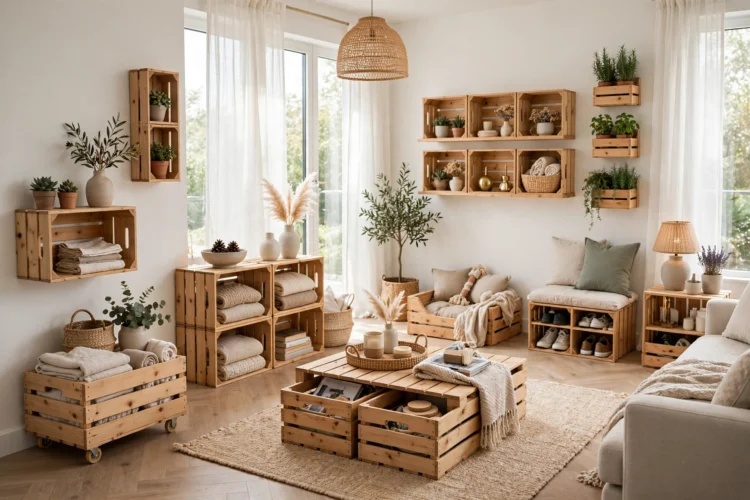
Wooden crates cost little and stack neatly, which makes them one of the most forgiving starting points for home projects. These nine builds turn them into shelves, tables, and storage that looks intentional.
Wooden crates cost little, stack neatly, and take paint, stain, and hardware without complaint. That mix makes them one of the most forgiving starting points for home projects, and these wooden crate DIY ideas prove it. You can build real storage with a drill, a few screws, and an afternoon, and you do not need a workshop to do it well.
Before you start, check each crate for loose slats, proud nails, and rough edges. Sand the edges, pull or hammer down any nails, and wipe off the dust. Crates from markets and garden centers often arrive dirty, so a quick wash and a day to dry keeps paint and glue sticking well. Pick crates with solid bottoms for anything that holds real weight, and save the flimsy ones for light decor.
Stacking crates on their sides turns them into open cubbies that hold books, plants, and dishes. Start with two or three crates on the floor and work upward, screwing each crate into the one below it with short wood screws. Anchor the top crate to a wall stud with a bracket so the stack cannot tip forward, which matters most in homes with kids or pets.
Wooden crate shelving works best when you vary the direction of the openings. Turn one crate on its side, leave the next one upright, and the wall stops looking like a grid. Paint the backs in a soft accent color for depth, or leave the wood bare and let the grain carry the look. If you want a tidier finish, line the crate bottoms with peel-and-stick paper in a pattern you like. For more shelving inspiration, these floating shelf styles pair well with crate cubbies on the same wall.
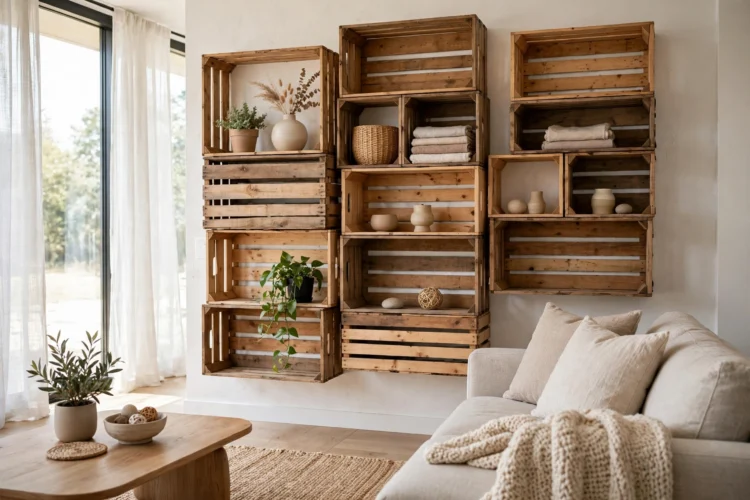
A single crate on four small caster wheels becomes a side table you can move wherever you need it. Flip the crate upside down so the solid bottom becomes the tabletop, then screw a caster into each corner of what is now the base. Choose locking casters if the table will sit on a hard floor, since a rolling table drifts every time someone bumps it.
This crate side table suits a sofa, a reading chair, or a bed. Add a piece of plywood or a thin board across the top if the slats leave gaps too wide for a coffee mug. Stain the outside a warm walnut and leave the inside natural for contrast, or paint the whole piece one bold color and let it act as an accent. A small crate also works as a plant stand on wheels, which makes watering day much easier.
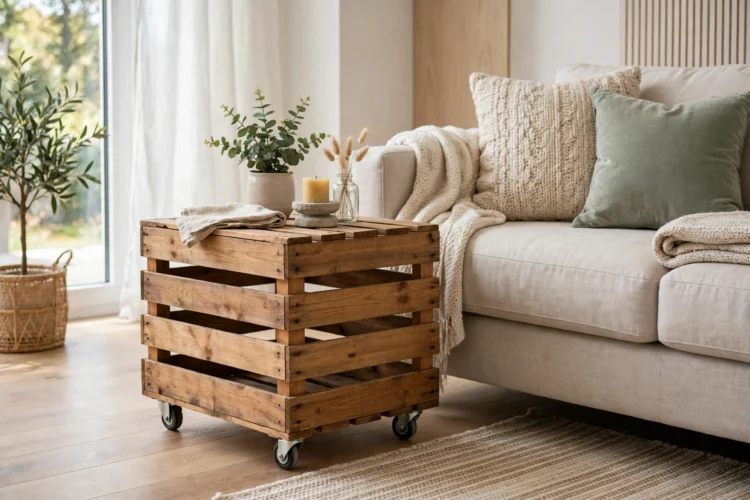
Toys spread across a room in minutes, and open crates make cleanup a game kids can actually finish. Set two or three crates on their sides at floor level so children can see inside without climbing. Screw the crates together at the sides so the row holds its shape when little hands pull bins in and out.
Crate toy storage works better with labels than with lids. Glue a small chalkboard tag or a wooden label to the front of each crate and write what goes inside: blocks, dolls, cars. Kids match the picture or word to the crate, and the system survives longer than any sorting lecture. Keep one crate empty on purpose, since a spare open crate catches whatever does not fit anywhere else.
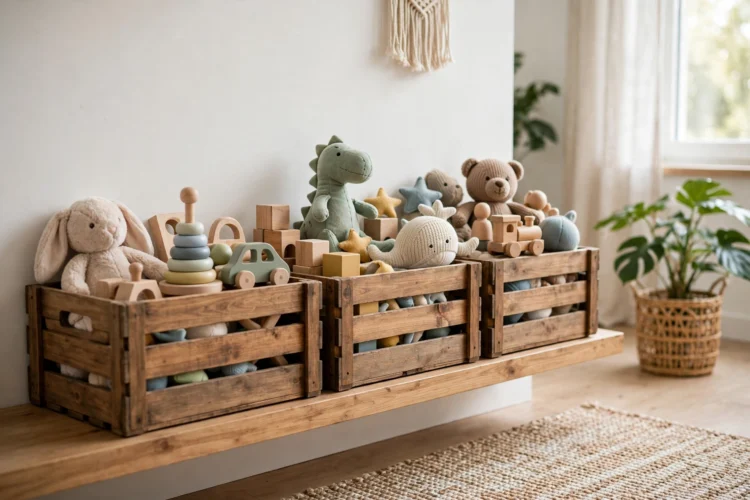
Four crates arranged in a square, openings facing outward, form a coffee table with storage on all four sides. Screw the crates to each other at the corners, then lay a board or a sheet of plywood across the top and screw it down from underneath. The top board hides the gaps between crates and gives you a flat surface for mugs and books.
Sand the top board smooth and seal it with a clear matte finish so coffee rings wipe off easily. Leave the crate openings bare for books and throws, or slide small fabric baskets inside for a softer look. If your living room is small, build the same table from two crates instead of four and mount it on casters so it rolls out of the way when you need floor space.
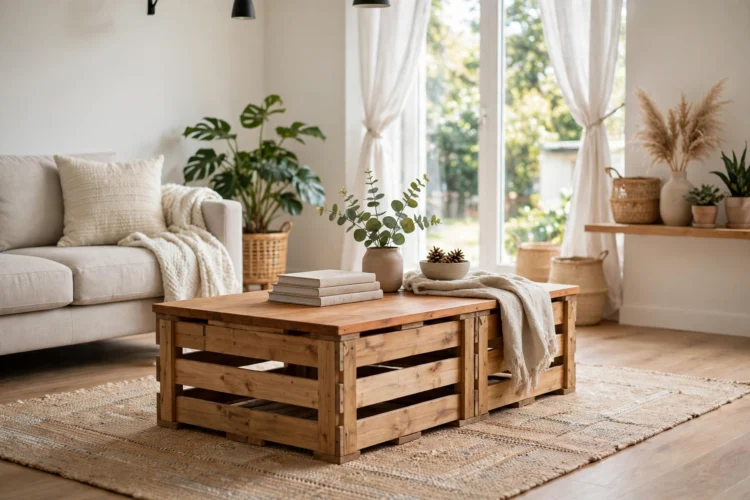
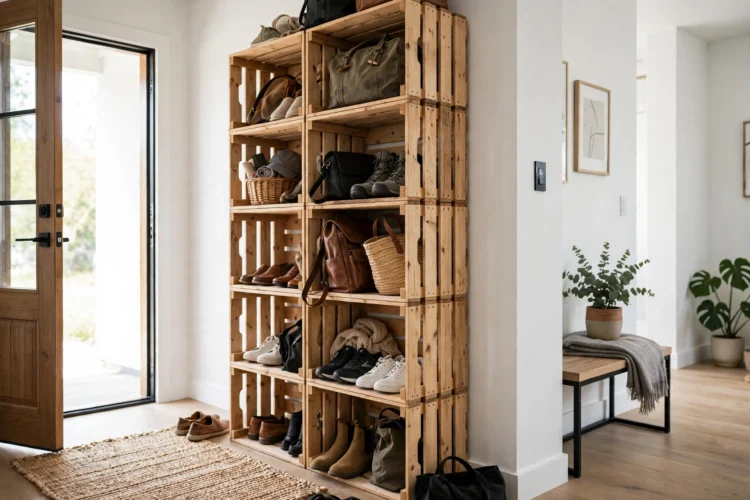
An entryway needs a place for shoes, bags, and keys, and a tower of crates gives you all three without a single built-in. Stack three or four crates vertically, openings facing forward, and screw each crate to the one below it. Add small hooks to the side of the tower for coats and dog leashes, and a tray on top for keys and mail.
Stacked crate storage like this earns its keep when each cubby has one job. The bottom cubby holds shoes, the middle one holds bags, and the top one holds hats and gloves. Line the bottom cubby with a washable mat, since shoes bring in dirt no matter how careful everyone is. If your entryway is narrow, build the tower from smaller wine crates instead of large apple crates so it hugs the wall.
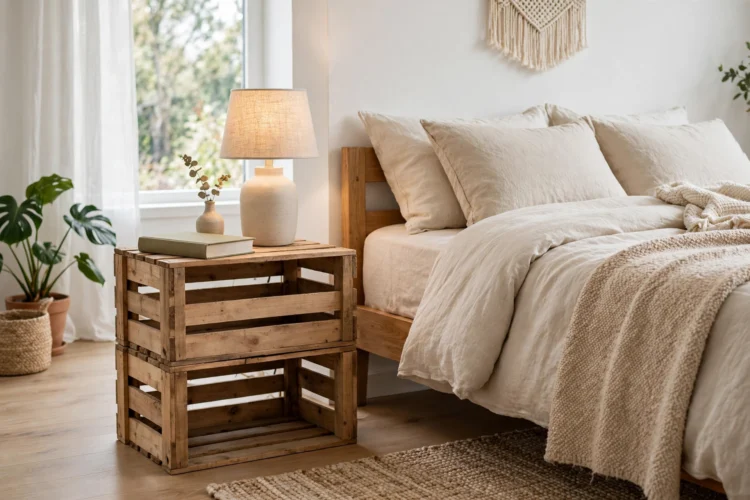
A crate turned on its side makes a nightstand with one open shelf, which is exactly what a bedside needs: a place for a lamp on top and a book below. Stack a second crate underneath for a taller bed, and screw the two together so the nightstand feels like one piece of furniture instead of two boxes.
Match the nightstand height to your mattress, since a nightstand that sits far below the bed makes every reach awkward. Aim for the top of the crate to land within a few inches of the top of your mattress. Paint the crate to match your bed frame, or stain it and add a brass knob to a small board across the opening to suggest a drawer front. These kitchen storage ideas for small spaces use the same cubby logic, and the trick works just as well beside a bed.
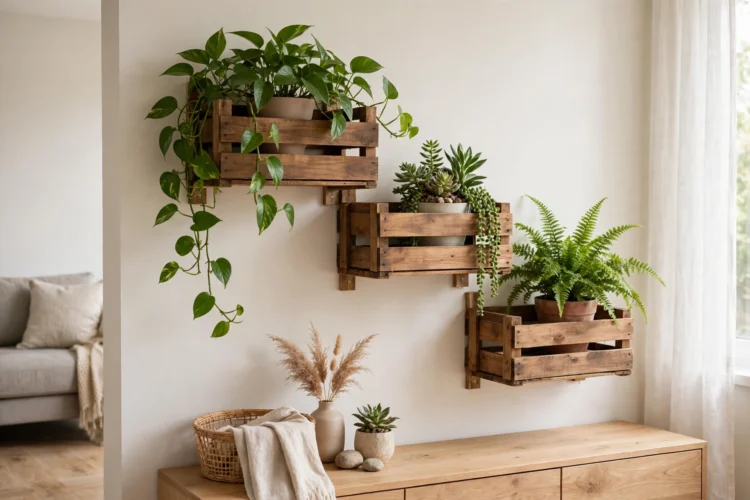
Crates screwed to a wall become deep planter boxes that hold more soil than most hanging pots. Drill drainage holes in the bottom of each crate, line the inside with landscape fabric, and fill with potting mix. Mount the crate to wall studs with long screws and a washer at each corner so the weight of wet soil cannot pull it down.
Herbs do well in wall-mounted crates because the shallow depth suits their roots and the open front makes harvesting easy. Plant basil, mint, and parsley near the kitchen door, and keep a small watering can nearby so the routine sticks. Outdoors, the same crates hold trailing plants like ivy and string of pearls, and the wood weathers to a soft gray that looks good against brick or siding.
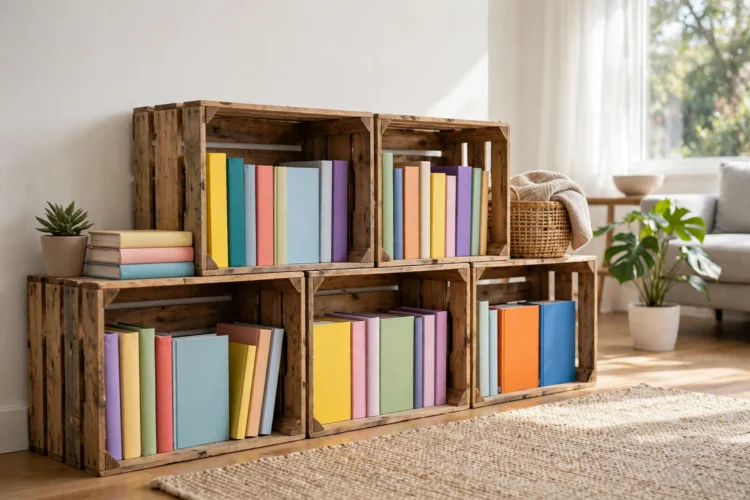
Picture books are too wide for most shelves, but crates hold them face-forward so kids can pick by the cover. Lay crates on their sides in a low row, screw them together, and add a thin strip of wood across the front of each crate to stop books from sliding out. The lip only needs to rise an inch or two above the crate bottom.
Keep the shelf low enough for a child to reach the top crate while standing on the floor. Rotate the books every few weeks so the same ten covers do not stare back at you all year, and keep a small basket beside the shelf for books that are mid-read. This is one of those beginner woodworking projects that teaches measuring and screwing without any fussy joinery, and the result gets daily use.
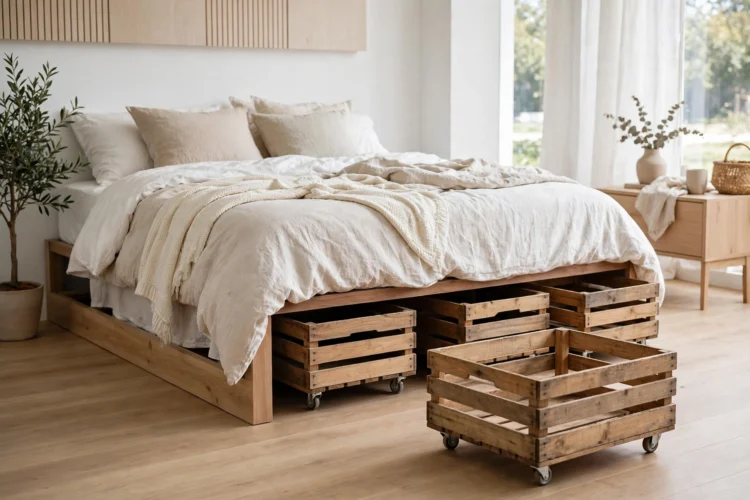
The space under a bed swallows shoes, spare bedding, and out-of-season clothes, and crates on casters keep it organized instead of chaotic. Measure the gap between your floor and the bed frame first, then choose crates that slide in with an inch to spare. Screw four small casters to the bottom of each crate and add a rope handle to the front so you can pull it out with one hand.
Label each crate by season or by owner so nobody has to drag out three boxes to find one sweater. Line the crates with old pillowcases or fabric if you store clothes, since bare wood can snag knits. These tiny kitchen storage ideas use the same roll-out logic in a different room, and the principle holds anywhere: storage you can reach gets used, and storage you cannot reach becomes a junk drawer.
Start with the project that solves your most annoying storage problem, then let the crates you already own decide the next one. A single crate can become a nightstand this weekend and a planter next month, and that flexibility is the whole point. Pick up a few crates, sand the rough edges, and build something your home will use every day.