Physical Address
304 North Cardinal St.
Dorchester Center, MA 02124
Physical Address
304 North Cardinal St.
Dorchester Center, MA 02124

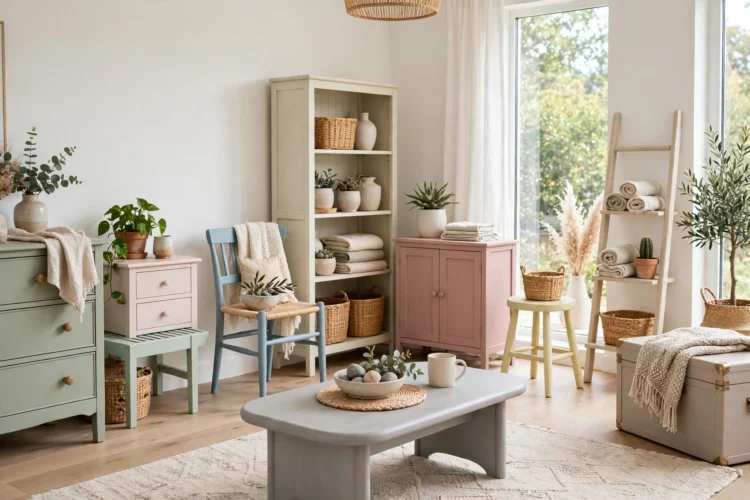
Chalk paint forgives brush marks, skips most sanding, and dries fast, which makes it the friendliest paint for a first furniture project. Start small, learn the feel of it, and work up to bigger pieces.
Chalk paint forgives brush marks, skips most sanding, and dries fast, which makes it the friendliest paint for a first furniture project. You can brush it onto a thrift store find in the morning and set the piece back in its room by dinner. These chalk paint furniture ideas start with small, low-risk pieces and build toward two-tone and distressed finishes as your confidence grows.
Before your first coat, wipe the piece clean with a damp cloth and let it dry. Chalk paint sticks to most surfaces without primer, but a quick scuff with fine sandpaper helps on glossy varnish. Keep a damp rag nearby while you paint, since chalk paint dries quickly and a wet edge helps you blend each stroke into the next.
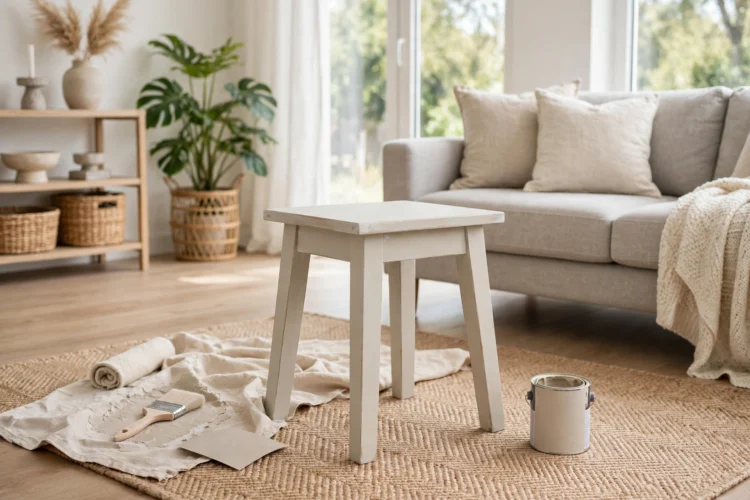
A side table is the perfect first project because it is small enough to finish in one sitting and useful enough to keep. Remove the hardware, wipe the table down, and brush on two thin coats of chalk paint, letting the first coat dry fully before the second. Thin coats dry smoother than one thick coat, and they hide brush marks better too.
Seal the top with clear wax or a matte topcoat so coffee mugs do not leave rings. Rub the wax in with a soft cloth, wait a few minutes, then buff it to a soft sheen. If the brush marks bother you, sand the dried paint lightly with very fine sandpaper before you wax, which smooths the surface without removing the color. You now know the whole process, and every project after this one just scales it up.
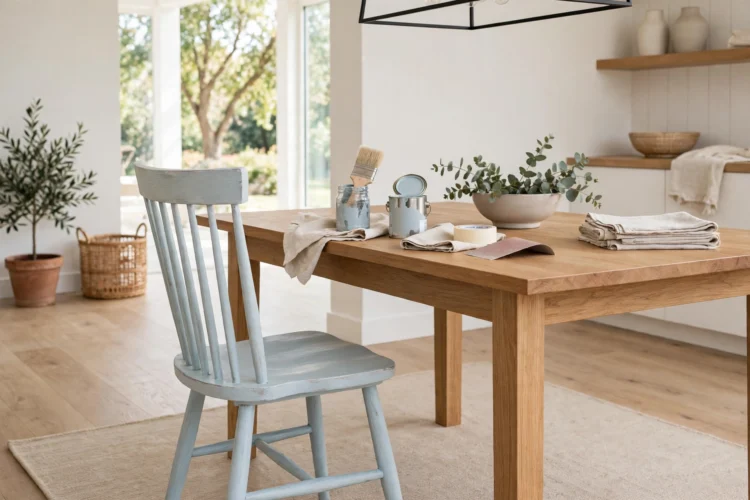
A single wooden chair teaches you to paint spindles, rungs, and curved legs, which are the trickiest shapes in furniture painting. Use a smaller brush for the spindles and work from the top of the chair down so drips land on wet paint instead of dried paint. Two thin coats cover most wood, and a third coat fixes any thin spots you missed.
Paint the chair a color that stands out from your table so it reads as an accent instead of a mismatched set. A soft sage chair at a white table, or a navy chair at a wood table, looks deliberate. Seal the seat well, since chairs take more wear than any other painted piece in the house. If you enjoy rescuing old pieces, these thrift store furniture flips are full of chairs and tables waiting for a second coat.
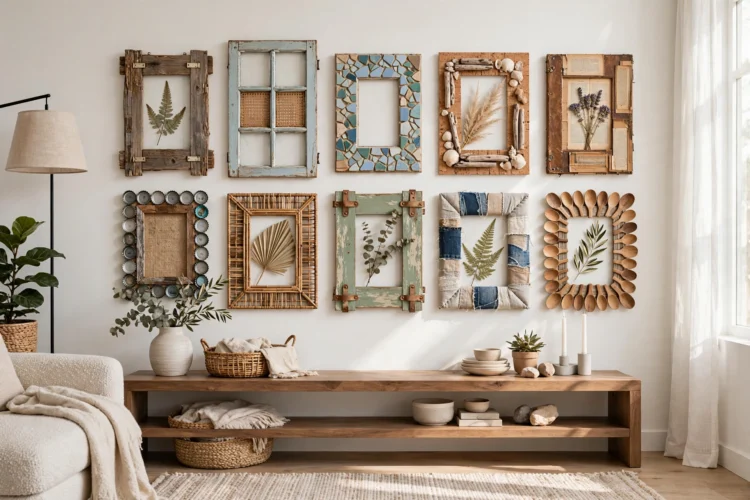
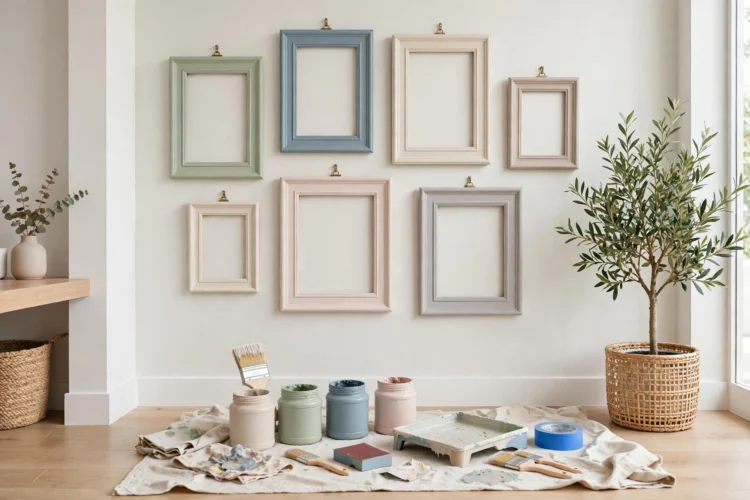
Picture frames are the lowest-risk way to test a color before you commit it to a whole dresser. Brush chalk paint onto a wooden frame, let it dry, then sand the edges lightly so the wood shows through in a few places. The distressed edge gives a plain frame character, and the whole project takes less than an hour.
Try the color on two or three frames at once and hang them together to see how the shade behaves in your light. Colors look darker on a small frame than they do on a paint chip, so testing saves you from repainting a big piece later. Once you find a color you love, keep the leftover paint for the dresser or nightstand that comes next.
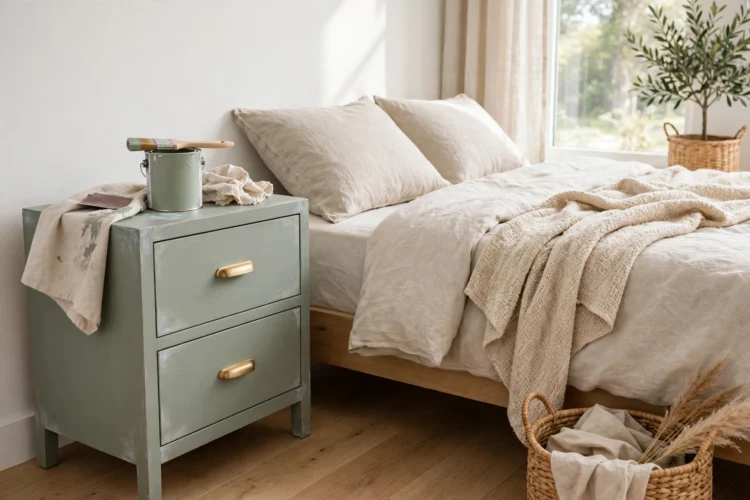
A nightstand is a small project with a big payoff, since you see it every morning and every night. Take the drawer out, remove the knob, and paint the drawer front and the frame separately so you can reach every edge. Two coats cover most finishes, and a light sanding between coats keeps the surface smooth.
A chalk paint nightstand looks best with new hardware, since a fresh knob or pull makes the whole piece feel finished. Choose a knob that contrasts with the paint: brass on navy, black on cream, or wood on sage. Wax the top well, since a nightstand holds water glasses and books every night. These weekend furniture makeover projects include nightstands and dressers that take the same two-day rhythm: paint on Saturday, wax and style on Sunday.
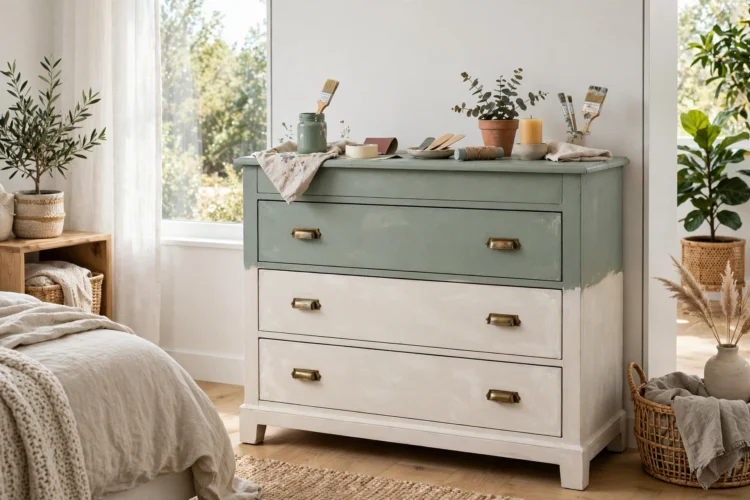
A two-tone dresser paints the frame one color and the drawer fronts another, which gives a plain piece a custom look. Paint the frame first in the lighter color, let it dry, then tape off the frame edges and paint the drawer fronts in the darker shade. Pull the tape while the second color is still slightly tacky for the cleanest line.
A chalk paint dresser in two tones suits almost any combination: cream frame with navy drawers, sage frame with white drawers, or gray frame with charcoal drawers. Two-tone chalk paint works because the matte finish keeps bold combinations from looking glossy or harsh. Keep the hardware consistent across all drawers so the two colors stay the focus.
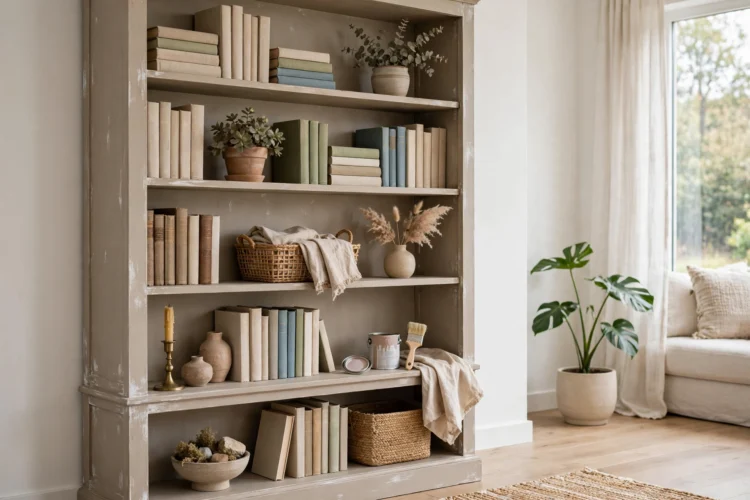
A bookshelf tests your patience, since it has more surface area than a table or a chair. Work one shelf at a time and keep a wet edge as you move across each board, which stops lap marks from forming. Take the shelves out if they come out, and paint them flat on a drop cloth so paint does not pool in the corners.
Paint the back panel a slightly darker shade than the shelves for depth, or line it with removable wallpaper after the paint dries. Books and objects will cover most of the paint anyway, so aim for even coverage rather than a flawless finish. Seal the shelf tops where books slide in and out, since bare chalk paint scuffs under constant use.
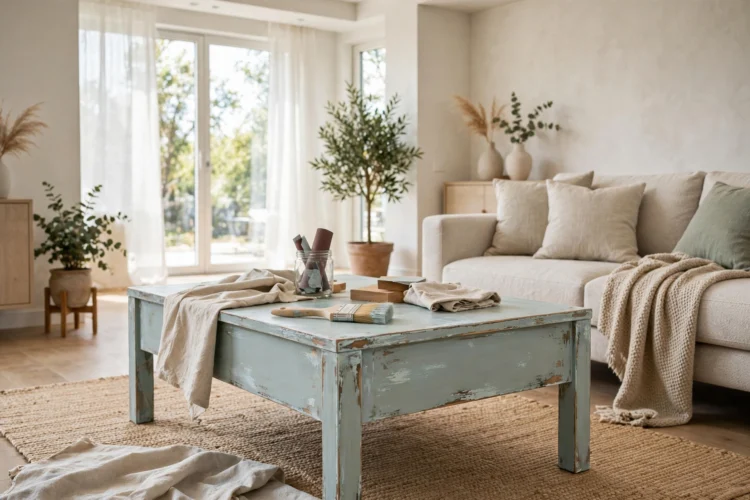
Distressing means sanding paint away at edges and corners so the wood or a base color shows through, and chalk paint distresses more easily than any other paint. Paint the table in your top color, let it dry fully, then rub the edges, corners, and raised details with fine sandpaper until you like the amount of wear showing. Less is more: you can always sand more, but you cannot un-sand.
A distressed chalk paint finish looks best when the wear follows the places a table would naturally get bumped: corners, edges, and the rim of the top. Rub a little dark wax into the sanded spots to age them further, then seal the whole table with clear wax. These beginner woodworking projects pair well with a distressed coffee table, since a handmade shelf or stool in the same room echoes the worn, relaxed look.
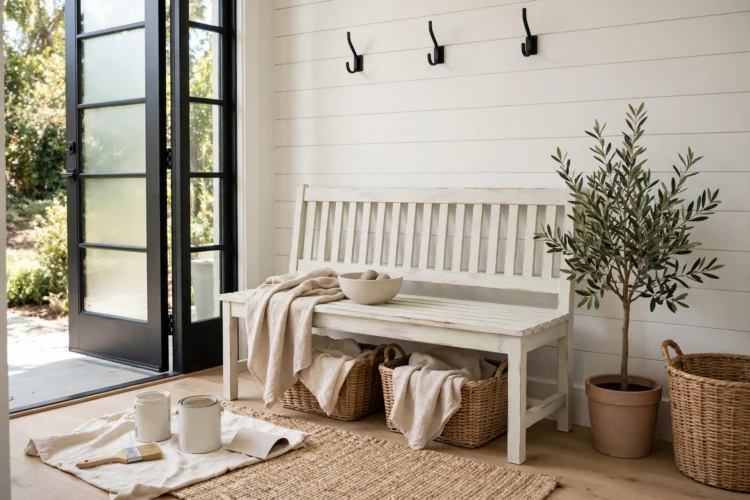
A wooden bench takes paint well and serves every room in the house. Paint the legs and apron one color and the seat another for a subtle two-tone effect, or paint the whole bench a single bold color and let it anchor an entryway. Brush with the grain on the seat so the strokes disappear into the wood pattern.
Seal a bench more heavily than a table, since people sit on it with bags, keys, and wet coats. Two coats of clear wax or a matte polyurethane topcoat protect the seat from scuffs. Add a cushion in a washable fabric if the bench sits by the front door, and the piece becomes the spot where everyone sits to put on shoes.
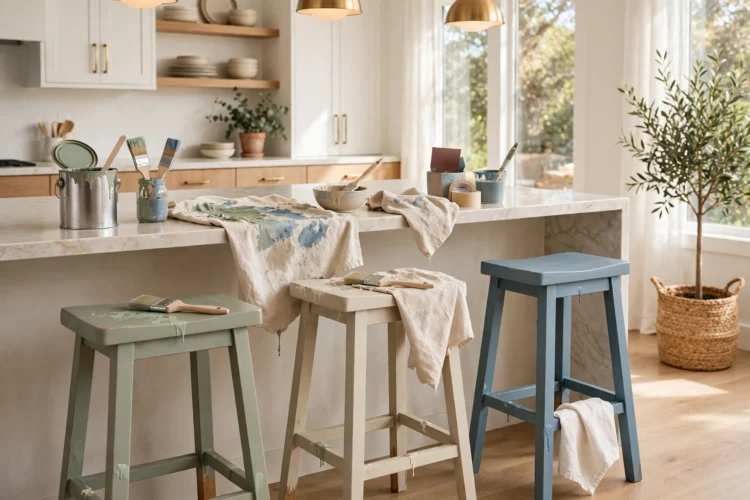
Kitchen stools are small, quick, and forgiving, which makes them a great project for testing a bold color. Paint the legs one color and the seat another, or paint the whole stool a bright shade that pops against your cabinets. Stools take abuse from feet and shoes, so seal them well and expect to touch up the rungs once a year.
Paint stools in a set of four at once, working through each step on all four pieces before moving to the next step. The assembly line keeps the finish consistent and saves time, since you are not waiting for one stool to dry before starting the next. If the stools wobble, tighten the joints with a little wood glue before you paint, since paint hides a wobble for about a week and then it comes back.
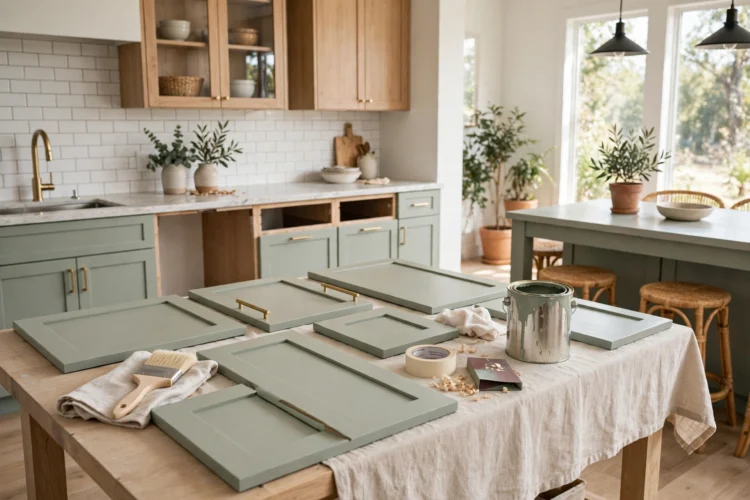
Painting cabinet doors with chalk paint refreshes a kitchen without the cost or mess of a full remodel. Remove the doors and hardware, label each door with tape so it goes back in the right place, and paint them flat on sawhorses. Two thin coats and a matte topcoat give the doors a soft, even finish that hides old oak grain.
Work in small batches so your kitchen stays usable while you paint. Do the upper doors first, then the lower ones, and keep one set of doors on the cabinets at all times. For styling help once the paint dries, these bedroom dresser styling ideas show how small hardware and styling choices change the whole look of a painted piece, and the same thinking applies to kitchen cabinets.
Your first chalk paint project does not need to be perfect. It needs to be finished, sealed, and back in use, so you learn how the paint behaves. Start with the side table or the frames, then move to the dresser when your brush feels steady. The paint forgives almost everything, and the piece will look better than it did yesterday.