Physical Address
304 North Cardinal St.
Dorchester Center, MA 02124
Physical Address
304 North Cardinal St.
Dorchester Center, MA 02124

The right tool is useless if you cannot find it. These ten wall ideas arrange tools by task so the one you need is always visible and within reach.
The right tool is useless if you cannot find it. These garage tool storage ideas turn a wall into a workshop command center, where every wrench, saw, and screwdriver hangs in plain sight and goes back to the same spot after every job. The payoff is simple: you grab the tool, use it, and hang it back without thinking.
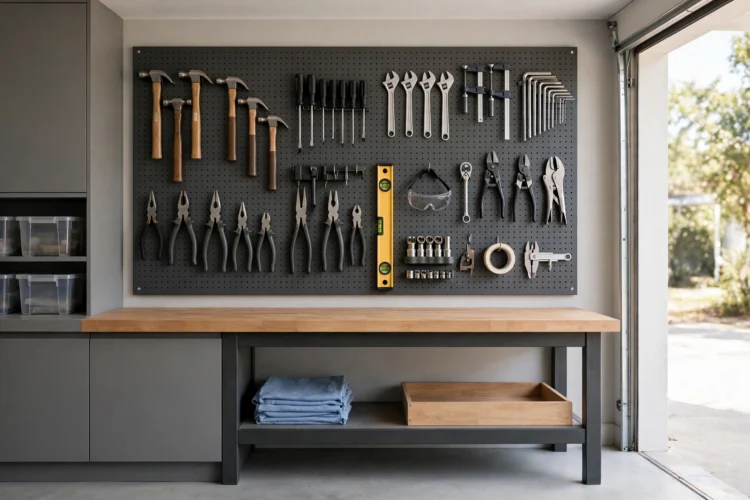
Arrange the wall by task, not by tool type. The sawing tools live together, the fastening tools live together, and the measuring tools live together. When the layout matches how you actually work, the right tool is always the one your hand reaches for first.
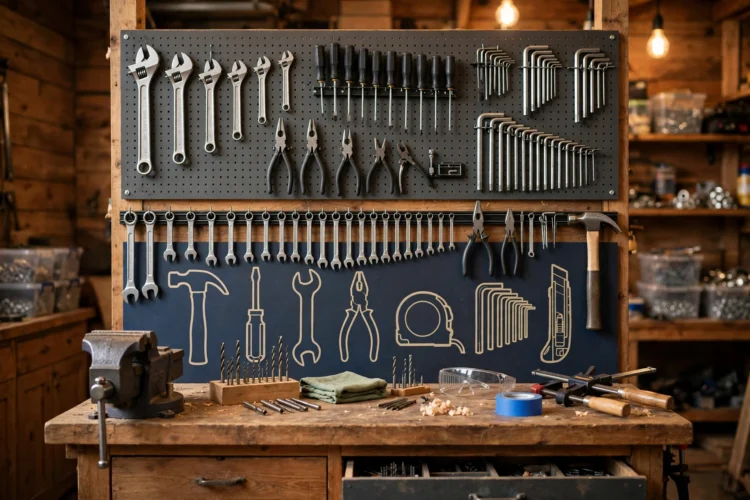
Shadow board tools hang on a panel with the outline of each tool painted or cut into it. Every tool has a silhouette, so a missing tool shows up as an empty outline at a glance. It is the fastest way to see what is out, what is back, and what needs replacing.
Build one from a sheet of plywood painted in a light color, then trace each tool with a marker and fill the outline with dark paint. Hang the tools on short pegs or screws driven into the board. Keep the most-used tools at shoulder height and the rarely used ones near the top or bottom edges.
Photograph the finished board. If the layout ever gets rearranged, the photo shows the original plan and saves an hour of guessing. A shadow board also pairs well with a solid bench setup, and these DIY workbench setups for small garages show how to build the bench it hangs above.
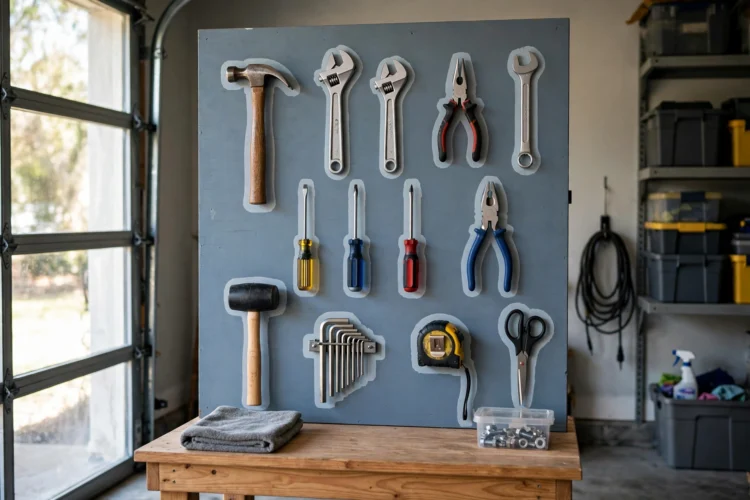
A magnetic tool strip holds screwdrivers, wrenches, pliers, and chisels in a neat row with no hooks or holes to line up. Stick the tool to the strip and it stays put, even on a wall that shakes when the garage door runs. The strip takes up almost no depth, so it fits on narrow walls and door backs.
Use a strip rated for the weight you plan to hang. Cheap strips drop heavy wrenches, which is a good way to dent a car hood or a bare foot. Mount the strip into studs with screws, not adhesive, and test it with your heaviest tool before you load it up.
Keep one strip for metal measuring tools like squares and levels. They are easy to lose in a drawer and expensive to replace, and a visible strip keeps them in sight and in reach.
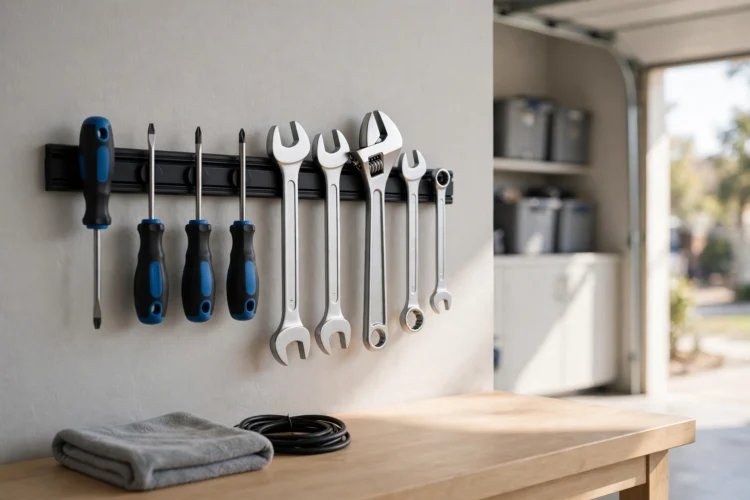
A pegboard tool wall is the classic for a reason. Hooks, baskets, and holders move in seconds, so the layout changes as your tools change. Hang it above the workbench where your hands already are, and keep the bench surface clear for the actual work.
Frame the pegboard with a border of wood and leave a gap behind it so hooks can seat fully. A board screwed flat to the wall fights every hook you push in. Paint it a light color so dark tool handles stand out against it.
Group the hooks by task: cutting tools on the left, fastening tools in the middle, measuring tools on the right. The grouping is the whole trick, and it works even better when the rest of the wall is planned too, as these garage storage wall ideas beyond pegboard prove.
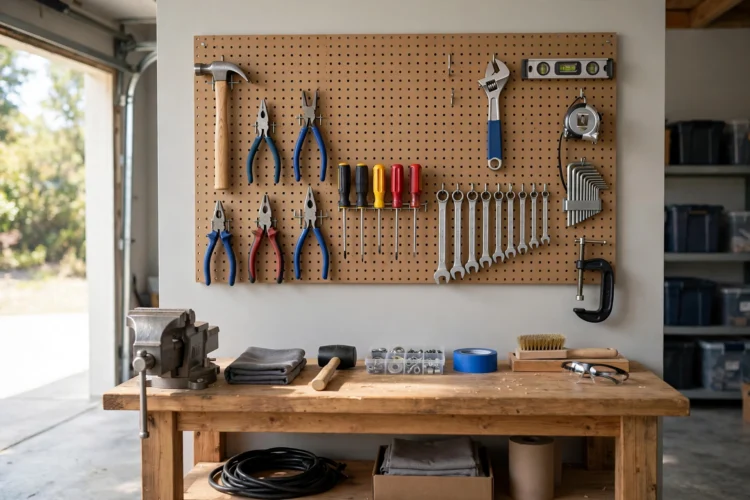
French cleats are angled strips of wood that lock together and hold serious weight. Screw one strip to the wall, another to the back of a holder or shelf, and the holder hangs securely and lifts off in seconds. Saws, drills, and boxes of fasteners all ride on cleats.
Cut the cleats from plywood at a 45-degree angle and run them the full width of the wall. Full-length cleats let you slide holders sideways to rebalance the wall without drilling new holes. Space the rows about a foot apart so tall tools clear the row above.
Build holders as you need them: a drill holster, a saw rack, a bin for sandpaper. Each holder is a small weekend project, and the wall grows with your tool collection instead of fighting it.
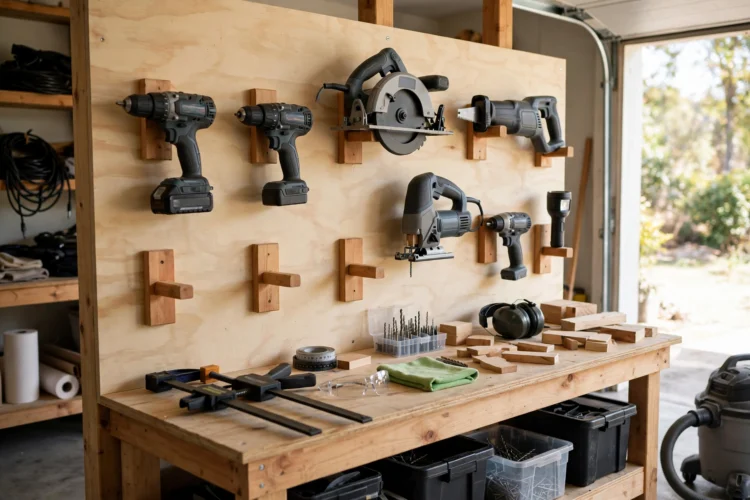
Small tools vanish into drawers. Bins on the wall keep them visible and sorted: one bin for screwdrivers, one for pliers, one for hex keys. Clear bins show the contents at a glance, and a label on the front removes all doubt.
Mount the bins on a rail or a cleat so they lift off for cleaning or for carrying to the job. A bin that cannot leave the wall is a bin that gets ignored when the work happens across the garage.
Keep a small parts bin for the odds and ends that accumulate in every shop: spare blades, drill bits, and fasteners. Sort them once a month, and throw out the broken and the bent. A bin full of junk is worse than no bin at all.
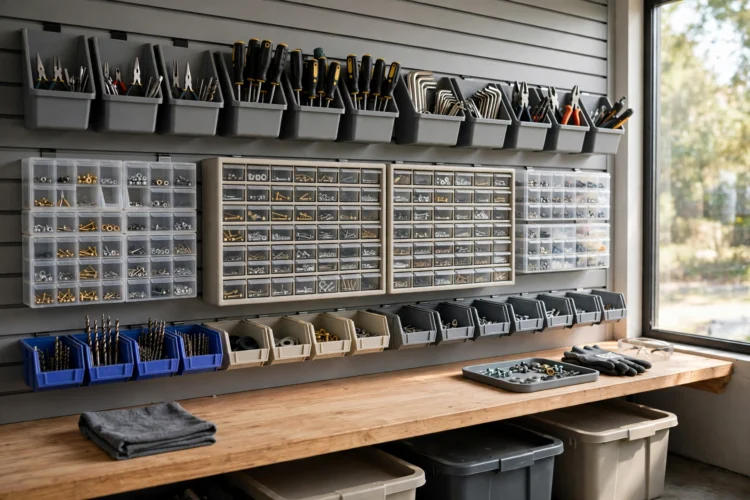
Cordless tools need a home with power. A shelf with a built-in power strip holds the drills, drivers, and saws in a row, each with its battery on the charger. The tools stay charged, the batteries stay together, and the chargers stop migrating around the garage.
Mount the shelf at waist height so heavy tools lift off easily. Add a lip on the front edge so a bumped tool slides instead of falling. Keep the charger cords short and tidy with clips, so they never dangle into the work zone.
Label each charger with the tool it serves. When two tools share a battery platform, a label stops the daily swap confusion and keeps the right battery on the right charger.
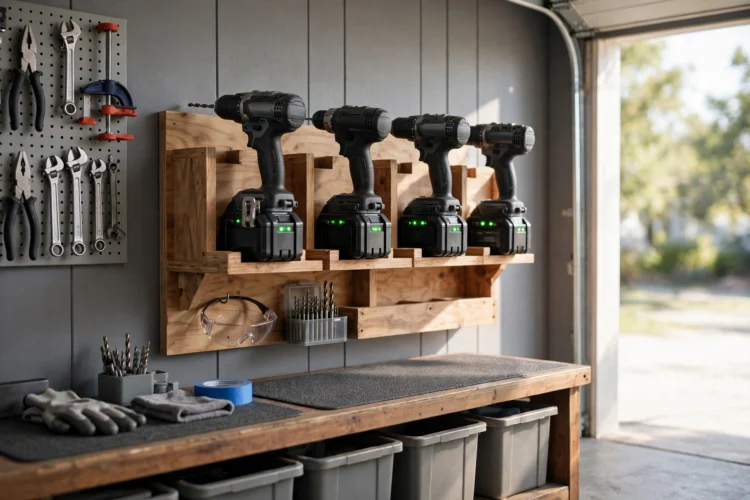
Tape measures, squares, levels, and marking gauges get used in almost every job, so they deserve the most visible spot on the wall. A single row at eye level, right above the bench, keeps them within reach without a search.
Hang tape measures on short pegs by their belt clips, and rest levels in a shallow trough screwed to the wall. Squares hang from a small hook through their hanging hole. The rule is simple: if you can see it, you will use it.
Buy a second tape measure and hang it on the opposite side of the garage. The walk back to the bench for a tape measure is the most common wasted trip in any workshop, and a spare tape pays for itself in a week.
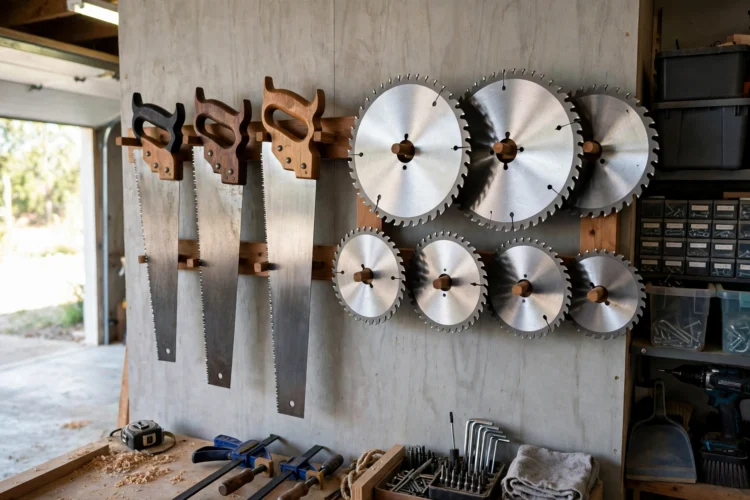
Hand saws and circular saw blades dull fast when they bang against each other in a drawer. A wall rack with individual slots keeps each blade separate and its teeth safe. Cut slots in a strip of hardwood and mount it at an angle so the blades rest in their own grooves.
Label each slot with the blade type and tooth count. When the right blade is labeled and visible, you grab it first instead of forcing the wrong blade through the cut. A dull or wrong blade is how good wood gets ruined.
Keep the rack away from the main walkway. Sharp teeth at hip height in a busy garage are an accident waiting to happen. A quiet corner of the tool wall is the right home.
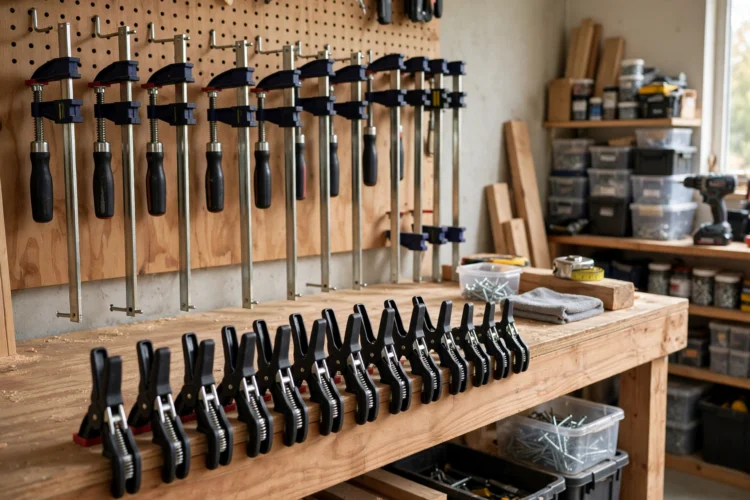
Clamps are awkward on a flat wall, but they hang beautifully on the side of the workbench. A simple rail with short pegs holds spring clamps, bar clamps, and C-clamps in a row, right where the work happens. The bench side is dead space otherwise, so the clamps cost no wall at all.
Sort clamps by size, smallest near the front. When you need a clamp mid-glue-up, you grab the right size without hunting. A clamp rack that holds six of each size covers most home projects.
Hang the big squares on the bench end as well. They are too large for the main tool wall and too useful to bury in a drawer, and the bench end keeps them flat and protected.
The best tool wall organization fails without a reset habit. Labels do half the job: a label under each hook tells anyone in the house where the tool lives, including future you on a tired evening. Use a label maker or a paint pen, and keep the labels short.
The other half is a five-minute reset at the end of every session. Walk the wall, hang back what is out, and wipe the bench. Five minutes now saves twenty minutes of hunting at the start of the next job.
Review the wall once a season. Tools you never reach for move to a lower row or a box, and tools you reach for constantly move to eye level. A wall that changes with your work stays useful, and it keeps the whole garage tidier, as any good garage organization system that actually stays tidy depends on habits like this one.