Physical Address
304 North Cardinal St.
Dorchester Center, MA 02124
Physical Address
304 North Cardinal St.
Dorchester Center, MA 02124

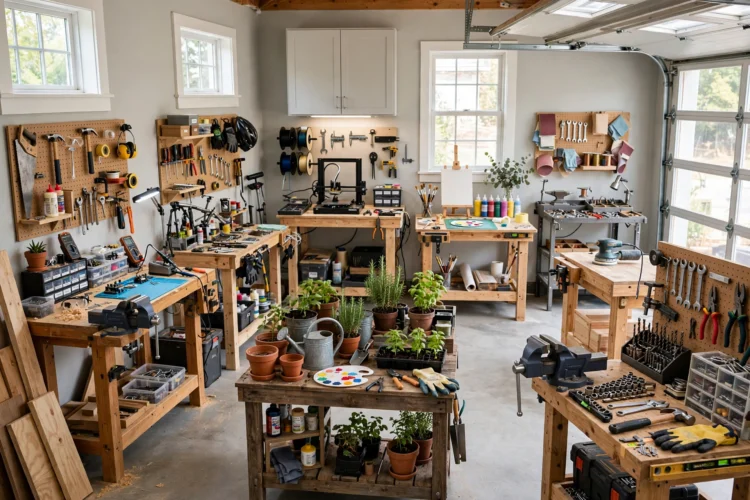
A workbench should not cost you a parking space. These nine DIY setups fold, roll, or hug the wall, so the bench works when you need it and disappears when you do not.
Garage workbench ideas for a small garage start with one honest question: where does the car go when the bench is in use? A bench that eats the parking bay will get resented, then abandoned. The nine setups below solve that problem in different ways. Some fold flat against the wall. Some roll out of the way. Some are so narrow they never block the car at all. All of them can be built with basic tools and a weekend of work. Pick the one that fits your wall, your projects, and your patience.
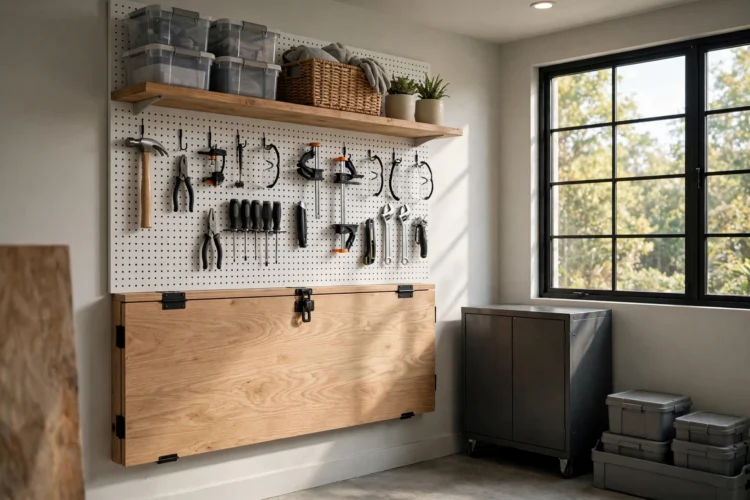
A fold-down bench is a hinged top mounted to the wall with legs that swing down to support it. When the work is done, the legs fold away and the top drops flat against the wall, freeing the full floor. It is the best choice when the bench sits on the wall beside the car, because a folded bench takes up less depth than a parked bicycle. Build the top from two layers of plywood glued together so it stays flat under load, and use heavy-duty hinges rated for the weight you plan to put on it.
Add a simple latch or a barrel bolt to hold the top flat while you drive past it. A fold down workbench lives or dies on its support legs, so make them wide and add a cross brace. If the legs wobble, the bench will feel unsafe no matter how strong the top is. For a first build, keep the top about five feet long and two feet deep. That size handles most repairs without crowding the wall.
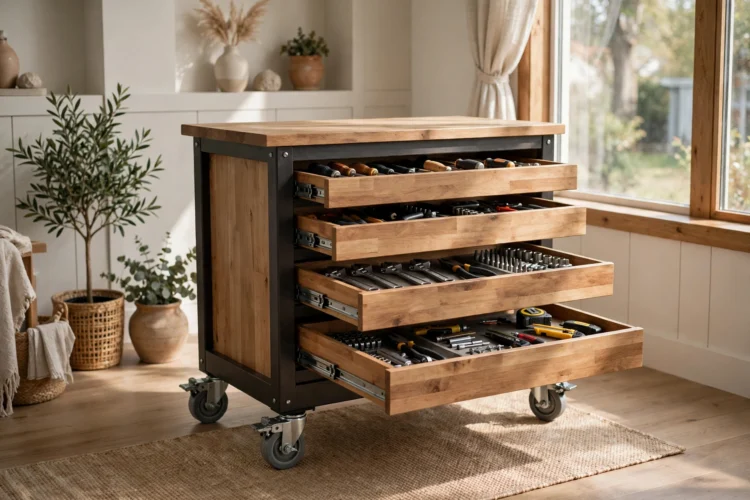
A rolling workbench turns any open patch of floor into a workstation. Build a sturdy base with a plywood top, add four locking casters, and the bench can roll to the driveway for a messy job, then roll back to its parking spot. The casters matter more than the top. Cheap wheels wobble, sink under load, and make the bench feel flimsy. Spend the extra money on casters with a real locking lever and a weight rating above what you will ever load.
Keep the bench low enough to push comfortably and high enough to work at without hunching. Most people land near 36 inches, but test the height with a scrap board on sawhorses before you build. A rolling workbench with drawers underneath keeps tools with the bench, so the setup travels as one unit. Park it against the wall when the car comes home.
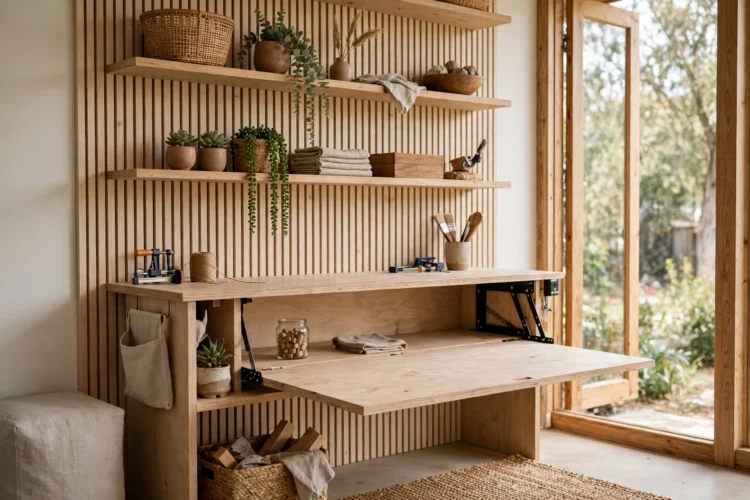
A wall-mounted bench with a drop leaf gives you two work surfaces in one footprint. The fixed section holds a vise or a grinder. The leaf folds down for extra space when you need it and folds up when you do not. Mount the fixed section to wall studs with lag screws, never just drywall anchors, because the bench will take real force when you clamp and saw. Add a shelf above for the tools you reach for most.
The drop leaf needs a support arm or a folding bracket on each side. Test the bracket under load before you trust it with a project. This setup suits a small garage workbench for light repairs, electronics, or model building, where the work is small and the bench can stay shallow. If you want the same wall to do more, DIY floating shelves above the bench add storage without touching the floor.
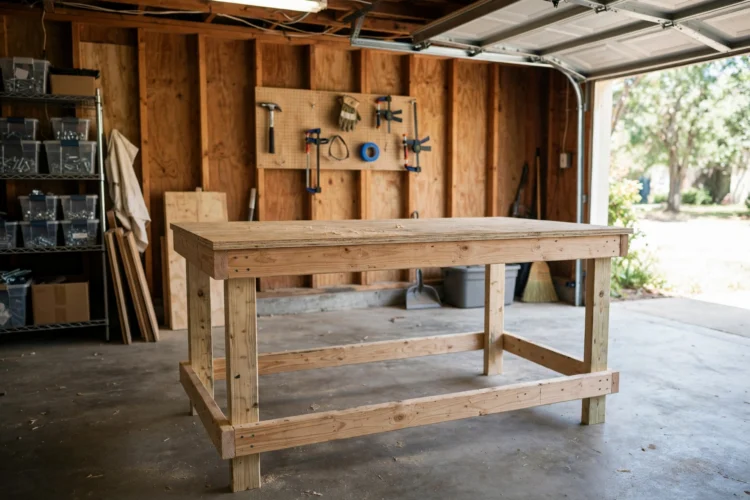
The classic two-by-four bench is four legs, a lower shelf, and a plywood top, all screwed together. No joinery, no special tools, just a saw, a drill, and a square. Cut the legs to your working height, add stretchers near the floor for rigidity, and screw the top down from above. A lower shelf holds paint cans, toolboxes, and offcuts, and it stiffens the whole frame. The whole build fits in a single day, including a trip to the lumber yard.
Make the top replaceable. A sheet of hardboard screwed over the plywood takes the cuts and glue drips, and you can swap it in ten minutes when it gets chewed up. A DIY garage workbench does not need to be pretty. It needs to be flat, level, and strong enough that you trust it with a heavy project. If you are new to building, start here. This bench teaches the skills every other setup on this list uses.
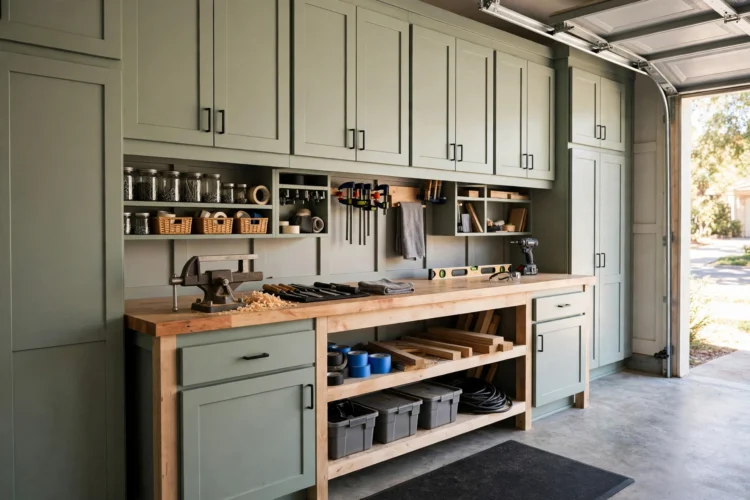
When wall space is tight, build the bench into the storage wall itself. A run of cabinets with a worktop between them gives you a bench, drawers, and upper storage in one unit. The bench never moves, so it can hold a vise and a grinder permanently. The cabinets on either side keep the tools for the bench within arm reach, and the worktop doubles as a landing spot for parts during a repair.
Leave a knee space under one section of the worktop so you can sit for detailed work. Add a power strip along the backsplash so cords never drape across the floor. This setup costs more than a simple bench, but it replaces three separate pieces of furniture, which is a fair trade in a small garage. Plan the layout on paper first, because moving cabinets later is a much bigger job.
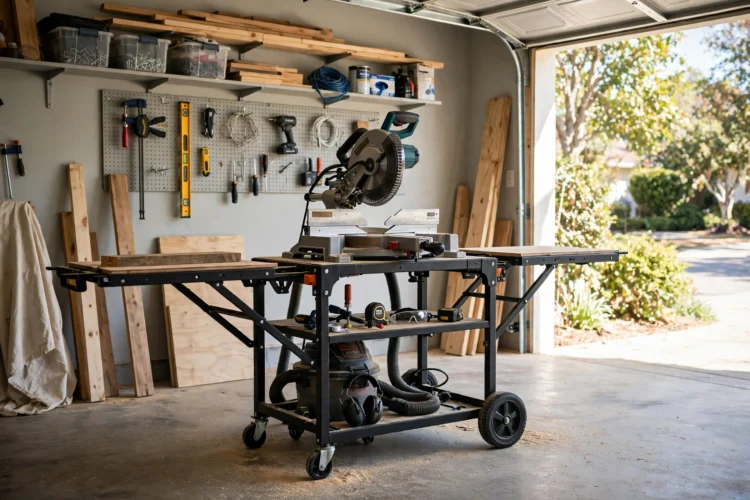
A miter saw needs a bench, but only while you are cutting. The rest of the time it is a heavy box in the way. A mobile station solves that with a low cart, fold-out wings to support long boards, and a spot to store the saw below the top when it is not in use. Build the wings to fold flat against the cart so the whole unit rolls into a corner. Add a fence along the back so repeated cuts land in the same place.
Measure your longest common board before you build the wings. Eight-foot boards need support about four feet out on each side, or the ends will tip and bind the blade. A rolling workbench that holds the saw can double as an outfeed table for other tools, which makes it the hardest-working cart in the garage. Lock the casters before every cut.
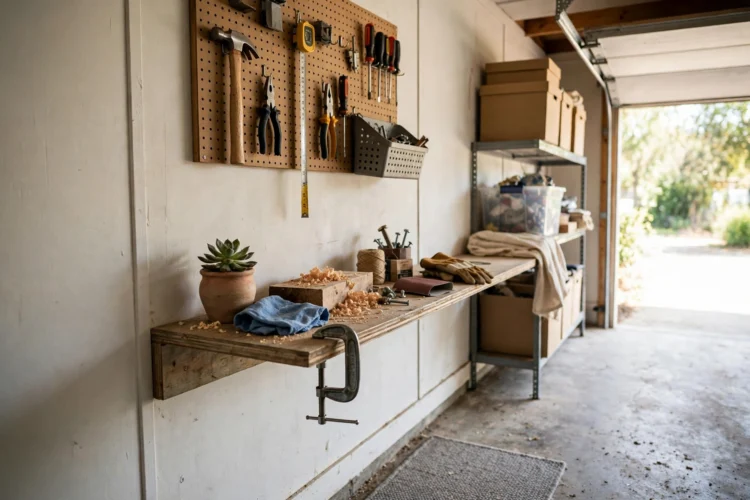
The side wall of a garage is often wasted space, a strip too narrow for a car and too awkward for shelves. A narrow bench fits it perfectly. Build the top eighteen inches deep and as long as the wall allows. That depth handles hand tools, small repairs, and assembly work, and it leaves the full floor for parking. Mount a tool strip or a small shelf above so the bench surface stays clear.
A narrow bench works best as a second bench, paired with a larger one elsewhere, but it can be the only bench if your projects are small. Keep the lighting good, because a side wall is often the darkest part of the garage. A simple shop light mounted under the shelf above the bench changes the whole space. If you need a first project to build the habit, easy DIY projects with a drill include several small builds that teach the same cuts and screws.
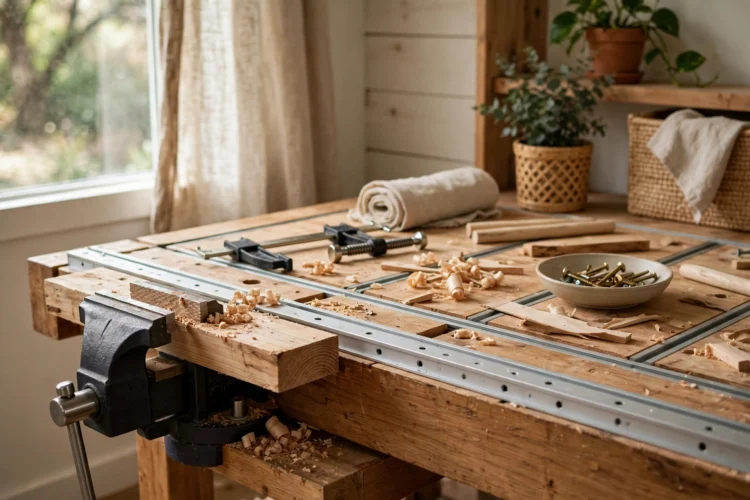
A bench that cannot hold the work still is just a table. Add clamping to the top and the bench becomes a third hand. The simplest version is a row of dog holes drilled through the top, used with bench dogs and a holdfast. A step up is a shallow track routed into the top that accepts sliding clamps. Both options cost little and change how the bench feels in use, because the work stops sliding while you saw, sand, or glue.
Keep the clamping area clear of drawers and vises so clamps can reach anywhere on the top. A front vise adds even more holding power and is worth adding once you use the bench regularly. Oil the top lightly to resist glue and paint, and the bench will clean up with a scraper instead of a sander. For fast wins while you build the habit, quick weekend DIY projects keep the momentum going between bigger builds.
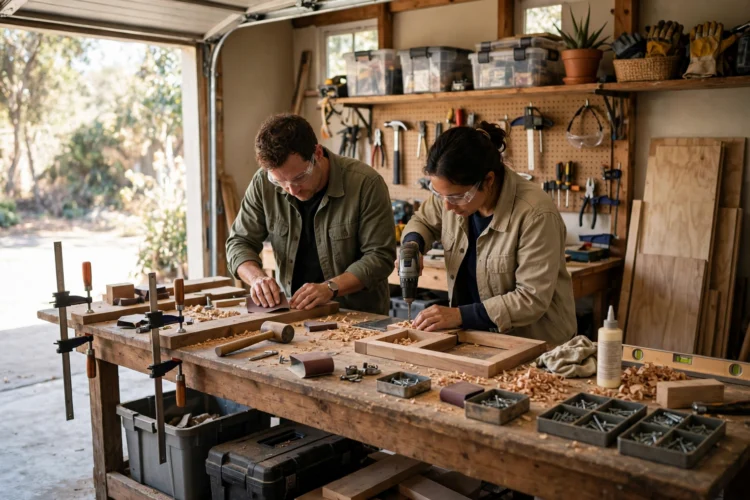
When two people share a garage, one bench becomes a bottleneck. A long shared bench with a tool zone in the middle solves it. Each person gets a work area at one end, and the shared tools live in the center where both can reach them. Build the bench at least eight feet long so the two zones stay separate, and give each side its own light and power strip. The middle zone holds the communal tools: the drill charger, the glue, the measuring tools.
Agree on one rule before the first project: the shared zone stays clear. Tools return to the middle when the job ends, and personal projects stay on personal ends. A shared bench works when both people can find their tools, and it fails the first week the middle turns into a dumping ground. Build it together if you can. A bench you build together gets respected more than one you inherit, and no-power-tool DIY projects are a friendly way to start building as a pair.
Start with the bench that matches your wall, not the bench you wish you had room for. A fold-down bench on the side wall beats a big fixed bench that blocks the car. Build it flat, build it strong, and use it for a month before you add anything else.