Physical Address
304 North Cardinal St.
Dorchester Center, MA 02124
Physical Address
304 North Cardinal St.
Dorchester Center, MA 02124

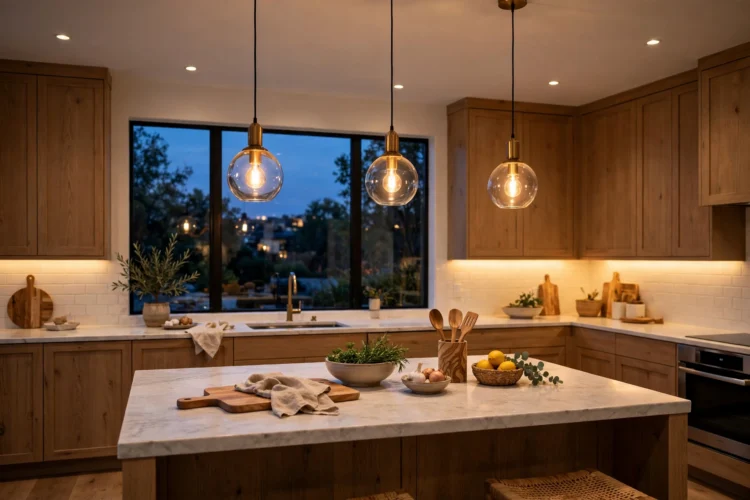
One ceiling light cannot carry a kitchen. Twelve ideas that layer pendants, task lights, and accents into a plan that actually works.
A single flush-mount fixture in the middle of the ceiling leaves kitchen counters in shadow exactly where you chop. Better kitchen lighting ideas treat the room in three layers: ambient light for overall brightness, task light aimed at counters and the stove, and accent light that shows off tile, shelves, and architecture. These twelve ideas build layered kitchen lighting one fixture at a time, and most of them install in an afternoon. You do not need an electrician for every upgrade on this list. You need a plan, a dimmer or two, and the willingness to stop lighting the whole room from one spot.
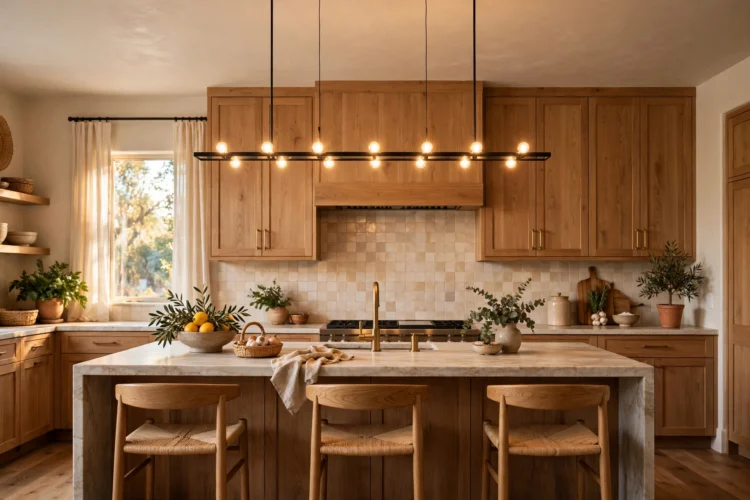
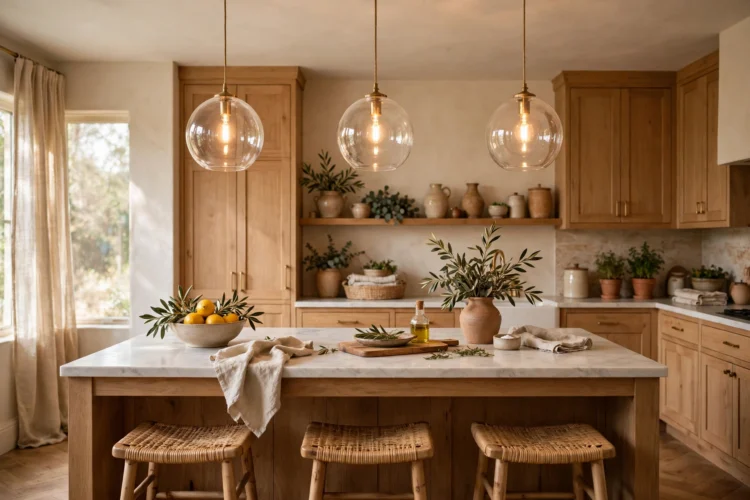
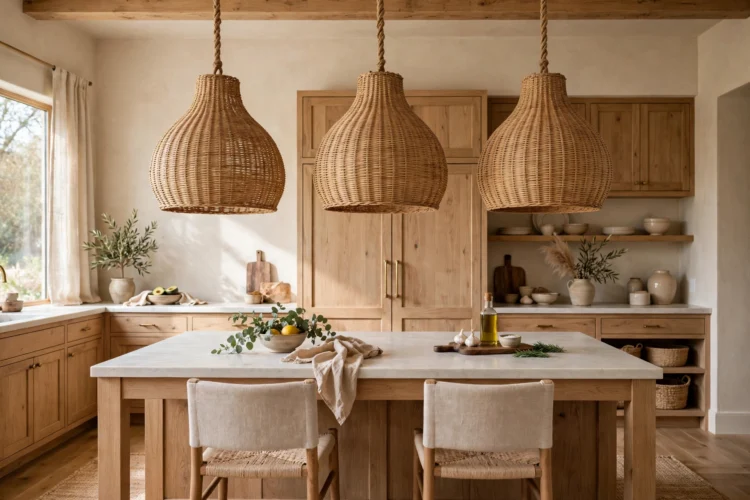
Idea one: hang two oversized pendants over the island instead of three small ones. Shades 14 to 20 inches wide give each seat its own pool of light, and the larger scale reads intentional in kitchens with nine-foot ceilings. Hang the bottom of the shade 30 to 36 inches above the countertop. Lower blocks sightlines, higher wastes the light on the ceiling. Idea two: for islands longer than eight feet, run three mini pendants in a row. Space them 24 to 30 inches apart on center so the light overlaps without dark gaps. Kitchen pendant lighting earns its keep when each fixture gets its own dimmer. Full brightness for prep, half for dinner, and the island shifts mood with the meal. If the island seats four, check that the pendant glow reaches the end seats, because end seats often fall outside the light pool. For beamed or sloped ceilings, use adjustable downrods or swivel canopies so each shade hangs level. Keep spare bulbs on hand, because a dead pendant over the island is the first thing guests notice.
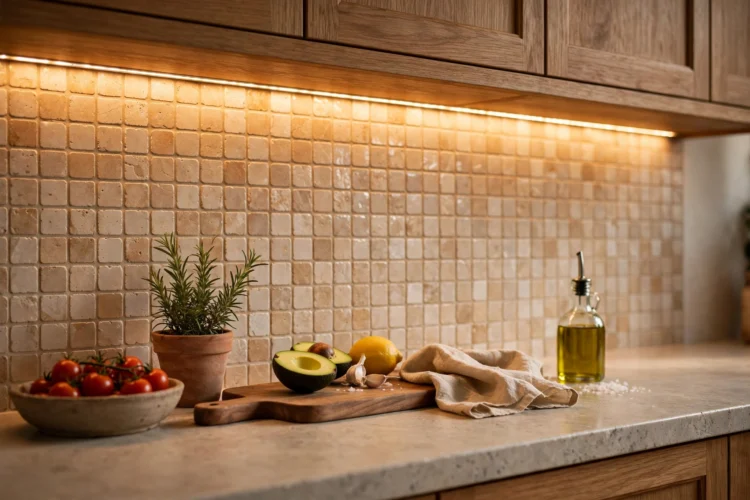
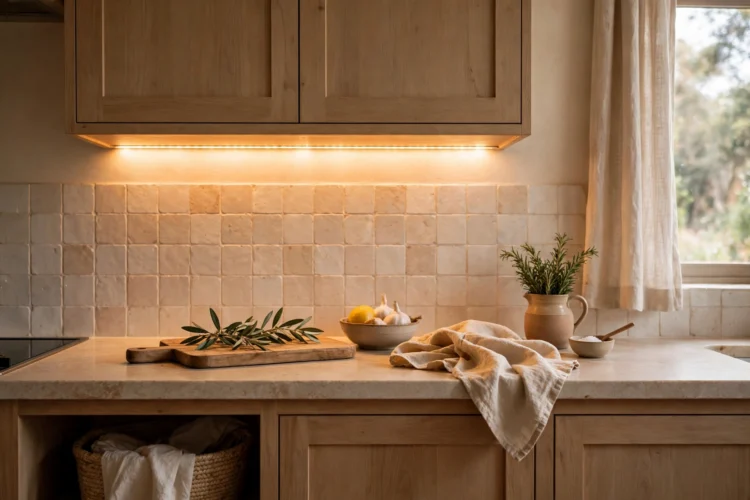
Idea three is the highest-impact cheap upgrade in kitchen lighting design: an LED strip tucked under each wall cabinet. The strip washes the counter with shadow-free task light right where knives land. Choose 2700K to 3000K for a warm white that flatters food, and mount the strip toward the front of the cabinet so the light falls on the work zone, not the backsplash. Under cabinet lighting also erases the dark band that wall cabinets throw across the counter. Idea four: drop puck lights inside glass-front cabinets. Two small pucks per cabinet turn dishes into a display after dark. Wire both ideas to one switch near the main entrance so the whole kitchen glows with a single tap. Plug-in LED strips with a remote work when you cannot run wires inside finished cabinets. Set the strip inside the aluminum channel sold with most kits, because the channel diffuses the dots so the counter shows a smooth line of light. For glass cabinets, pick pucks with a warm color temperature that matches the under-cabinet strips, or the two layers will clash after dark.
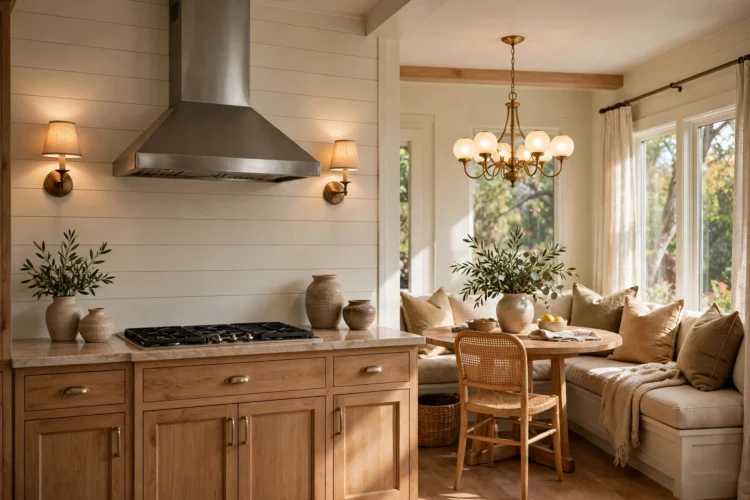
Idea five: mount a pair of sconces on the wall where the backsplash meets open shelving, or flanking the range hood. Sconces add eye-level light that flatters faces, which overhead cans never do, and they double as jewelry for the wall. Hardwire them if the wall is open. Plug-in cord covers work when it is not. Idea six: give the eat-in corner its own chandelier. A fixture 12 inches narrower than the table keeps the scale right, hung so the bottom sits about 30 inches above the tabletop. The chandelier tells everyone the nook is a dining spot, not leftover floor space. Pick a shade that throws light down and out, since a chandelier that only glows upward leaves the table dim. When sconces flank the range hood, choose shades that aim light up and down the wall. The wash highlights the backsplash tile while keeping glare out of your eyes at the stove. For the nook chandelier, a drum shade in linen or rattan spreads light evenly and hides the bulbs from sight at table height.
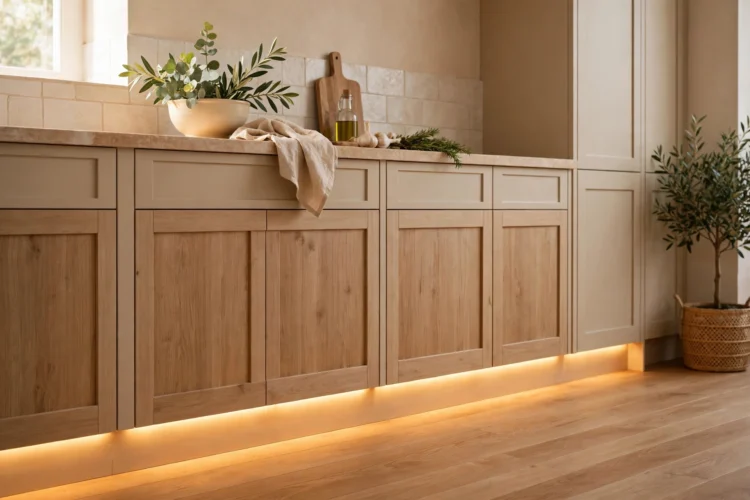
Idea seven: if the ceiling already has recessed cans, add a dimmer before you add fixtures. Most kitchens run cans at full blast all evening, which flattens everything. A dimmer lets the same cans shift from bright prep light to soft background glow. Swap old bulbs for warm-dimmable LEDs so the color stays pleasant as they fade. This is layered kitchen lighting at its simplest: one dimmer, three moods. Idea eight: run a low LED strip along the toe-kick at the base of the cabinets. The floor-level glow makes base cabinets look like they float, and it works as a nightlight for the midnight water run. Put it on a motion sensor so it only runs when someone walks in. If your cans are the old screw-in type, retrofit LED modules snap into the existing housing in minutes and give you dimming without rewiring. For the toe-kick strip, a warm 2700K matches the under-cabinet light so the floor glow feels like part of the same plan rather than a separate gadget.
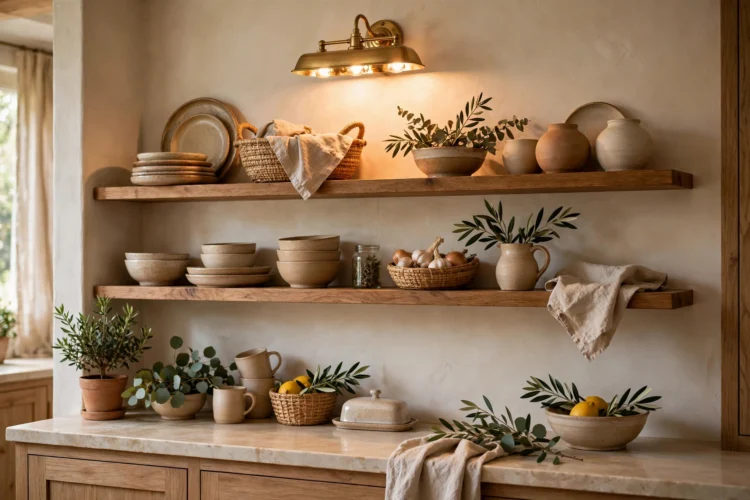
Idea nine: clamp a slim picture light above open shelves or a tiled feature wall. The downward wash turns everyday dishes into a display and adds the accent layer most kitchens skip. Battery-powered versions now run months per charge, so no wiring is required. Idea ten: lay LED strips on top of the wall cabinets, aimed at the ceiling. The bounced light softens shadows and makes an eight-foot ceiling feel taller, and the strips stay hidden behind the cabinet crown. Both ideas cost little and install in an afternoon, which makes them the easiest wins for renters and anyone avoiding an electrician. Together they add the finished glow that separates a designed kitchen from a merely functional one. Aim the picture light so the beam lands on the middle shelf, not the top, because top-shelf glare is the classic mistake. For the ceiling wash, leave a two-inch gap between the strip and the back of the crown so the light spreads instead of drawing a hard line. Both tricks read as professional even though the hardware costs less than a dinner out.
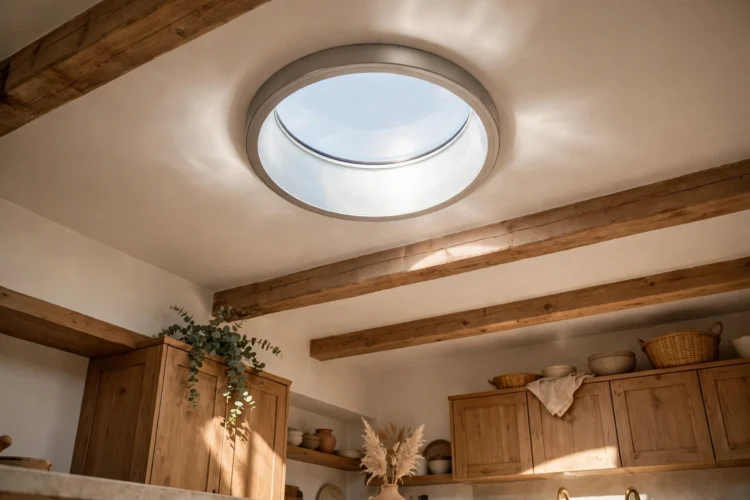
Idea eleven: screw smart bulbs into the fixtures you already own and schedule them. Set bright cool-white for the morning rush and warm dim for the evening, and the kitchen shifts mood without anyone touching a switch. Group the bulbs by zone, pendants, cans, and accents, so voice commands hit the right layer. Idea twelve: borrow daylight with a solar tube. The 10- to 14-inch tube runs from the roof to the kitchen ceiling and delivers real daylight to rooms no window reaches. It will not replace evening fixtures, but it cuts daytime bulb use and makes colors read true while the sun is up. Between the two, the kitchen stays well lit from breakfast to midnight with almost no effort. Set a separate schedule for weekends so the kitchen wakes up later than the weekday alarm. If the solar tube route crosses an attic, the flexible tube kits bend around joists without reframing. Either way, the goal stays the same: the right light at the right hour without thinking about switches.
Start with the layer you are missing. No task light? Add the under-cabinet strip. Room feels flat? Add dimmers and an accent. Good kitchen lighting is a stack of small fixtures aimed at different jobs, not one bright fixture doing all of them.