Physical Address
304 North Cardinal St.
Dorchester Center, MA 02124
Physical Address
304 North Cardinal St.
Dorchester Center, MA 02124

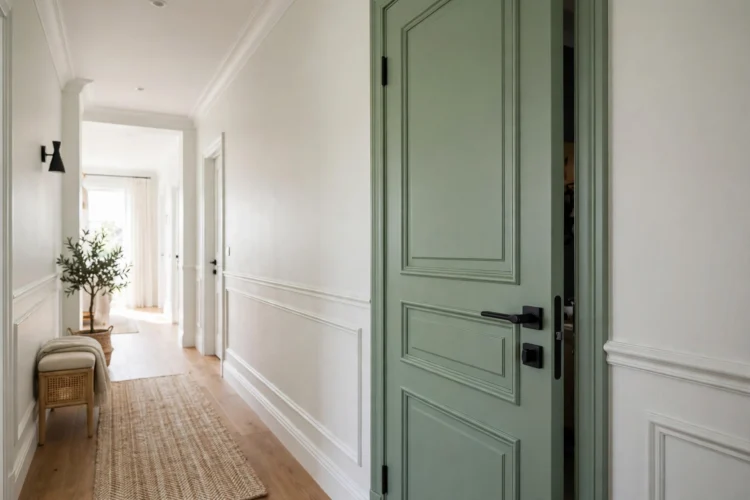
Thirteen interior door upgrade ideas without replacing the door, from paint to applied molding. Start with the door you see most and give it an afternoon.
A hollow-core door looks plain because it is plain: a flat slab, thin veneer, and builder hardware. Replacing it costs more than the door, since a new slab needs fitting, hinges, and paint anyway. These interior door upgrade ideas skip the replacement and work with the door you have, using paint, applied molding, and better hardware to make a flat slab look custom. Most of the projects below take an afternoon, and none of them needs a new door frame. Pick the door you see most often and start there.
Paint changes a flat door more than any other single step. Take the door off its hinges and lay it flat on sawhorses so the paint levels without drips. Sand lightly with 120 grit paper, wipe off the dust, and roll on a primer made for slick surfaces. Two thin coats of satin or semi-gloss paint dry to a hard finish that wipes clean, and dark paint hides the flatness of a hollow-core slab better than white does. Primer matters most when you paint interior doors, since topcoat peels off a slick veneer without it.
Paint the door a color with some depth, such as charcoal, deep green, or navy, and keep the trim white so the door reads as a feature. A bold door suits a hallway that needs a focal point, and these gallery wall ideas sit well on the wall beside it. Let each coat dry fully before you flip the door, and paint the edges so no raw wood shows when the door stands open.
Applied molding turns a flat slab into a paneled door. Measure the door face and plan two or three rectangles with even margins, usually 4 inches from the edges and 5 inches between panels. Cut thin molding to size with a miter box, glue each piece in place, and pin it with small brads while the glue sets. Fill the joints with caulk and paint the whole door one color so the panels read as part of the slab.
Keep the panel layout simple on a standard 80 inch door: two tall rectangles suit most doors, while three short rectangles suit a door with a mid rail look. These door molding ideas work on hollow-core slabs because the molding is light and the glue holds well on a smooth face. Step back after the first panel to check the spacing before you glue the rest, since a crooked first panel sets the tone for the whole door.
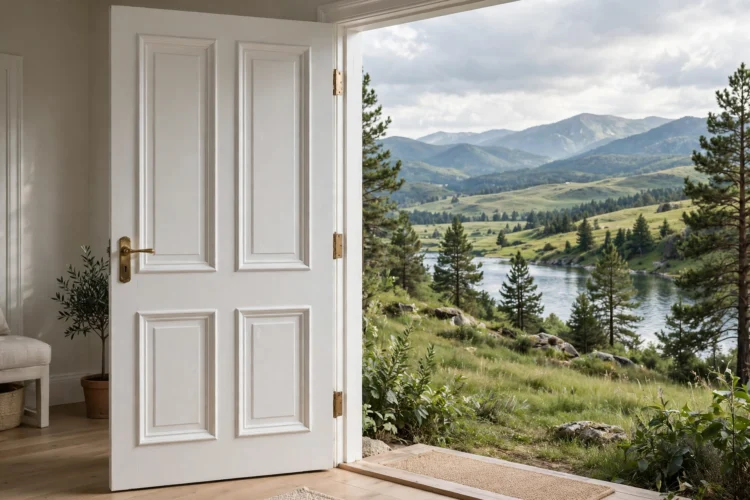
New hinges, a new handle, and a new latch change how a door feels every time you touch it. Match the finish across all three pieces, and match them to other hardware in the room so the door looks planned. A matte black lever suits a modern door, while unlacquered brass warms a traditional one. Remove one hinge at a time and support the door while you work, so the slab never hangs on a single hinge.
Check the backset before you buy a new latch, since most interior doors use a 2.375 inch backset and a new latch must match the old hole. A new strike plate in the same finish completes the swap for a few dollars. This hollow core door makeover step takes under an hour and needs only a screwdriver, yet it changes the door more than paint alone in some rooms.
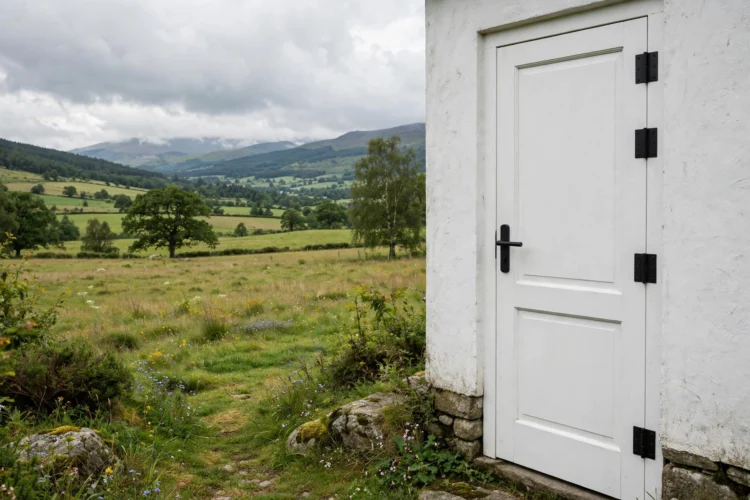
A glass or mirror panel opens up a flat door and bounces light into a dark hallway. A full length mirror mounted on the door face suits a bedroom, while a frosted glass insert suits a door between a hallway and a laundry room. Mount a mirror with adhesive rated for mirrors plus two clips at the bottom, and keep the mirror inside the door edges so it never catches on the frame.
Cutting a real glass insert into a hollow-core door takes care, since the slab has a thin frame and a cardboard core. A simpler route is a faux window: paint a rectangle on the door, frame it with thin molding, and fit a mirror inside the frame. The result reads as a window from across the room. These open-plan room divider ideas use the same trick, glass that moves light without moving walls.
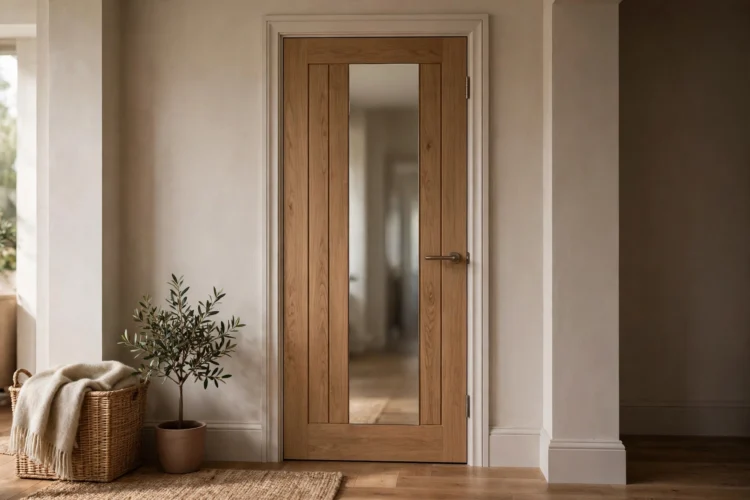
A plain door looks better in a dressed frame. Add a simple casing with a back band, a small piece of trim layered on the outer edge of the casing, and the frame gains depth without a full rebuild. Paint the casing the same color as the door trim, and caulk the joint where the casing meets the wall for a clean line. A plinth block at the base of each side finishes the frame like furniture.
Extend the casing to the floor with no baseboard notch, and the door reads taller. If the door sits in a hallway with several doors, dress them all the same way so the hallway reads as one design. Keep the casing profile slim on a low ceiling, and let the door itself stay the star. This is one of the cheapest ways to make a builder door look custom, since trim costs little and the job needs only a saw and a nail gun.
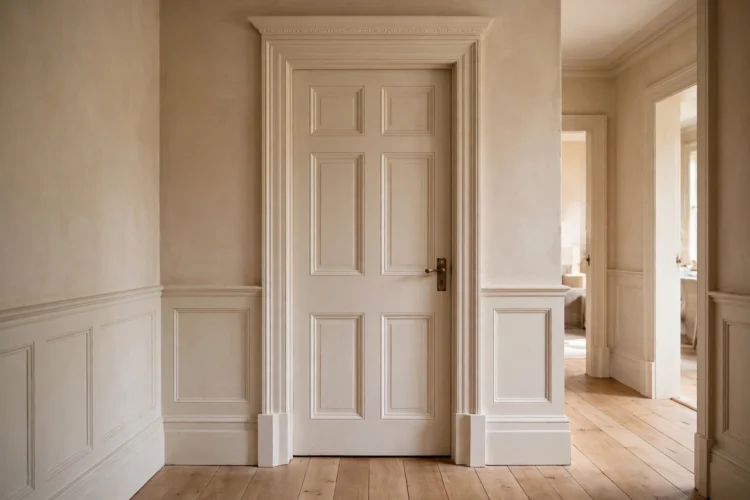
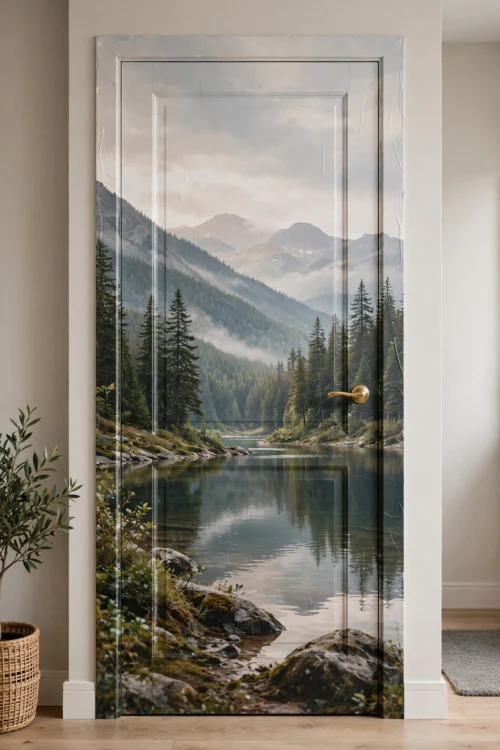
Peel and stick wallpaper or vinyl turns a flat door into a patterned one in under an hour. Measure the door face, cut the covering a half inch long on each side, and smooth it from the center outward with a plastic card to push out air bubbles. A subtle linen or grasscloth pattern suits a bedroom door, while a bold geometric pattern suits a pantry or a closet door that needs personality.
Trim the extra at the edges with a sharp blade and seal the edges with a thin line of clear caulk so the covering never peels at the corners. Peel and stick coverings suit renters, since the film lifts off cleanly at move out time. Thrifted furniture gets the same treatment, and these thrift store furniture flips show how a new surface changes a tired piece. Keep the pattern scale small so it reads well on a narrow door.
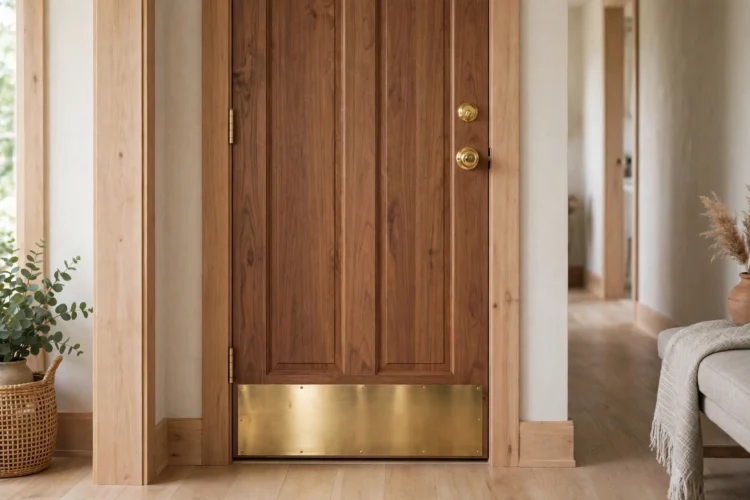
Small details finish a door upgrade. Add a door stop that matches the new hardware, fit a draft stop along the bottom edge to hush the hallway, and replace a worn threshold if the door scrapes it. A small brass kick plate at the bottom of a busy door hides scuffs and adds a tailored touch. Each detail takes minutes, yet together they make the door feel considered instead of patched.
Finish by painting the door edges and the frame the same color as the door face, so no raw edge shows when the door stands open. Step back and check the door from the hallway, since that is where you see it most. These DIY wall art ideas help the wall beside the door earn its place too. A finished door and a calm wall make a hallway feel designed, not left over.
Thirteen ideas, one door at a time, and none of them needs a replacement slab. Paint and molding do the heavy work, hardware changes the feel, and small details finish the job. Start with the door you pass most often, give it an afternoon, and let the result set the standard for the rest of the house.