Physical Address
304 North Cardinal St.
Dorchester Center, MA 02124
Physical Address
304 North Cardinal St.
Dorchester Center, MA 02124

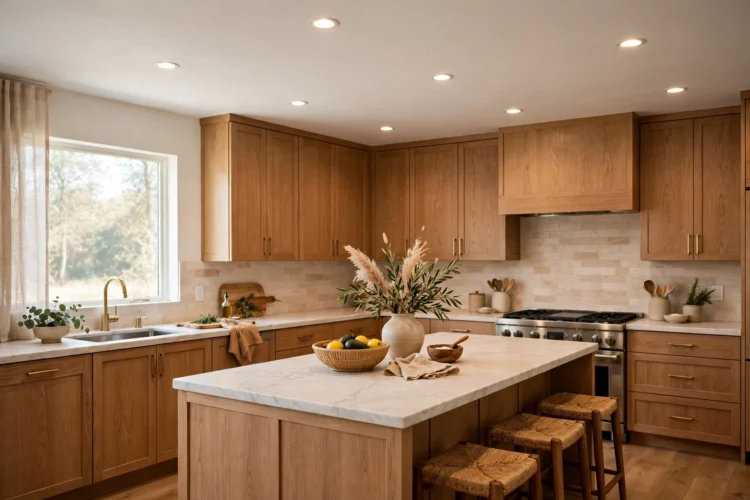
Nine recessed lighting ideas for clean ceilings, from half-height grids to trim choices that kill glare and wash counters evenly.
Recessed kitchen lighting disappears into the ceiling and leaves nothing but light, which is exactly what a clean-lined kitchen needs. The layout is a grid problem. The common starting rule spaces cans at half the ceiling height, so an eight-foot ceiling means cans roughly four feet apart. Kitchens then break the rule on purpose: task rows move closer to the cabinets, island rows tighten up, and the sink gets its own dedicated can. Trim choice controls the look. Baffle trims cut glare, gimbal trims aim light at art or shelves, and wall-wash trims graze backsplash tile. These nine ideas build a recessed layout that washes counters evenly with no dark corners.
The recessed layout grid starts with one rule. Divide the ceiling height in half to set the maximum can light spacing. An eight-foot ceiling gives a four-foot grid. A nine-foot ceiling gives a four-and-a-half-foot grid. Mark the grid on the ceiling plan first, then adjust for the kitchen. Kitchens need more light over work zones than the even grid provides, so treat the grid as a ceiling for spacing, not a mandate. No two cans should sit farther apart than the grid distance, but task areas get extra cans between the grid lines. This keeps the ambient light even while the counters get the density they need.
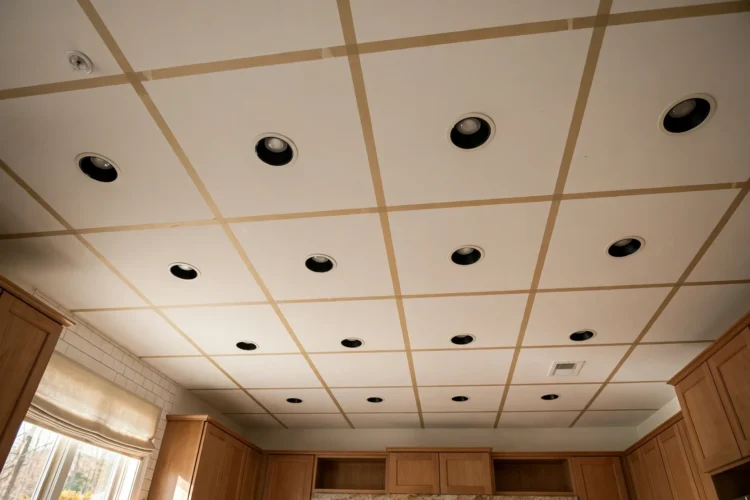
The perimeter counters need their own row because your body blocks the ceiling grid when you stand at the counter. Run a row of cans 12 to 18 inches out from the cabinet faces, which lands the beam on the counter instead of on your head. For standard 24-inch-deep counters, 12 to 14 inches from the cabinet face is the sweet spot. Space these task cans the same four feet apart as the grid, or tighten to three feet over long prep runs. Aim the light at the front half of the counter where the knife work happens, not at the backsplash where it only lights the wall.
If the upper cabinets have a deep crown molding, shift the row an inch farther out so the molding does not clip the beam.
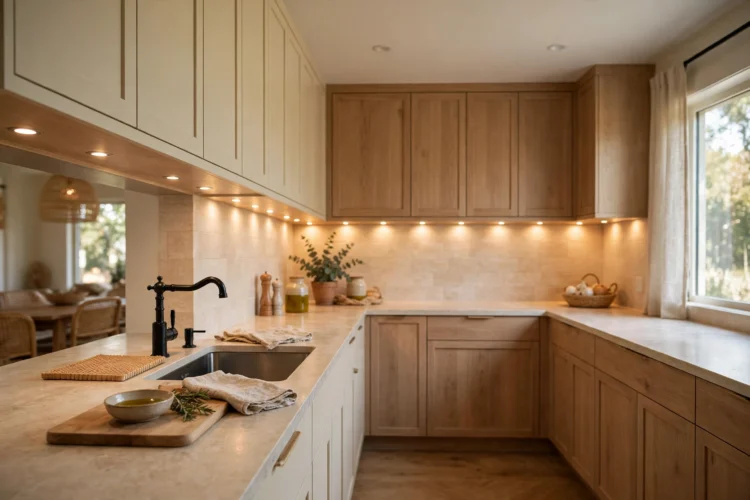
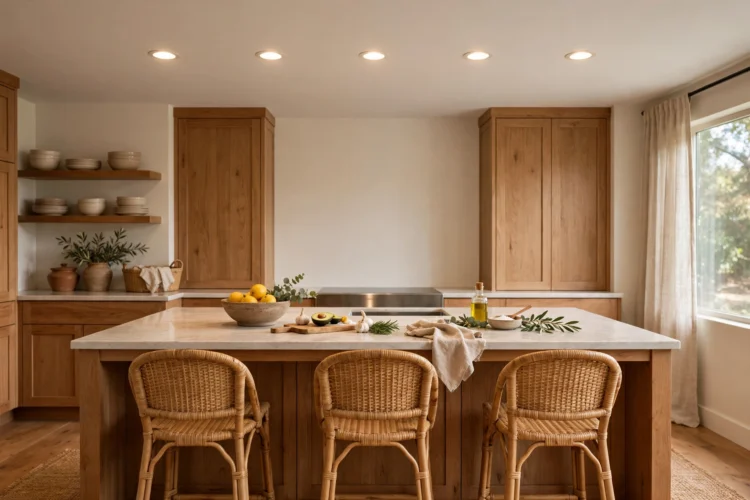
Islands need tighter spacing than the ambient grid. Run a single row of cans down the center line of the island, spaced 24 to 30 inches apart, with each can 6 to 12 inches in from the island ends. A six-foot island takes three cans. Kitchen can lights over islands work best in four-inch housings with a medium beam angle, which pools light without the harsh edges of a narrow spot. If pendants already hang over the island, skip the cans there entirely. Two fixture types competing over one island look busy and waste the budget that could light the perimeter better.
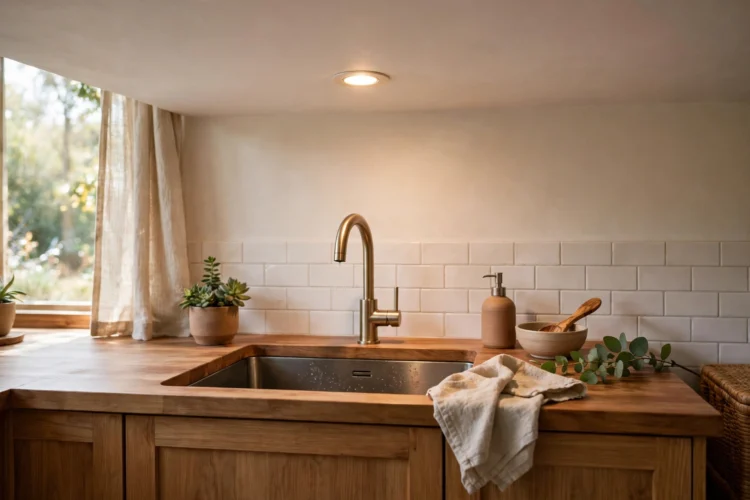
The sink deserves a can of its own, centered over the basin, not over the person standing at it. Place the fixture 12 to 18 inches out from the wall so the beam lands in the sink and on the faucet. This one can does more work than any other in the kitchen because dishwashing and vegetable rinsing happen in a deep, shadowed basin. Put the sink can on the same dimmer zone as the task row so it dims with the rest of the prep lighting. A baffle trim here keeps the light from glaring when you look up from the sink toward the window.
Glare is the main complaint about recessed lights near the dining area. A standard reflector trim bounces light in every direction, including into seated eyes. Swap those trims for baffle trims, the ones with concentric ridges inside the cone. The ridges absorb stray light and the trim reads black from below, so the can disappears into the ceiling. Use baffle trims on every can within sight of the breakfast table or island seating. The recessed light trim choice matters more than the bulb for glare control because it shapes the beam before the light reaches the room.
White baffle trims blend into white ceilings during the day. Black baffles disappear better at night when the lights are on.
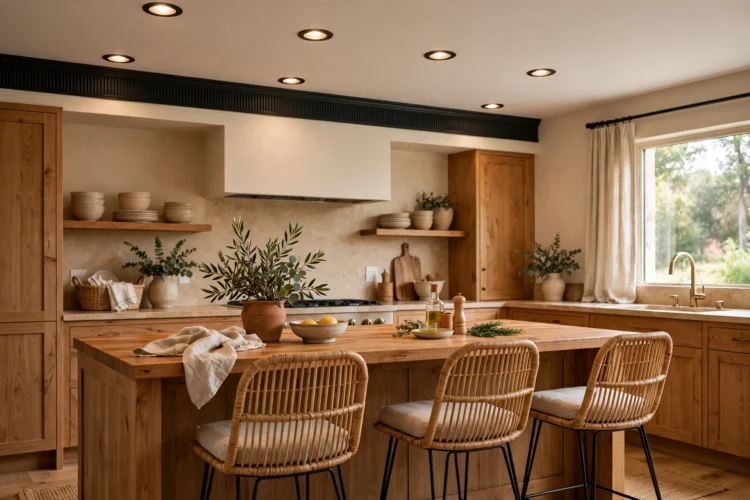
Fixed downlights cannot aim, which is a problem when the art or the open shelving sits off the grid. Gimbal trims solve it. The inner ring tilts up to 30 degrees, so you can park the can on the grid and tilt the beam onto the shelf or the range hood. Aim gimbal cans at open shelving from about 24 inches out, tilted to wash the shelf fronts. Do not use gimbals for general lighting. The tilted beam creates hot spots on the counter, so reserve them for accent duty and keep the task rows on fixed downlights where the beam stays predictable.
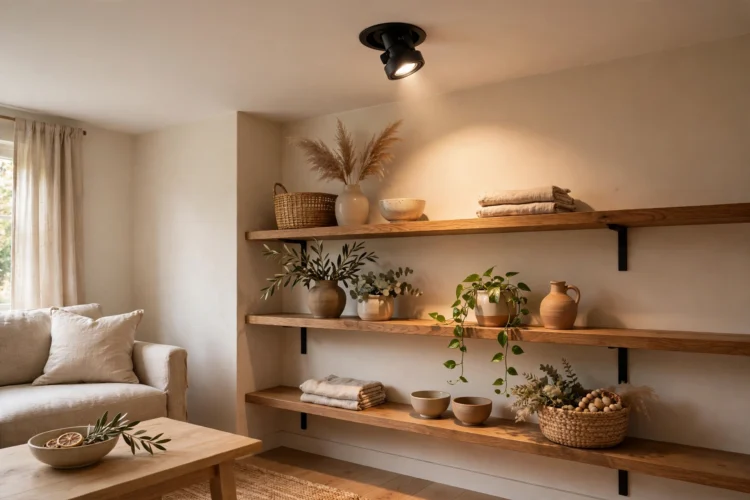
Can size sets the visual weight of the grid. Six-inch cans were the default for decades, but four-inch cans suit modern kitchens better. The smaller aperture disappears into the ceiling, and the tighter beam puts more light on the counter per watt. Five-inch cans split the difference for transitional kitchens. Match the trim size to the housing. A four-inch baffle trim in a six-inch housing leaves an ugly gap around the edge. When you downsize the cans, you can tighten the grid slightly. Four-inch cans at three-and-a-half-foot spacing give about the same coverage as six-inch cans at four feet.
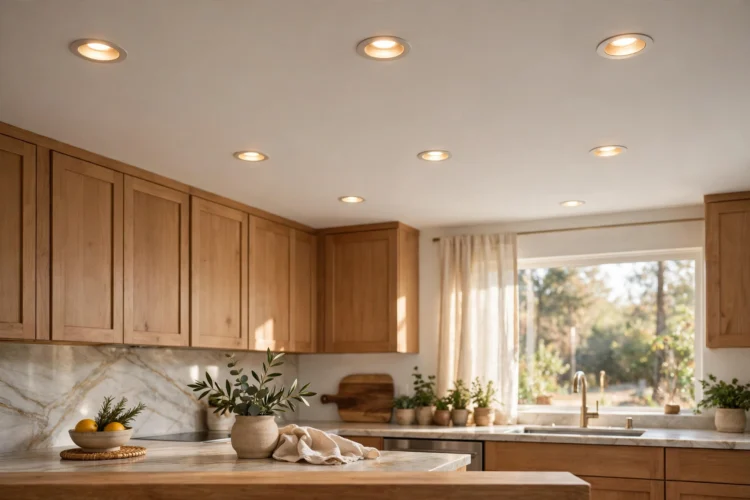
One switch for the whole kitchen wastes the layout. Split the cans into at least two dimmer zones: the task row and island cans on one dimmer, the ambient grid on another. Cook at full brightness on the task zone while the ambient zone sits at half. After dinner, kill the task zone and leave the ambient cans at 20 percent for a calm room. LED-compatible dimmers are required. Old dimmers built for incandescent loads make LED cans flicker or buzz. Label the dimmers during installation so nobody has to guess which slider controls which zone of the kitchen.
Three zones are even better if the budget allows: task, ambient, and accent each get their own slider.
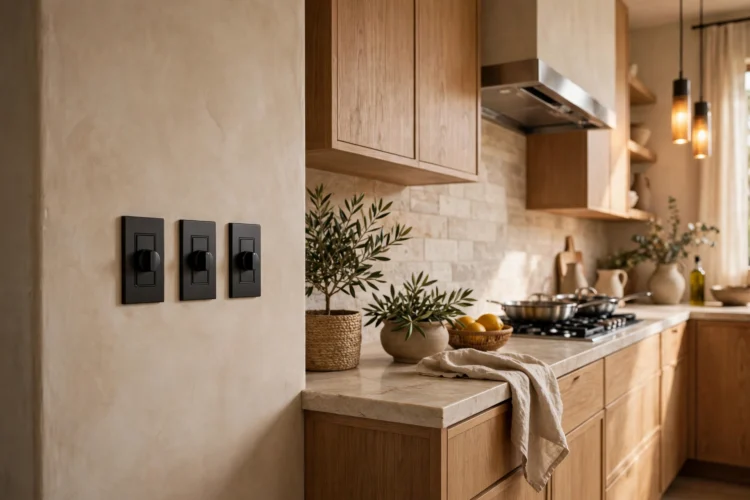
A backsplash of handmade tile or veined stone deserves its own light. Wall-wash trims have an angled reflector that throws the beam toward the wall instead of straight down. Place wall-wash cans 18 to 24 inches out from the backsplash wall, spaced the same four feet apart as the grid. The grazing light rakes across the tile texture and makes handmade glaze look three-dimensional. This is accent lighting, so put it on its own dimmer or a separate switch. Run it in the evening with the task lights off and the backsplash becomes the visual focus of the room.
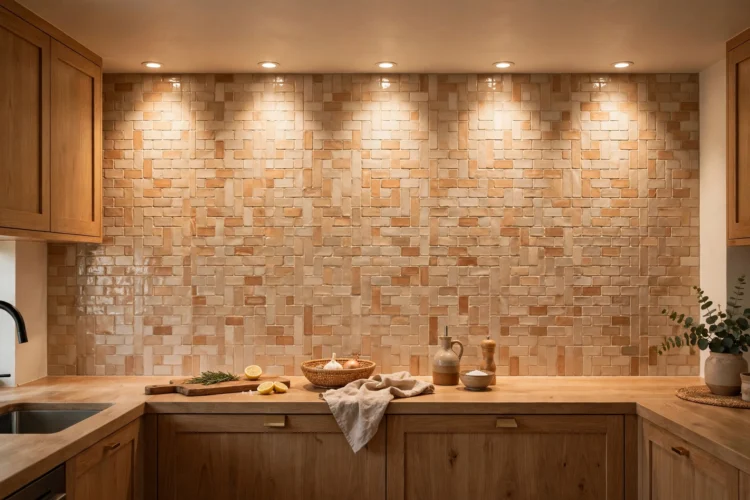
Start with the half-ceiling-height grid, pull task rows toward the cabinets, tighten the island spacing, and give the sink its own can. Choose trims for what each zone needs: baffles against glare, gimbals for aiming, wall wash for the backsplash.